How To Remove Stain From Wood To Start Fresh (And Common Mistakes To Avoid)
We may receive a commission on purchases made from links.
Wood stain is an extremely effective way to change the color of your cabinets or update a vintage furniture find. However, there are times when stains need to be removed. For example, you may discover discoloration on your dining table that needs to be fixed, or you might want to strip an heirloom chair to its natural wood. Maybe you're tackling a larger job like preparing to refresh your hardwood floors with a new color. To find out how to remove stain from wood to start fresh — and what mistakes to avoid during the process — House Digest spoke with Van Sureja, owner and president of Liberty Painting (on Instagram @libertypaintinghouston).
Sureja urges safety first and foremost. "Chemical strippers, dust, and hand tools all pose a hazard," he warns. "Working without gloves, eye protection, or even a well-ventilated workspace can lead to injury or illness." Sureja told us that along with wearing adequate personal protective equipment, it's important for anyone planning to remove wood stains with chemical strippers to carefully read the manufacturer's instructions. "Each product is different," he explains.
Also, solvents and caustic strippers used to remove stain from wood can be dangerous. "Keep chemicals away and out of reach from children, pets, and extreme weather conditions to avoid accidental exposure or unwanted chemical reactions," Sureja cautions. Solvents are a fire hazard, and hazardous waste should never go down the drain. Start your project with a plan for properly disposing of the paints, solvents, thinners, rags, and PPE used during the removal process.
Select the right kind of chemical stripper for your project
Before getting started, you'll need to do some prep work. Use drop cloths under furniture, and carefully remove any hardware. Then, use soapy water and a lint-free rag like S&F STEAD & FAST Painters Tack Cloths to remove any dirt before thoroughly drying the wood with a microfiber towel.
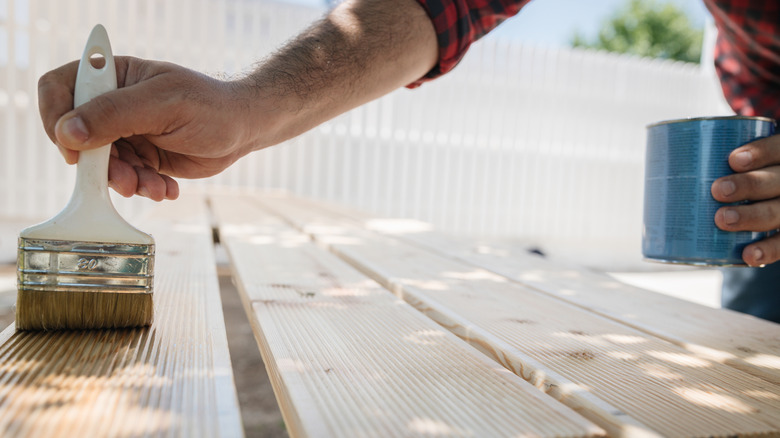
In his exclusive interview with House Digest, Van Sureja says the next step is to apply a chemical wood stain stripper. "Use a bristle brush to apply a thick, even coat," he advises. Work in small sections as you go. The type of stripper needed will depend on the type of wood stain that was originally applied. Solvents are ideal for oil-based stains, but they have the potential to damage delicate wood. Caustic strippers are better for latex stains and are easier to use. Many DIYers are switching from water-based to gel-based wood stain since it's so beginner friendly. But keep in mind that gel stain is just a thicker oil-based stain.
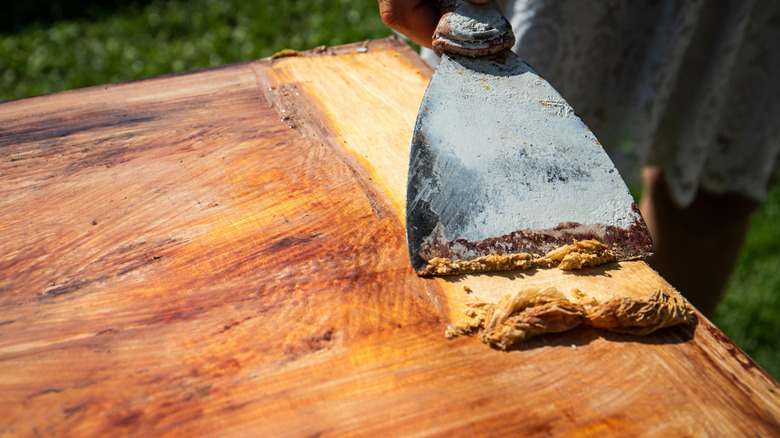
"After waiting the manufacturer-recommended time for the stripper to work, use a plastic putty knife or scraper to gently remove the loosened stain," Sureja says. You may have to repeat the process more than once. To make sure all of the stripper is removed, the painting expert says to scrub the wood with steel wool before allowing it to dry thoroughly. Use sandpaper to remove any excess before wiping down the surface with mineral spirits.
Don't rush the process
Speaking exclusively with House Digest, painting expert Van Sureja explains there are some common mistakes people make when removing stain from wood. Along with sustaining injuries from not wearing PPE, he says the worst mistake DIYers make is not allowing the chemical stripper to set long enough, stating, "Be sure to follow the manufacturer's recommendations and instructions for wait times to ensure the best results." It can take 15 to 20 minutes for a chemical remover to work its magic. You'll know it's time to start scraping when you see the stain bubbling or swelling to the surface.
Rushing the process is another major mistake you should avoid at all costs. "Be patient!" Sureja emphasizes. "Follow the instructions on the chemical stripper container, invest time into sanding, and allow your wood to breathe." This will help you to avoid patchy, uneven surfaces and damage that can't be easily repaired.
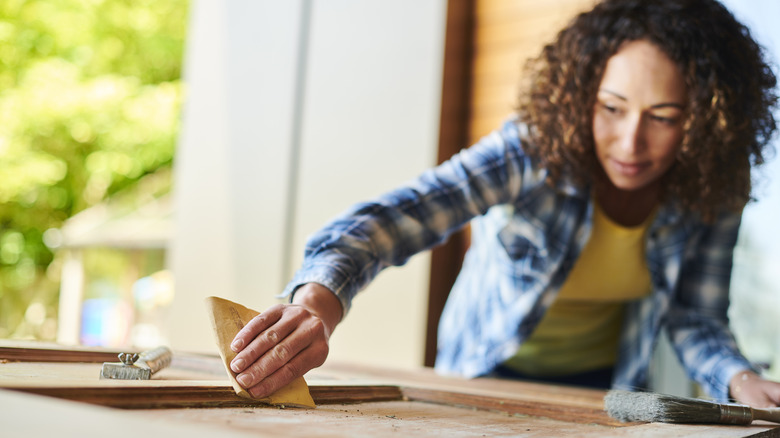
Don't forget to be meticulous with the final steps once you've removed most of the stain with your putty knife and steel wool. "Use medium and then, fine-grit sandpaper in straight, forward motions," Sureja recommends. There are hacks to make sanding hard-to-reach places easier such as reinforcing your sandpaper with duct tape, but no matter what technique you use, always sand with the grain of the wood. Finally, wipe down the wood surface with mineral spirits to remove residue or sawdust, especially if your goal is to start fresh.


