How To Install Pre-Assembled Fence Panels Correctly
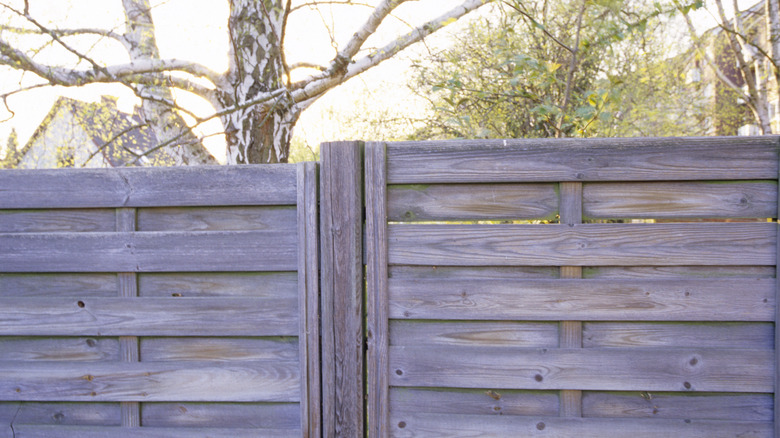
When you're ready to build the perfect fence on your property, you have a few options. One of the easiest designs to install involves using pre-assembled fence panels. Rather than having to cut and hang individual pickets in a stick-built design, the premade fence panels save time during installation because you don't have to attach each picket.
Although it's faster to assemble a fence using pre-assembled panels, you still need to follow precise steps to make the fence installation last a long time. The key factor to follow for a correct installation is to take accurate measurements. When installing the posts, they must have the proper spacing for a successful install process. It's nearly impossible to overcome measurement errors with the posts because it's not easy to cut the premade panels to look right. If the posts are too far apart, you can't add pickets to the premade panels to fit the larger space.
To measure the correct distance for spacing the posts, you need to know the width of each panel. Commonly sized panels are six-by-eight feet, meaning you need to space the posts eight feet apart. For a fence up to eight feet in height, four-by-four-inch posts are the most common choice. You need to measure the space between posts at the center. For a four-by-four-inch post (which almost certainly has actual measurements of three-and-a-half by three-and-a-half inches), the center would be at the 1.75-inch mark. Two panels would lay one-and-three-quarters inches across the width of the post.
How to secure the posts for the pre-assembled fence panels
To create a sturdy fence with pre-assembled panels, you must have secure posts in the ground. Use pressure-treated wood to keep your fence posts from rotting. Before you begin sinking the posts in the ground, call 811 to have any underground pipes and wires marked. Failing to go deep enough is a common mistake when installing a fence post As a general rule, you'll bury about one third of the pole in the ground to secure it, so you may dig two to three feet into the ground. This could hit underground wires and pipes, which can be as shallow as 18 to 24 inches.
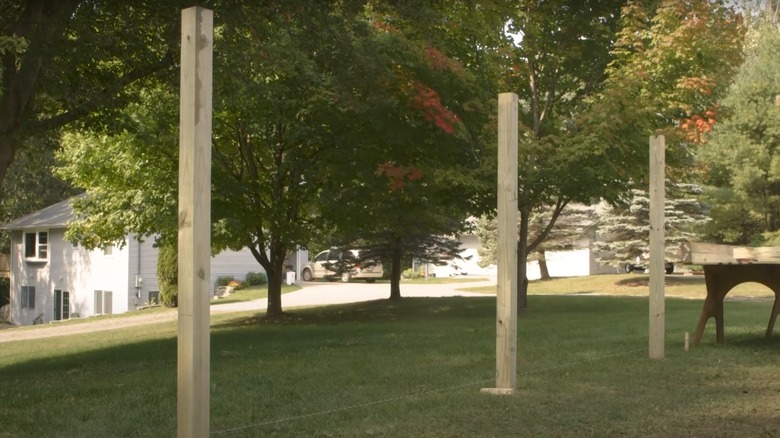
With the underground utilities marked, you then can use a taut string to mark a straight line for the layout of the fence while avoiding the utilities. For standard-sized panels, measure eight feet between and mark the spot with a flag or stake. Use a post-hole digger, also called a clam-shell digger, or a power auger to remove the soil. To secure the post, add about six inches of gravel in the hole and then add fast-setting concrete over the gravel. To keep the posts straight, attach scrap two by four–foot boards to brace them, and use a bubble level to test them. Depending on the brand, the fast-setting concrete should dry in 40 minutes or less. However, you should wait at least four hours to place significant stress on the posts, and that includes attaching fence panels.
How to attach the pre-assembled fence panels to the secure posts
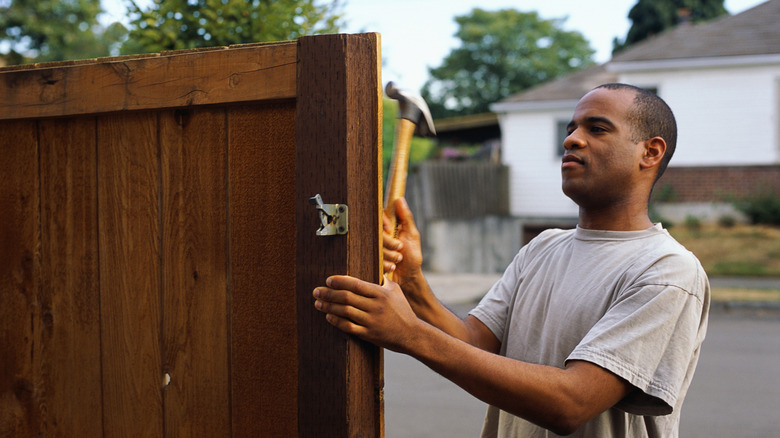
When attaching your fence panels to the posts, you should follow the specific directions that ship with your panels. Having two people available is helpful. If you connect the panels directly to the posts, you can connect some brands of them with 18d or 20d nails. Others may require deck screws, which are safe to use outside. If you're using nails, you may want to pre-drill holes to prevent splitting. Line up each panel so its edges are on the centers of the posts. Make sure the panel is between two and five inches off the ground. This will prevent rot on the wood panels.
Some panels ship with hanger brackets to help you hang them uniformly off the ground. Measure from the ground upward on the posts to set the lower hanger brackets at the same distance on each post. If you have upper hangers to secure the panel, measure the correct distance from the lower hanger. Screw the brackets into the posts, and you then can secure the panels to the hanger brackets.
If your fence posts are too tall or uneven, measure and mark the desired height on each post and saw off the excess. If you use a circular saw, you may have to make one cut from each side because the blade won't go deep enough. If you prefer to make a single cut, using a hand saw is a good option, but it will take some muscle power to go through the post.


