DIY Enchanting Hanging Lanterns With A Dollar Tree Garden Staple
In this season of frigid temperatures and early sunsets, we're all looking for ways to create coziness and warmth in our homes. Thankfully, it doesn't require much. Turn down the lights, put a log in the fireplace, light candles, and you've achieved instant hygge. For more decorative flair, consider DIY projects like a crafty way to create gorgeous string lanterns for your home, stylish lanterns crafted from paper napkins and jars, or a hanging lantern created from Dollar Tree items.
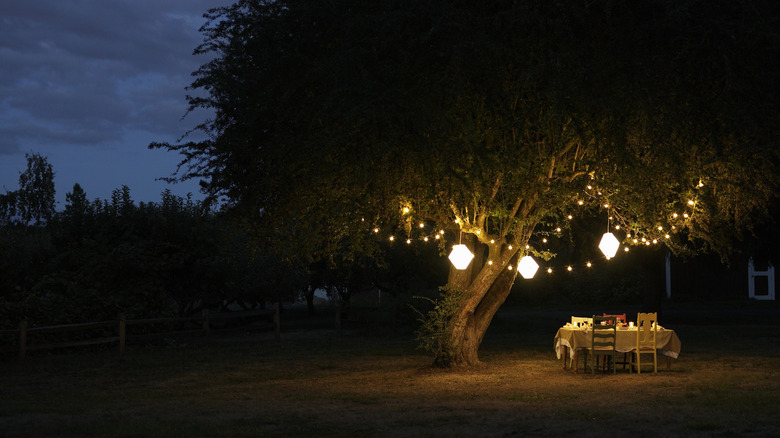
This relatively simple DIY project is budget-friendly and will give you an enchanting lantern to hang inside or under a covered outdoor patio. The project requires two small plastic garden fences, zip ties, chains used for hanging flower baskets, twinkle lights, and faux greenery — most of which is sold at Dollar Tree. You could take the original DIY even further with additional embellishments that match the season and your home's aesthetics.
Creating the foundation of the lantern
The frame of the lantern is made with two black garden fences, which each come with four adjoining sections. Using scissors or shears, cut two edge pieces from one fence, keeping the two connecting hooks on each edge. Cut another end section from the second fence, removing the connecting hooks from this piece. Use a box cutter to carefully shave off any sharp or rough edges.
Attach the first two edge pieces using their connectors. With zip ties (found in Dollar Tree's automobile aisle), connect the third section to the first two, forming a standing triangle. Trim the zip ties, turning the cut ends toward the inside of the lantern.
Next, take a three-pronged chain, found in Dollar Tree's garden section. The chain includes a large hook at the top, three long chains that stem from the hook, and clips at the bottom of each chain. Measure out how long you'd like the chains to be, remove excess links to reach your desired length, and then switch the clips over to the shorter chains. Depending on the style of fence available at Dollar Tree, the clips at the end of each chain may or may not easily hook onto the fence. If not, use a drill to widen holes in the fence pieces for the clips. Once all three clips are attached to each corner of the lantern, you're ready to decorate it.
Adding the finishing touches on the lantern
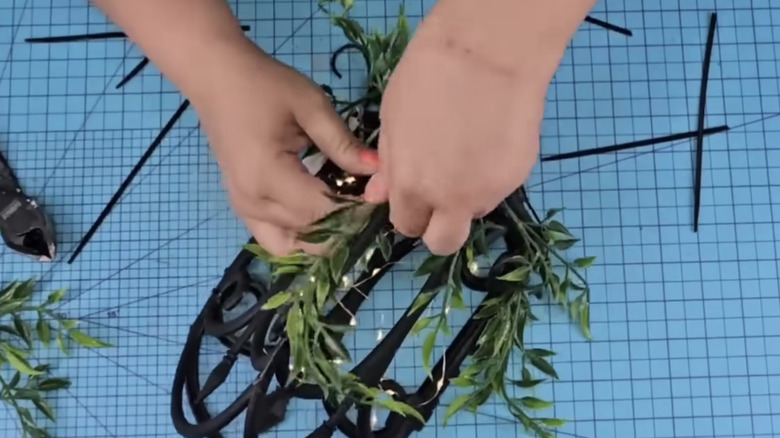
For a simple whimsical look, add greenery picks from Dollar Tree and battery-powered lights, like this set of warm white HOBAYS 6-Pack Fairy Lights. Thread two sets of lights around the fencing, evenly covering the entire lantern. Use hot glue to attach the battery packs to the back of the lantern, keeping the batteries accessible in case you need to swap them out. The faux greenery can be attached using zip ties.
To add your own personal touch to this project, consider painting the fence with plastic-friendly spray paint, like Rust-Oleum Universal. If the paint isn't sticking well, you may need to first sand down the fence, or use the dryer sheet hack to make painting plastic easier. Swap out the greenery for floral picks throughout the year, rotating through white and silver for winter, pastel petals for spring, bright blooms for summer, and warm-colored foliage for fall. If you're ambitious, make two more lanterns with varying chain lengths, and group the trio together for dramatic ambient lighting.

