9 Common Mistakes To Avoid When Gluing PVC Pipe
We may receive a commission on purchases made from links.
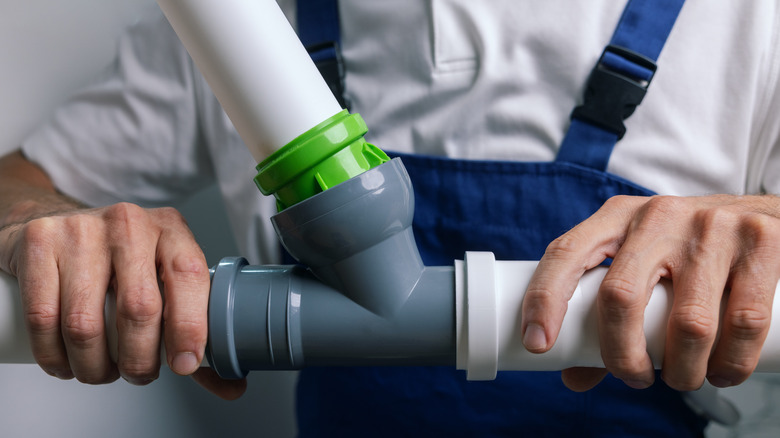
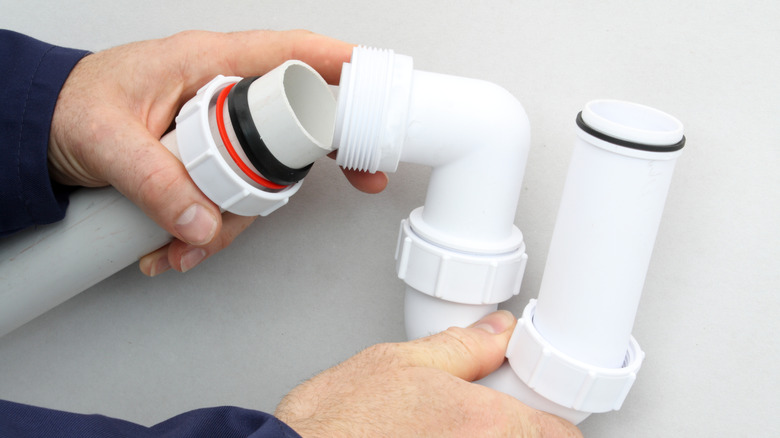
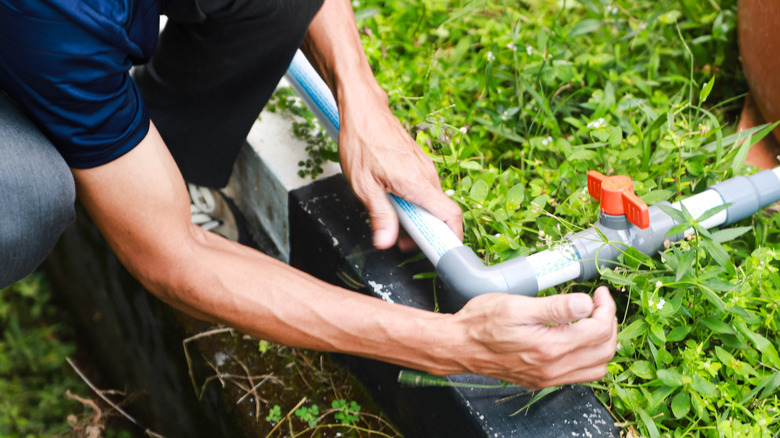
PVC (Polyvinyl Chloride) pipes are part of many home construction and maintenance projects. One of the most common uses for these rigid, plastic polymer pipes is for plumbing, but they can also be employed for rainwater collection and distribution, fire sprinkler systems, cable installation, various other PVC DIY projects, and so much more. While the design of the pipes makes them easy to connect together, the resulting connection won't be leak-free if you don't also apply PVC cement, which is also called PVC glue.
Unfortunately, creating that water-tight seal isn't as straightforward as slapping on any glue and sticking the pipes together. There are several mistakes you can make along the way, which can interfere with the bond of the materials, the pipes' ability to remain leakproof, and the functionality of the finished product. Ahead, we'll highlight some of the most common mistakes people make when gluing PVC pipes to help you learn what not to do. We'll also share some tips for what you should do instead to help you properly execute each project and achieve the results you're looking for.
Not choosing the right type of glue
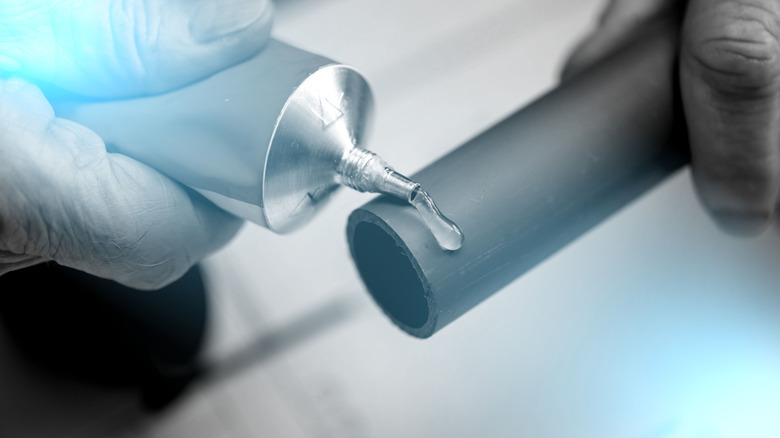
When you need to glue two PVC pipes together, don't make the mistake of assuming any type of glue will work. For instance, even superglue and other options that are designed to provide a permanent bond are not suitable for gluing PVC pipes. It won't be strong enough to support any real weight and won't provide a water-tight seal for plumbing projects.
Instead, always use PVC cement. Despite commonly being referred to as PVC glue, this product does more than just bond the two pieces of piping together. Instead, it activates cold welding, a process in which the plastic of each PVC pipe is melted. When complete, the two pipes are essentially one — creating a durable and leak-proof pipe you can use for a variety of tasks.
However, before you just grab the first bottle of PVC cement you find, it is important to note that there are different types of cement — don't make the mistake of choosing the wrong one when gluing PVC pipes. The right one for you can vary based on the specific type of PVC pipes you need to glue together and other project considerations. For example, while the IPS Weld-On Wet 'N Fast PVC Cement and other similar options are ideal for PVC pipes, you'll want to use something like the Oatey CPVC Cement for CPVC pipes (a more durable, heat-resistant version of the pipe). Another thing to consider when shopping is the thickness of your pipes. You'll need a medium-body or heavy-body cement for pipes with a larger diameter. If you're working outdoors, you will also need to consider the temperature and environmental conditions. Some cements are formulated to cure in rainy weather or when the temperature is very cold, while others won't perform as well under such conditions.
Assuming you'll be able to disconnect the pipes once they're welded together
Despite glue being seen as a permanent bonding solution, you can sometimes unstick two items by dissolving the adhesive using some acetone. Knowing this, it is understandable that you might make the same assumption when working with PVC glue. However, doing so could prove to be a costly mistake if you ever decide you want to separate the two glued items.
PVC glue is more than just strong. It activates the process of cold welding. Instead of just bonding the two pieces of PVC piping together, this process actually turns them into a single piece, as the edges of each are melted and bonded with one another. If you decide you want to separate two PVC pipes, the only way to do so will be to cut them.
Leaving the cut ends jagged
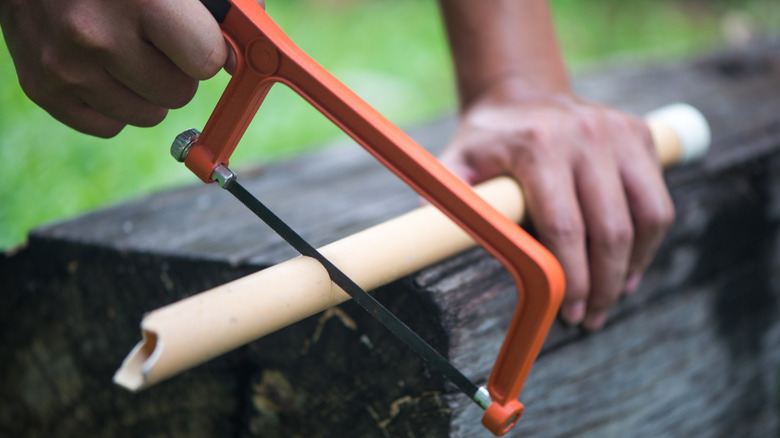
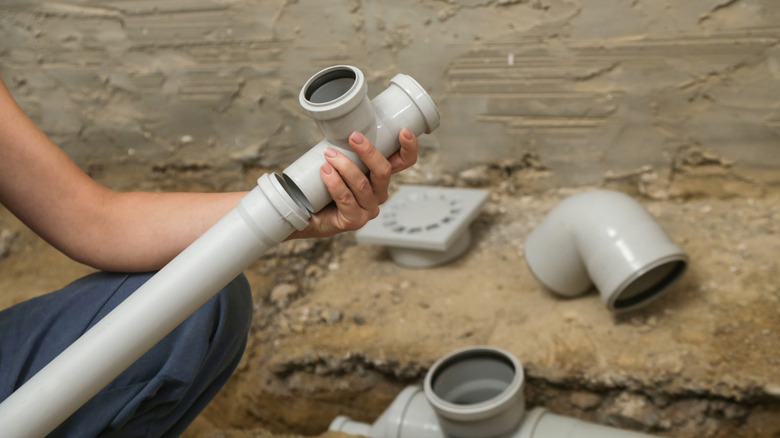
When you're trying to complete a DIY or home improvement project with PVC pipes, resist the urge to cut corners for the sake of finishing the project quicker. After measuring and cutting the pipes, you may want to jump right to the step of gluing them, giving no mind to the rough edges that are left from the saw you used. What's the harm, after all? Won't the cold welding process ensure that they're connected regardless of whether you smooth out any rough spots? Unfortunately, leaving jagged edges can be problematic. The burs, or rough edges, will remain on the inside of the pipe after the two pieces are connected. As water or other materials move through the pipe, debris may get caught on the burs and cause clogs. Leaving burs can also threaten the strength of the seal between the two pipes. They may cause small openings to be left between the pipes, preventing them from being air- or water-tight.
Instead, always take the time to smooth out the burs on the ends of your PVC pipes before gluing two of them together. If you regularly work with PVC pipes, it is probably worth investing in a deburring tool, such as the Debialo Deburring Tool. Otherwise, you can roll up some 80-grit sandpaper — such as BOSHCRAFT 80 Grit Sandpaper — and push it into each PVC pipe to smooth out the rough edges inside. You may also find success using a utility knife to scrape off any rough edges on the inside or outside of the pipes.
Trying to dry fit the pipes before gluing them together
When you're connecting PVC pipes together for a project, you might want to ensure that everything fits as expected and that your cuts are accurate. This can make it tempting to try dry fitting the pieces — or connecting them without using any of the PVC cement — to see how everything looks. However, many experts recommend against doing this, as the way the pipes fit together won't be the same as when you apply the cement. PVC pipes are "interferrence fit", which means they have a smaller opening than the pipe, creating a snug lock when two pieces are connected. Because of this, they are meant to be used with cement, which softens the opening and allows the pipes to slide together properly. Without the cement, the pipe won't slide as far into the connector as it will when you're using the glue. This will lead you to mismark the pipes and result in your cuts being inaccurate.
Instead of dry fitting PVC pipes, take accurate measurements and make sure your project is lined up properly before gluing everything together. Doing so will prevent you from wasting pieces that need to be thrown out because your cut marks are off and will help ensure that the finished product is structurally sound and able to handle pressure.
Failing to prime the pipes before gluing
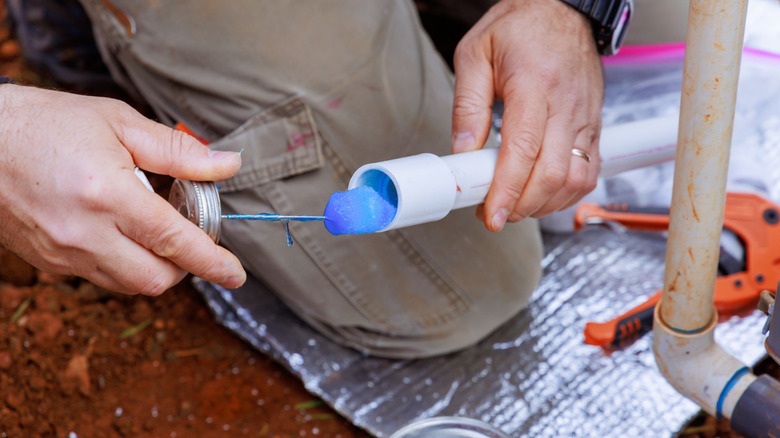
Just as priming walls is a key step before painting them, the same is true of applying primer to PVC pipes before working with the cement. If you skip the step of primer, the bond between the two pipes may not be as strong as it would be if the primer was used. PVC primers — such as the Oatey Primer — help clean the surface of the pipe and set it up to soften properly once the glue is applied. As you may guess, this is critical for ensuring that the cold welding process is fully successful.
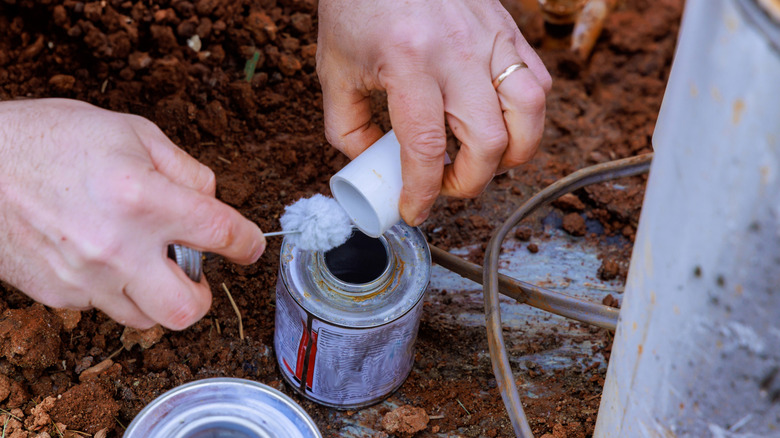
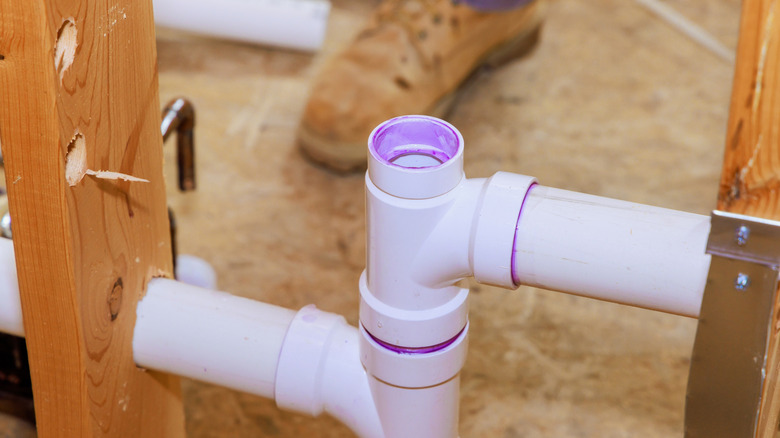
To apply PVC primer to your pipes, use the included brush to evenly coat both the male and female parts of each fitting. Many manufacturers color their PVC primer, helping you more easily see where you have already applied it and which sections still require your attention.
Working too slowly after applying primer
Primer may be as important to PVC pipes as it is when painting a wall. However, the process for using each is different, and if you assume you'll want to wait several minutes or hours to let the PVC primer dry, as you would when painting, you'll be making a huge mistake. If the primer dries before you apply the cement over it, it can interfere with the bonding process. Remember, the primer works with the glue to soften the pipes, so if it dries and the pipes don't stay soft, you might not be able to get the right fit.
Therefore, before you start applying primer, you'll want to make sure that you have everything else ready as well. As soon as the primer is applied to the sections you want to join, immediately apply the cement. The primer may dry in as few as 10 seconds if the cement isn't promptly applied over it, so you can see how quick you'll need to act.
Failing to twist the pipe as you insert it
After applying the primer and PVC cement, it will be time to connect the two sections of pipe to one another. But, be careful, because this is another task where you may fall victim to a common mistake. If you simply push one piece straight into the other, the glue may not evenly cover all of the sections. This can lead to a weakened bond, which could result in a leaky pipe — something none of us want to deal with.
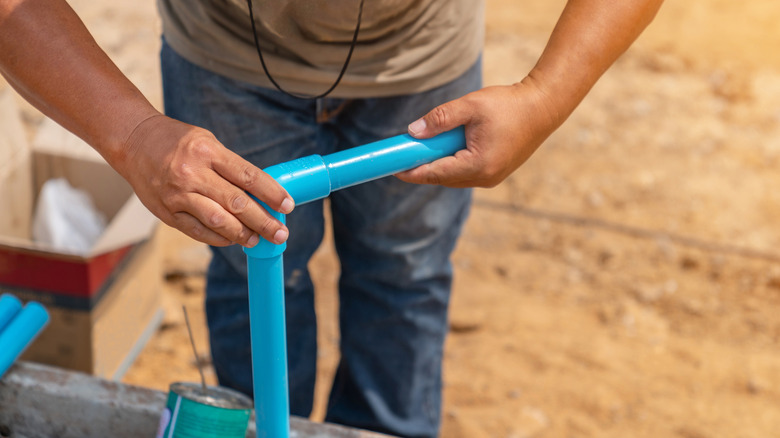
There is a simple practice that can prevent this potentially devastating error from occurring. Start with the two pipes slightly misaligned from where you want them to end up. As you're pushing one pipe into the other, twist it a bit (about one-quarter turn), lining them up as desired. This extra twist as you connect the two pipes does two things to improve the strength of the bond. First, it helps make sure that the glue is more evenly distributed across all connection points. Second, as you twist, you're also activating the glue to ensure the cold welding process goes off without a hitch.
Not following recommended set and cure times
Failing to give the glue time to set and then fully cure can lead to a whole host of issues. These may include structural issues, leaks, and other problems. The manufacturer of the cement you are using should include guidance about how long the pipes should be left to set before handling them, and how long the glue should take to cure.
There are a few general rules that can help you avoid issues and make sure you don't mess with the setting or curing process. First, after twisting the two pipes to connect them together, don't rush to walk away. Instead continue holding them together for 30 seconds to 1 minute. This will give the cement a chance to start drying, preventing them from slipping apart when you put them down. Once that initial time is up, be sure to leave them completely alone for 20 to 30 minutes so that the cement can continue to dry. Depending on the glue manufacturer, the pipe size, and the environment's temperature, you may need to wait several hours to several days to let the glue fully cure. For most projects, however, if the outdoor temperature is at least 60 degrees Fahrenheit, you should expect the cement to be cured within a day or two.
Forgetting to protect yourself and the surfaces you're working on
Failing to keep your safety in mind — or to protect the surfaces you're working on — are mistakes you don't want to make when cutting and gluing PVC pipes. Glue and primer are made from chemicals, which can release fumes. Inhaling these fumes can be dangerous. Then, as you're cutting or deburring the PVC pipes, sharp shards of the material may be released, which could potentially puncture your skin.
For all of these reasons and more, it is essential to wear protective gear when cutting and gluing PVC pipes. Many of these are similar to the safety precautions you should take when working with Gorilla Glue. Choose an area with adequate ventilation and wear a respirator to prevent yourself from inhaling any chemical fumes. Wear nitrile work gloves — such as these from Wells Lamont — to protect your hands, but still ensure you have a full range of motion to accomplish some of the more intricate tasks necessary. It is also a good idea to wear goggles, like the DeWalt Anti-Fog Safety Goggles, to protect your eyes, as well as cover your skin by wearing long sleeves and long pants.
In addition to protecting yourself, you'll also want to protect the surfaces that you are working on. If you're working on, let's say, a PVC pipe hack to hang outdoor curtains or reusing old pipes in your backyard, and you spill any glue or primer, they will not be easy to remove and may cause permanent damage to your surfaces. Remember, many of these products are also dyed, so they could leave stains if they spill or drip.
