How To Remove Wall Decals With Little To No Wall Damage
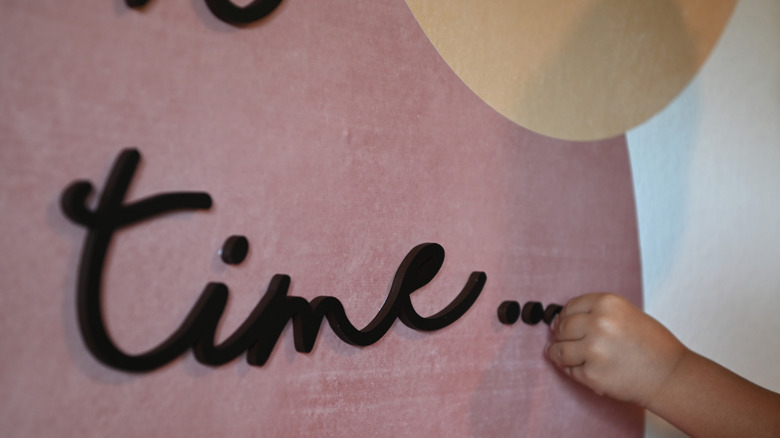
From large peel-and-stick wall murals to smaller decorative accents, wall decals transform your room without the messy pastes of wallpaper or the nail holes required for framed art. Decorative wall decals are usually made of durable vinyl and are designed to be removed easily, making them a suitable option for renters who can't paint or make permanent changes to the space. Just because they're designed to be removable, however, it doesn't mean that decals will always come off easily and smoothly. You may need to call on various tips and tricks to get rid of the decals and any residue they leave behind.
When choosing your removal method, it's important to consider the surface behind the decals. Eggshell and matte finishes are more likely to be damaged and can't hold up to as much cleaning to remove the decals as glossier finishes can. Using an aggressive method could do more damage than the stuck-on decal on any paint type. Scraping or scrubbing with abrasive tools may leave scratches and gouges in your drywall. Using excess moisture to loosen decal adhesive might cause the paint or drywall to bubble or peel. All of those situations leave you with repairs to make, which could range from touching up paint to patching damaged drywall.
The key to successful decal removal is gently releasing the adhesive so the paint doesn't come off of the wall with the decal. Heat is often an effective way to do that. You may also need to use WD-40, water, citrus cleaner, or other adhesive removers to get rid of any remaining glue and debris.
Use gentle heat to soften the adhesive
Some decals peel off easily without any residue or paint damage. If you chose a more aggressive adhesive type, you may need to heat the decal to loosen the glue before peeling it off the wall. Decals use different types of adhesive, some of which are stronger than others. One-time-use decals typically use sturdy adhesive to keep them in place indefinitely while re-positionable wall stickers use adhesive that can be easily removed and reused. While you want adhesive that's strong enough to prevent peel-and-stick decals from falling off your walls, you also don't want to cause damage to the paint.
A hairdryer with multiple heat settings is an ideal way to apply heat to the decal. Heat guns and steamers are also options, but be careful not to add too much heat or moisture to the wall as you could cause damage. Start with the lowest heat setting to avoid overheating the area, increasing to medium heat if necessary. You want to direct the heat at the decal for just long enough to make it feel warm when you touch it. Hold the hairdryer a few inches away from the wall. If it's a large decal, start at a corner and heat a small area, being careful not to overheat and make the adhesive too tacky to remove easily. Once the decal is warm, carefully peel it from the wall starting at the warm corner. You may need to heat each section as you go to continue softening the adhesive for easier removal.
Peel the decal carefully
The way you pull on the sticker can impact how easily it comes off and whether or not it does damage to the wall. It's usually easier to pull stickers off of textured walls with older paint than smooth, newly painted surfaces. Beginning at a corner helps you ease up the edge and have a good starting point. You might need to use your fingernail, a pair of tweezers, or a putty knife to lift the edge gently. Be careful not to dig into the drywall or paint with any tools you use.
One you ease the corner of the decal away from the wall, pull it at a sharp angle toward the center of the decal, but pull slowly. Continue pulling toward the center, keeping the lifted corner close to the wall. You're essentially doubling the decal back over itself for a slow, controlled peel. If you pull the decal straight out away from the wall at a 90-degree angle, it may be more likely to pull the paint up with it.
Going slow and steady may help you protect the wall and notice if a certain area is stuck on harder than other parts. Applying a little more heat to the area could release the adhesive enough to keep moving. You can also start at a different corner and work that direction for a while. Keep an eye on the paint behind the sticker as you pull to make sure the paint isn't pulling away or bubbling. If the paint pulls away, it may be a sign that you need to heat the adhesive longer.
Remove the adhesive residue
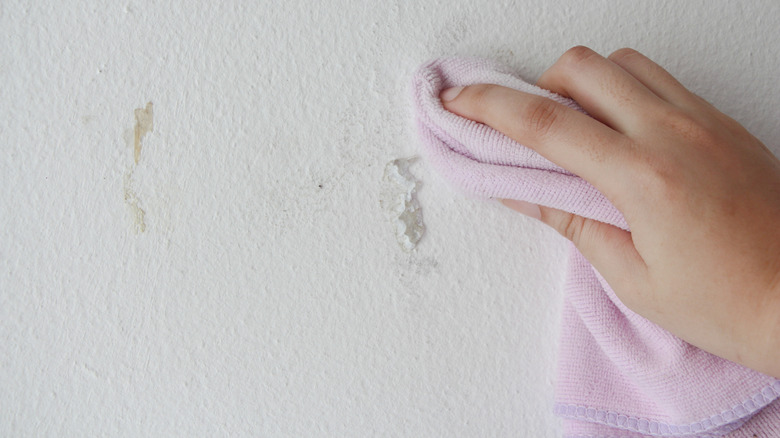
If you're lucky, all of the adhesive will come off of your wall along with the decal. However, you may see residue left that will attract dirt and make the wall look grungy. Be careful to avoid the mistakes everyone makes when cleaning painted walls, which includes ignoring the paint finish type. Flat, eggshell, and matte finishes aren't as easy to clean as semi-gloss or glossy paints. Limit moisture on less glossy finishes and avoid scrubbing them too much to prevent damage.
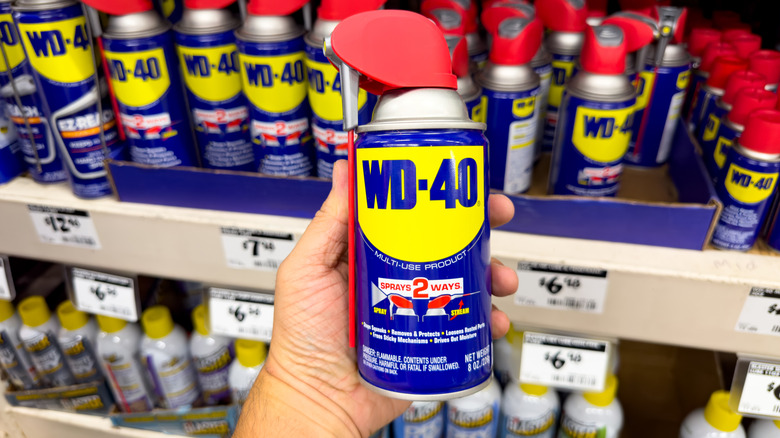
With those precautions in mind, starting with a soft sponge dampened with warm, soapy water may help ease up some of the residue. If that doesn't work, spray the adhesive remnants with WD-40 and give it a few minutes to loosen the glue. Using a soft cloth, rub at the sticker remnants gently. Apply more WD-40 if necessary to remove the rest of the adhesive. Citrus-based adhesive removers or cleaners may also safely remove the glue. Before trying any removal products, test them on the wall in a discreet area to make sure they don't cause any damage or leave behind stains.
After using residue removal products, use a damp cloth or sponge to wipe any remaining cleaner off the wall. This prevents marks or stains in those areas, and it also allows you to check for damage to the paint once the wall is clean. You may need to touch up paint if some areas were removed or damaged.


