How To DIY Install A Ceiling-Mounted Curtain Track For A Clean Luxury Look
We may receive a commission on purchases made from links.
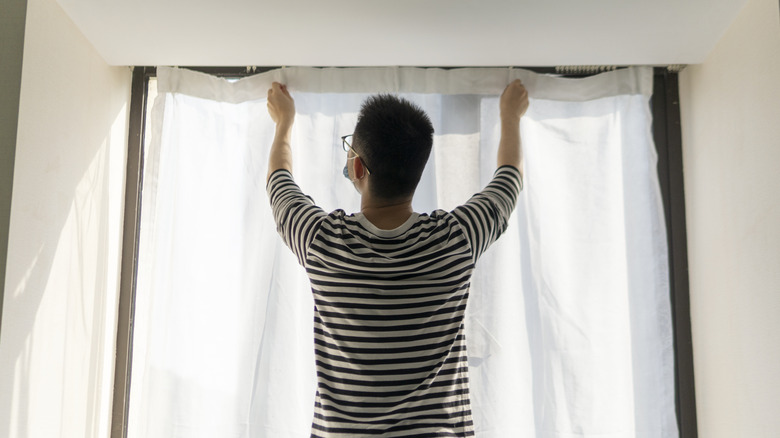
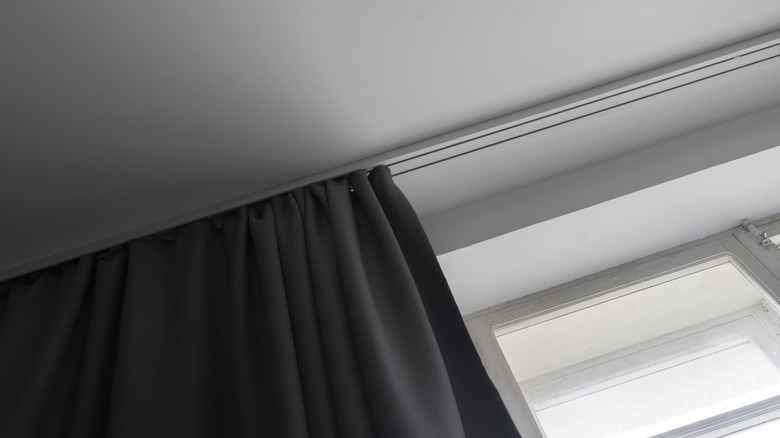
Thinking of switching up your curtains' look or installing an entirely new one? Now, we know wall-mounted rods are usually the first hanging option that comes to mind, but you'll be surprised how easy it is to install a ceiling-mounted curtain track yourself. All you'll need are regular tools you most likely already have on hand — a small screwdriver, cordless drill, steel measuring tape, and hammer will do the job. Other equipment like brackets, screws, and hooks should come in your ceiling track kit.
There are tons of ceiling track kits available online, both flexible and straight. This MaKefeile Ceiling Curtain Divider is a great option for a straight track. There are also 90-degree track connectors in case you want your curtains to make a bend. Additionally, a great way to make your curtains look more expensive is to consider flexible tracks that bend into different shapes. These are ideal for bay windows and room dividers. Some options include this highly-rated UrbanRed Flexible Ceiling Track, and the KXLife Flexible Ceiling Curtain Track.
Note that these flexible tracks come rolled in a coil making them difficult to straighten. It's best to get a straight track if you want to install a curtain for a linear window. Also, as a rule, your track should be at least 6 inches wider than your window. Always confirm the maximum weight the track can hold too, especially if you're hanging heavy curtains.
Installing your straight ceiling-mounted curtain
Depending on your space, use a hacksaw to cut your desired track length. Then, clip your brackets on the track by first measuring 4 inches in on both sides of the track before placing the brackets in even spaces of 24 inches from each other. Brackets must be as evenly spaced as possible to effectively distribute the curtain's weight. If your track has a joiner, you should put brackets on either side of the joint to ensure the area is sturdy.
The next thing to do is mark the positions where the brackets will be screwed into the ceiling. Brackets must be installed 2½ inches or more from the wall or any obstruction like a roller blind. This gives room for your curtains to drop smoothly without hindrance. Standing on a sturdy elevation and working from your left, mark the point on the wall where you want your track to begin. Measure 2½ inches out from that point on the ceiling and mark. This is where the left end of your track will start. From this point on the ceiling, mark 4 inches to the right to note the position of your first bracket. From that point, keep measuring 24 inches to the right and marking the points until you've highlighted all your bracket locations. Then measure 4 inches after the last bracket to indicate the right end of your track. It would be a good idea to use a laser level or chalk to ensure these ceiling points are in a straight line.
Final touches for your ceiling curtain installation
With a small screwdriver, make holes at the marked bracket points. Next, use a hammer to insert the provided screw anchors from your ceiling track kit into those holes. If you contact a ceiling batten while making any of the holes with your screwdriver, then that hole wouldn't need an anchor. Consider using a stud finder while making these holes to ensure accuracy and prevent any accidents.
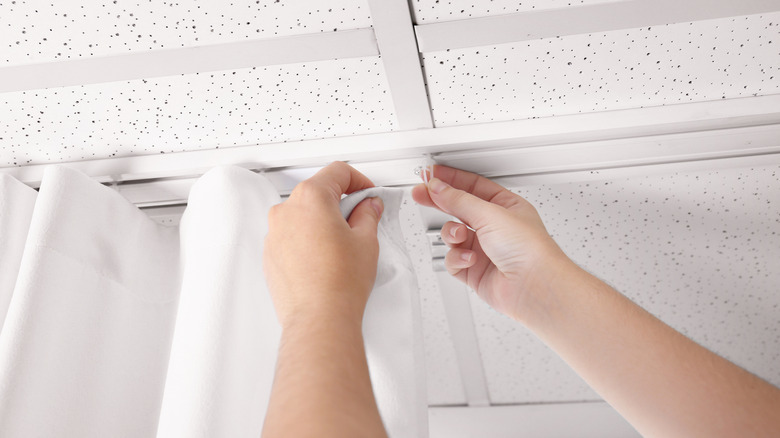
After inserting the anchors, remove the brackets from the unmounted track and drill them into the anchors. Don't screw them on too tightly so you have wiggle room to adjust your track left or right after you clip it. Now, depending on the design, screw or attach your track end-stop on the right end of your track to keep the rollers from falling off. Glide the provided track rollers into the track from the left then install the left track end-stop last. Now clip the track to the brackets on your ceiling. When you're satisfied with the position of your track, tighten the screws to secure the brackets. Click on the bracket cover caps to hide the brackets neatly.
Finally, it's time to put up your the curtain you chose for your space. Ensure you're wearing clean gloves so you don't stain your drapes. Starting from the left to right, hang your curtains on the track runners, ensuring not to miss any. Depending on the hanging style you purchased, you could either clip the curtains to the runners, hook them into the runner eyelets, or insert the runner hooks into the curtain grommets.
Installing double and curved curtains on ceiling-mounted tracks
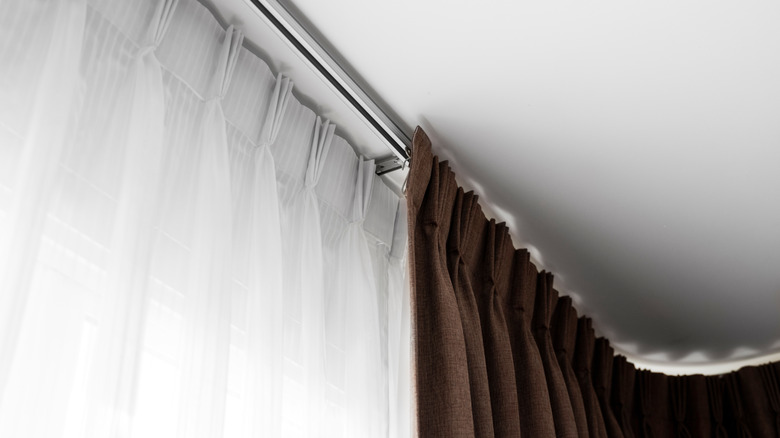
For mounting two curtains on ceiling tracks, you can choose between the face-fix or top-fix options. With top-fix, you're essentially installing two parallel ceiling tracks on their individual brackets. Hence, it will be the procedure above but done twice. For the face-fix option, it's the same steps too but with a double curtain bracket. They are sturdier and longer brackets with slots for clipping two different tracks. They are usually expandable so you can adjust the distance between your two curtains. Since these brackets will be holding the weight of two drapes, a good curtain design tip would be to install them on studs.
For curved ceiling tracks, you'll need to first shape your track into the design you wish. If you need to straighten the coiled flexible track at some points, some manufacturers suggest you use weights overnight or heat (a hair dryer on a low setting would work) to bend the creases. Some straight PVC tracks are flexible enough to bend slightly to fit your bay windows. Simply use your thigh or the arm of a chair to achieve a smooth curve that fits the curve on your window. When you've shaped the track to your desired look, you'll need to hold it up to the ceiling to mark where your brackets will be placed, following the 24-inch rule. You might need help with this step. After this, install your anchors and the rest of the curved curtain just as you would a straight one.


