How You Can Skip The Grout And Still Keep The Charm Of A DIY Zellige Tile Backsplash
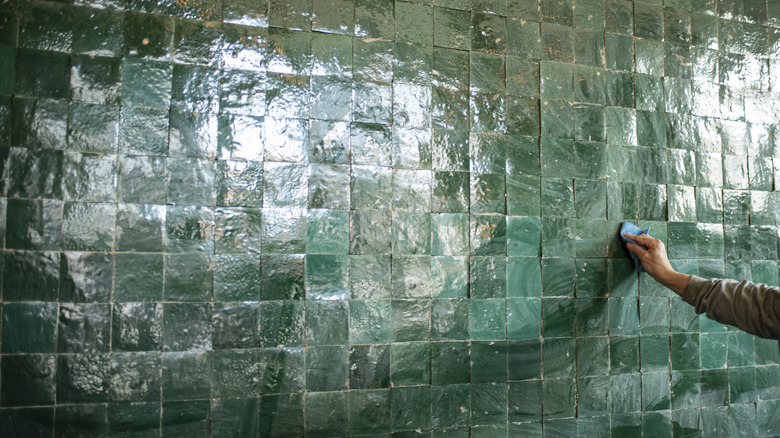
The handmade look of zellige tile is on trend right now, thanks in part to the perfectly imperfect look it lends to any room. Real zellige tiles are handmade in Morocco, and you are supposed to install them as close to each other as possible so that the grout lines are nearly invisible. But if that's the case, why not forego the grout all together?
It turns out you can ditch the grout with these tiles — at least when you're using them as a backsplash. Not only will it cut down on the work needed to put in the tile but it will help you avoid a common mistake when it comes to installing the backsplash: choosing the wrong grout color.
Installing zellige tiles is just like any other tile, except for one thing: you won't need spacers. The idea is to first apply tile adhesive then butt the tiles up next to each other as close as possible — and don't worry about being perfect. The handmade look of these tiles masks many small mistakes. However, if you are not using grout, there is one step you absolutely cannot skip.
Don't forget the caulk
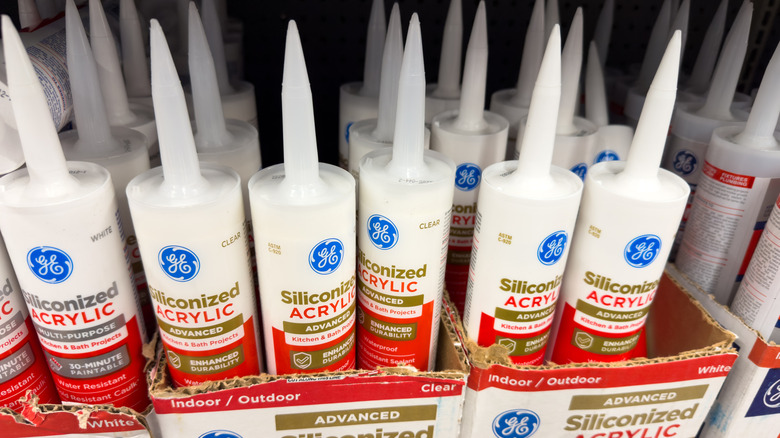
It may go without saying, but just in case, let's say it explicitly: We usually install backsplashes in places that get wet. Whether it's a kitchen or a bathroom, your tile is likely to get splashed from time to time, but the most vulnerable place to moisture infiltration is where the tile meets your counter. It's extremely important to caulk this area to prevent water damage and mold, providing extra protection for your wall and cabinets. You will want to find the perfect caulk for the job, and when water is involved, silicone will likely be your best choice.
If you are still skeptical about a groutless backsplash, you can always choose to use grout — or you can opt for another tile. Check out these ideas for tile that can help revamp your space — the choices are endless, ensuring there is something for everyone.

