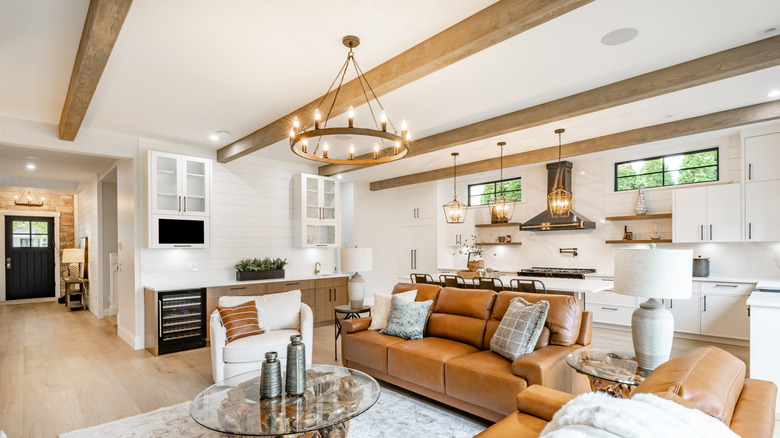
Hide Unsightly Electrical Wires With An Easy DIY Faux Wooden Beam
Just as interior design trends tend to evolve over time, so does the way we live in our spaces. Up until the 1950s, the floor plan in most homes consisted of a main hallway leading to separate rooms with individual purposes. Over time, however, open-concept floor plans became trendy, with most homeowners preferring multi-purpose rooms with open sight lines. As such, many people who renovate older homes opt to knock down walls. While this does wonders to open a space up, sometimes the electrical wires that were concealed where the wall and ceiling meet are left exposed. Rather than paying an electrician to reroute the wires, which can be a costly expense, an easier and much cheaper solution is to cover the ceiling wires with a faux wooden beam.
While there are many faux wood beam options available to purchase in stores, most of them tend to cost upwards of $150 each. Therefore, an even better solution is to save money by making your own faux wooden beam out of foam insulation, which costs under $11 per sheet. It may sound like an intimidating DIY project, but really, it's as simple as cutting and gluing three pieces of foam together and creating a faux wood finish with paint and stain. Then, you simply attach small mounting blocks to the ceiling joists, attach the beam to the mounting blocks, and voila! You have a beautiful "wood" beam that adds a touch of rustic-inspired décor to your home and conceals the ugly wires.
Tips for making a faux wood beam that looks real
To build a faux beam, you'll need a ½-inch thick foam insulation board from Lowe's or another home improvement store, which typically comes in sheets that are 4-feet by 8-feet. Cut three pieces of foam to the desired size of your beams (or have it cut for free at the hardware store). Place the boards together in a U-shape to form a hollow beam, and glue them together with a construction adhesive like Liquid Nails. Clamp the boards together or place heavy items to keep the boards pressed together while the glue dries. Once dry, apply joint compound along the seams where the boards come together, and allow it to dry. Sand down any raised spots until you get a seamless surface.
Now it's time to customize your beam. First, create grooves in the foam by running a wire brush across the entire surface. This creates a texture that looks like wood. If you're going for a modern look, you can leave it as is. However, if you want to create the rustic look of a centuries-old beam, use a screw driver or awl to bang holes and create dents randomly across the surface. Next, apply at least two coats of any light beige paint and let it dry. Then, use a dry brush to apply a wood stain in your desired color, allowing it to absorb unevenly for an authentic look. Love the coastal luxe home décor trend? Once the stain dries, apply a coat of white wax to create a beautiful whitewashed effect.
