How To DIY A Bathroom Mirror With Storage Without Cutting Into The Wall
We may receive a commission on purchases made from links.
Creating a stylish, functional mirror with built-in storage is an excellent DIY project that can transform your bathroom without requiring any invasive wall modifications. This guide combines insights and techniques from expert woodworkers such as Ben from Lion & Bear Woodworking and Neil Paskin from Pask Mates. All you'll need are some basic woodworking tools that every homeowner should have, materials from your local DIY store, and a bit of patience.
First, you need materials. Start with a high-quality hardwood for a natural, elegant finish. Choose boards that are 144 millimeters wide by 18 millimeters thick, and inspect them carefully for cracks, knots, or sap, as these imperfections can weaken the structure or interfere with the finish. Lightly sand the boards to ensure precision, using a drum sander or fine-grit hand sanding if specialized tools aren't available. Once ready, cut three long pieces and four shorter ones for the cabinet's frame, rails, and internal shelves.
For accuracy, set a stop block on your miter saw to ensure consistent lengths. Thin strips cut from these boards will form the frame's rails and stiles — two long and two short for the door, plus wider pieces for the sides, top, bottom, and shelves. Use a router table to add grooves along the frame edges for a snug back panel fit. Without advanced tools, smooth grooves manually with a chisel, testing with a scrap piece for accuracy. For the door, create a recess with the router to securely hold the mirror. Assemble the frame using pocket hole joinery for a sturdy, professional finish.
Assembling the frame and back panel
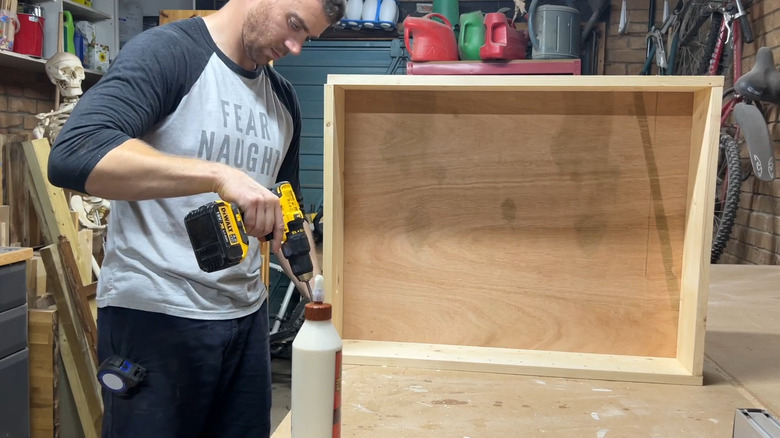
With your pieces cut, it's time to assemble the frame. Pocket hole joinery is ideal for creating a sturdy cabinet without visible screws, ensuring a clean and professional appearance. Drill pocket holes into the top and bottom panels, and for added strength, splines can be used to reinforce the side joints. If you're aiming for precision, a Kreg Pocket-Hole Jig 720Pro or similar tool simplifies this process, while splines offer a handcrafted touch. For grooves that hold the back panel, double-check their depth and width using scrap pieces before securing the plywood. This prevents any misalignment later.
Installing shelves requires accuracy, particularly if you're drilling holes for adjustable shelf pins. While pillar drills provide straight, consistent holes, not everyone has access to one. A shelf pin jig offers a cost-effective and easy-to-use alternative, ensuring that holes remain level and properly spaced. For added convenience, create a square jig from scrap wood and use it as a router guide to cut dado joints for fixed shelves. This simple setup is highly effective and eliminates the need for costly specialty tools.
Once the frame is ready, cut and test-fit the back panel. Lightweight plywood is an excellent choice for this component, but if you want a polished look, consider adding laminate or a painted finish. Laminate provides durability and a professional appearance and can be applied using contact adhesive. Alternatively, pearlescent or water-based paint can add a unique touch without sacrificing moisture resistance.
Installing the mirror, hinges, and hanging the cabinet
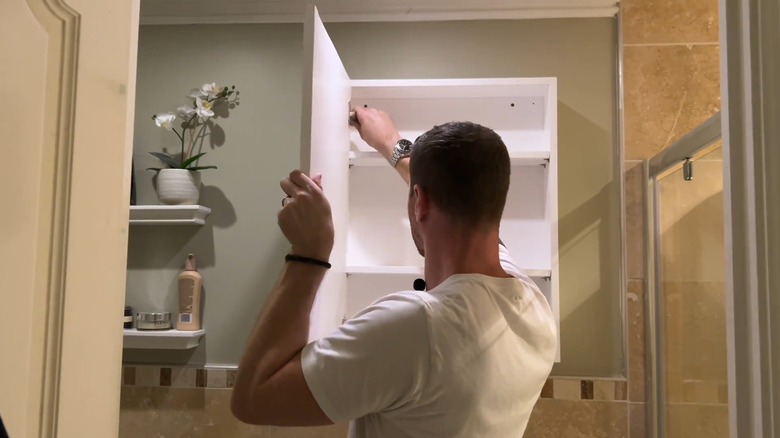
With the frame and back panel ready, move on to preparing the door frame to hold the mirror. Test fit the mirror to ensure it fits within the rebate on the door frame, and make adjustments if necessary. If you're adding an outlet inside for charging essentials, cut openings in the shelves and back panel beforehand. Adjust your shelf spacing for versatility, leaving larger gaps at the bottom for taller items. Install concealed soft-close hinges for a sleek finish. Use a hinge jig for accurate placement, making small adjustments for perfect alignment.
For hanging, a French cleat system provides strength and adjustability. Cut two matching wooden pieces at a 45-degree angle, and attach one to the wall and the other to the cabinet. This allows the cabinet to slide securely into place. Use a diamond drill bit for tile, and screw the cleat into wall studs for stability.
For the finishing touches, sand down the cabinet and apply water-based, moisture-resistant latex paint, which is the best type of paint for a bathroom. Attach the mirror to the door frame with a waterproof adhesive, pressing it firmly in place and allowing it to set before handling. Finally, secure the cabinet to the wall by screwing the cleat and wall mount tightly, preventing the unit from shifting. This is a great bathroom cabinet that will add storage and declutter your countertops without requiring you to cut into your wall.


