How To Make Wood Look Like Metal For All Of Your DIY Projects
We may receive a commission on purchases made from links.
Whether you're assembling a decor piece, installing a shelf, or refurbishing your wooden furniture, getting the material's texture just right is essential to creating an elegant aesthetic. Standard brown wood finishes can often look nice for these kinds of projects, but sometimes they're just a bit too plain or uninspiring. To modernize your next DIY project and give the completed product some serious wow factor, you might want to try making your wood look more like steel or aluminium. Though this might sound like a difficult trick to pull off, it's actually quite easy and inexpensive. Soon you'll be able to create custom pieces with a metallic veneer without having to worry about any welding.
Katie Bower and her husband Jeremy Bower shared a fantastic tutorial on their YouTube channel that shows you exactly how to make your basic wood components look more like metal. In the video, Katie and Jeremy demonstrate how to use Rust-Oleum metallic paints, sandpaper, and a dash of wood stain to give a pair of 2-by-2 boards an elegant appearance that looks just like finished steel. Pair this simple method with a few smart DIY decor ideas to upgrade your home, and you'll have an elegant, eye-catching display that enhances the design of your entire space.
Giving your wood materials an exciting metal finish
Whether you're going to stylize the surface of an old furnishing, building something totally new, or even upgrade your wood trim with a metallic appearance, you'll need to begin by sanding down your surfaces. Fandeli multi-purpose sanding paper sheets are a great choice for a smaller project, but if you need to cover a large surface area, you might want to use a palm sander or an orbital sander to save time. To make the wood look convincingly like metal, work from a larger grit to finer grit until it's as smooth as possible. Once you're done sanding, clean the surface of the wood with a brush or a vacuum to make sure the residual dust won't mix with your paint.
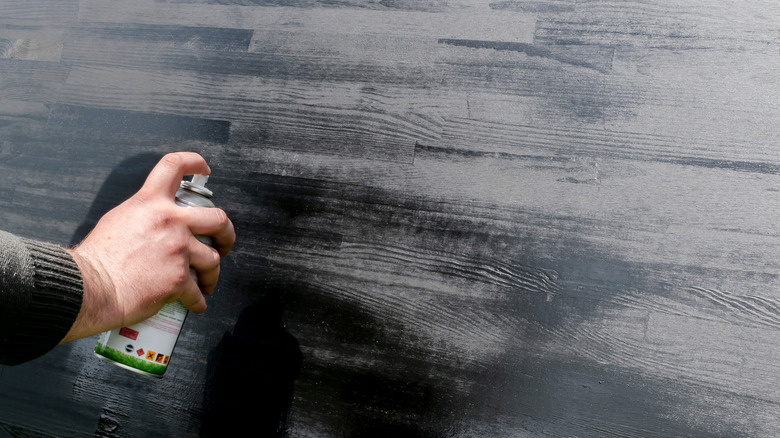
Though Katie and Jeremy Bower mention that you don't have to prime your wood, you may want to anyway, especially if you're not working with the same basic plywood that they are. Primer can help prevent color bleed and help cover up the grain. Next up, apply a generous coat of Rust-Oleum metallic silver spray paint. This brand also carries products that create a bronze, copper, or gold finish, so you can easily find one that matches your project. After allowing the paint to dry, lightly brush on a coat of Varathane fast dry wood stain in the shade "Kona" to give the metallic wood a more aged, authentic appearance. This is a great way to revitalize old wooden chairs or bar stools, but can also modernize smaller decor pieces, such as your bookends and picture frames.
Altering the appearance of your wood's metallic finish
If a shiny metal finish isn't quite what you're looking for, there are a few ways to transform or reimagine this painting project. If you want a darker metal color, follow all of the steps above, but then continue layering on the wood stain until it reaches the desired appearance. You could also use an alternative painting trick shared by creator Rachel De Barros on YouTube, which begins with gently sanding the surface and then applying three coats of black spray paint. Following this, you'll need to use two layers of your silver spray paint, and wait for the wood to dry. Then, sand down the surface again to give it either a burnished or scratched appearance, depending on the grit you use.
In place of the silver spray paint used in Rachel's method, you could even opt for wrought iron paint instead. This color creates a much darker vibe that might be a great choice for surfaces such as the bannisters and spindles on your staircase. If you'd like to give your smaller wooden decor pieces a rusted metal look, consider sprinkling a touch of cinnamon over the project while the paint is still drying. This is a great trick for giving your space more vintage appeal.

