Mistakes To Avoid When Painting A Wall With A Textured Roller
Painting a wall with a textured roller can make a room look fabulous if it's done correctly. If you're not careful, though, you might fall into some common traps that can ruin your project. These mistakes include improper preparation, using the wrong materials, and applying uneven coats. These blunders are easy to avoid, though, and it all starts with properly preparing your wall.
First, make sure the surface is clean. Dirt and dust can create imperfections in your new coat, causing the texture to appear uneven. Use a damp cloth to wipe the surface, and don't forget to fill in any cracks or holes. You want the wall to be smooth and even so that your textured roller can do its job properly.
Next, you'll need to protect your floors and furniture. Even with a textured roller, paint can splatter, and you don't want to spend hours scrubbing paint stains. Lay down drop cloths and cover any nearby items with plastic. This way, you can focus on your work instead of worrying about accidental spills. The final part of preparation is applying primer for painting over the existing paint. Primer creates a base for the new paint, allowing it to adhere better and making your textured pattern more noticeable. Without primer, the texture could be uneven, leaving you with a splotchy, unfinished look. It's a small step, but it makes a huge difference.
Don't use the wrong materials when painting your wall
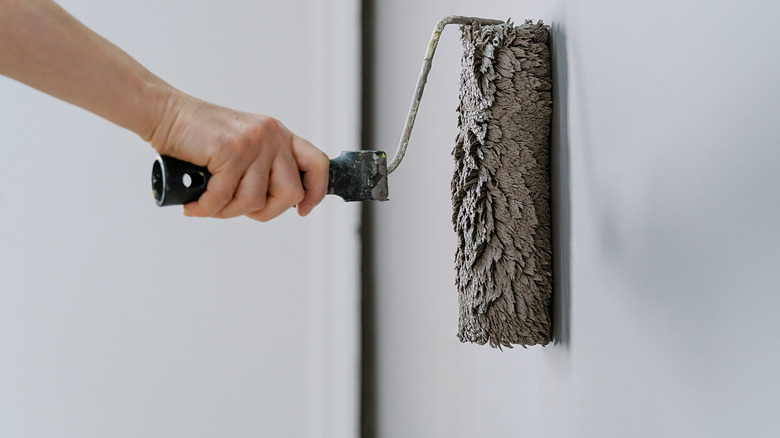
Using the wrong materials is another surefire way to ruin your textured wall. Imagine trying to make a fancy soufflé with a frying pan — it's just not going to work. The same concept applies to textured rollers. A regular paint roller won't give you that beautiful, raised effect. You need a textured roller designed for the job. These special rollers have grooves or patterns perfect for creating the desired texture on your wall.
In addition to using the right roller, make sure your paint is the right consistency for your project. Thin or watery paint will make it hard to get the desired effect. Choose a thicker paint that can hold its shape when applied with your chosen roller. Some paints are even designed specifically for these finishes, so look for paints labeled "high-build" or "textured paint" if you want the best result.
Also, don't skimp on the roller sleeve. Choose a high-quality sleeve designed for textured painting. A cheap roller sleeve can shed fibers, leaving the lint in your paint or creating an uneven pattern. Other tools you'll need to ensure a smooth and professional-looking finish include a sturdy paint tray, an extension pole for hard-to-reach areas, and painter's tape to protect edges.
Use even coats of paint to get the perfect texture
Applying uneven coats of paint might seem like an innocent error, but it's one that will leave you with a bumpy finish. The beauty of using a textured roller is that it leaves a nice, uniform pattern on the wall. However, if you apply too much paint in some areas and too little in others, the pattern will be inconsistent, and you'll end up with a patchy, blotchy look far from the smooth, textured wall you envisioned.
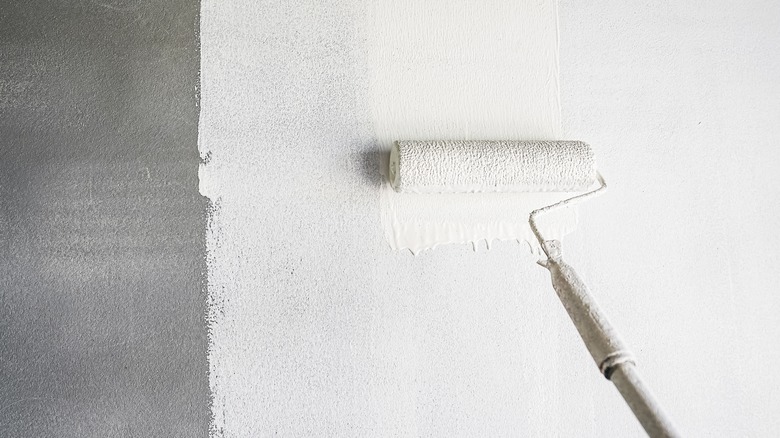
To avoid this, roll the paint evenly across the surface. Start with a small section, and apply the paint with long, even strokes. Keep a steady hand and avoid pressing too hard on the roller — this can cause uneven paint application and disturb the texture. It's also a good idea to overlap your strokes slightly to ensure complete coverage.
Finally, remember that the best way to paint a wall with rollers is to apply multiple thin coats rather than one thick coat. Thick coats might look great at first, but they will take longer to dry and may leave unwanted streaks or imperfections. A few light coats will give you a cleaner, smoother finish that lets the texture shine through. Patience is key, so take your time, and you'll be rewarded with a beautiful textured wall that looks professional and polished.


