Don't Make These Mistakes When Installing Linoleum Flooring
Thinking about installing linoleum flooring? Good for you! Whether you're redoing your kitchen, bathroom, or even your laundry room, linoleum is a solid choice. It's easy to clean and can withstand years of wear and tear. But before you roll out the linoleum and grab your tools, you should know a few things. While the process might look straightforward, even a tiny misstep can lead to big headaches down the line.
So, what is linoleum flooring and why is it so popular? First, it's eco-friendly. Made from natural materials like linseed oil and cork dust, it's a greener option than synthetic floorings. Second, it comes in many styles and colors, and you'll feel like a kid in a candy store. Want a retro checkerboard look? Done. Need a sleek, modern vibe? Linoleum's got your back. Plus, it's softer underfoot than tile or hardwood, so your feet will thank you.
But, like all good things in life, linoleum flooring requires some effort. You can't just wing it and hope for the best. That's how you end up with uneven surfaces and a final product that looks more like a rollercoaster track than a floor. The biggest issue with linoleum isn't the material itself but how it's installed. Installation seems easy — just roll it out, stick it down, and ta-da! But in reality, many pitfalls are waiting to trip you up. Mistakes like cutting it incorrectly, using the wrong adhesive, skipping subfloor preparation, not allowing it to acclimate, and failing to follow the manufacturer's instructions can turn your project into a flooring fiasco.
Cutting linoleum incorrectly
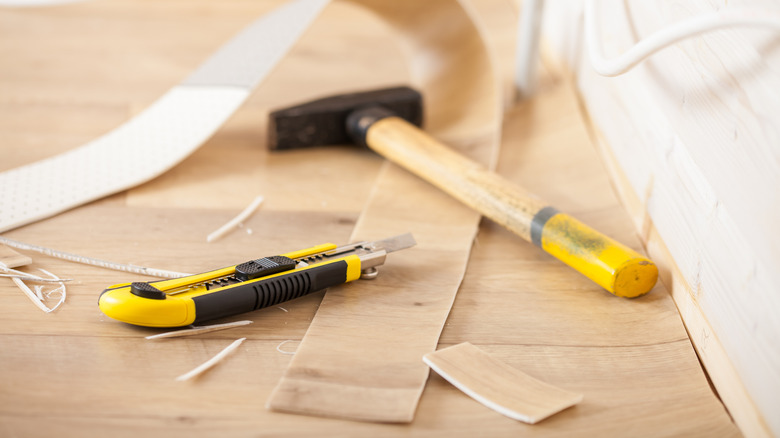
Cutting linoleum may sound easy — just grab a utility knife and start slicing, right? Wrong. Cutting linoleum incorrectly can ruin your project before you've even started. The problem is that linoleum isn't as forgiving as you might think. Once installed, a crooked cut or uneven edge will stand out like a sore thumb. Another common error is cutting the linoleum too short. Linoleum should fit snugly against the walls, but if you cut too much, you'll end up with unsightly gaps.
When cutting linoleum, ensure you measure, measure, and then measure again. Use a straightedge to ensure your cuts are straight and precise. Also, ensure you use a sharp blade. A dull knife won't give you a clean cut and might even tear the linoleum. And remember, if you're working around tricky areas like corners or vents, take your time and plan your cuts carefully. Rushing here will only lead to regret. Finally, practice with a scrap piece of linoleum before making your first cut. It might feel like overkill, but getting a feel for the material will save you from costly mistakes.
Using the wrong adhesive
If you're tempted to use whatever adhesive you have in your garage, stop there. Not all adhesives are created equal, and using the wrong one can result in poor bonding, bubbles, and even peeling over time. The first step to avoiding this mistake is to read the manufacturer's instructions. These will tell you exactly what type of adhesive to use and how to apply it.
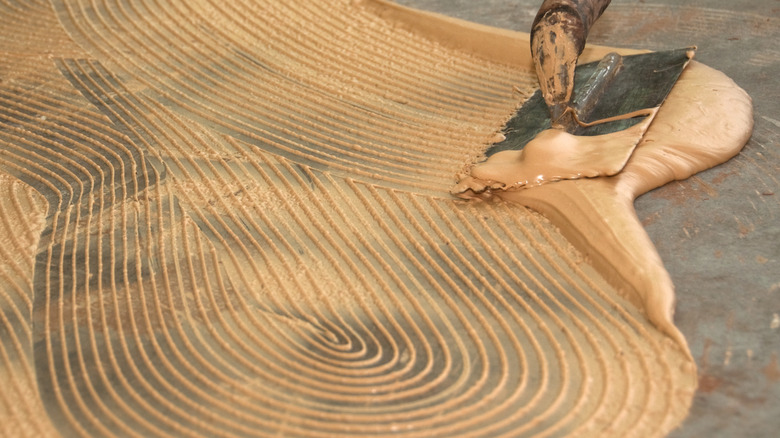
Another common mistake is applying too much or too little adhesive. Too much adhesive can cause it to ooze out from under the linoleum, creating a sticky mess. Too little adhesive, on the other hand, will not provide enough bonding power, leading to bubbles or peeling. The key is to apply an even layer and spread it over the surface with a spatula, making sure there aren't any puddles or bare spots.
Finally, make sure the adhesive is compatible with the subfloor material. Some adhesives work better on wood, while others are designed for concrete or other surfaces. Using the wrong type can weaken the bond and shorten the lifespan of your flooring.
Skipping subfloor preparation
The subfloor is the foundation for your linoleum. If it's not prepared correctly, you're basically building on quicksand. Skipping subfloor preparation can lead to uneven surfaces, bumps, or even cracks in your linoleum. And once it's installed, there's no easy fix for these issues.
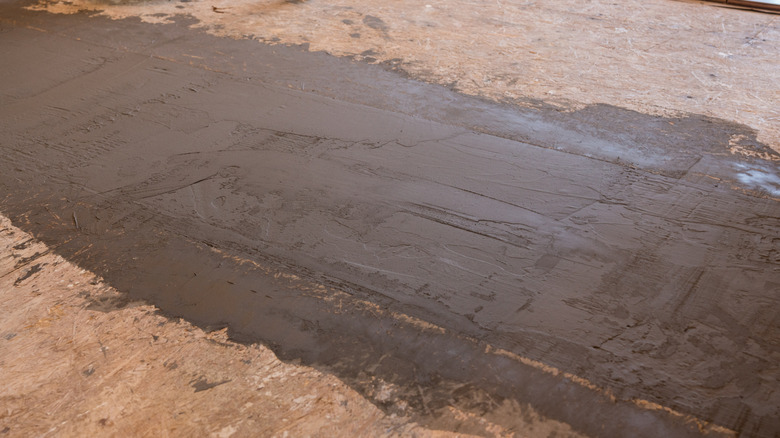
Just like preparing your subfloor for laying tile, the first step is to clean the surface thoroughly. Dust, dirt, and debris might not seem like a big deal, but they can prevent the adhesive from bonding properly. Before you get started, use a vacuum or broom to remove every last speck of dirt. Next, check the subfloor for damage or uneven spots. Cracks, holes, or bumps must be repaired before laying the linoleum. Use a leveling compound to smooth out imperfections, and let it dry completely before proceeding to the next step. This is also a good time to sand the surface if it's not completely smooth.
Finally, make sure the subfloor is dry. Moisture is the enemy of linoleum, and even a small amount can cause the adhesive to fail. If you're working in a high-moisture area like a bathroom, consider using a vapor barrier during your flooring installation.
Not allowing linoleum to acclimate
Linoleum is sensitive to changes in temperature and humidity, and if it doesn't have time to adjust, it can cause major problems down the line. The linoleum could expand, shrink, or warp once installed, making it look uneven and possibly ruin the entire project. Even worse, you could end up with gaps between tiles or curling edges that are not only a visual nuisance but also a safety hazard. The material can react poorly to sudden environmental changes, so leaving it to acclimate for a full 24 hours in the room where it will be installed is recommended.
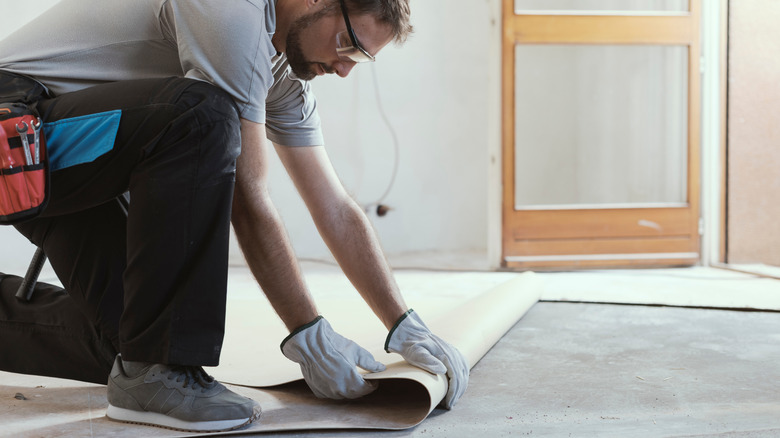
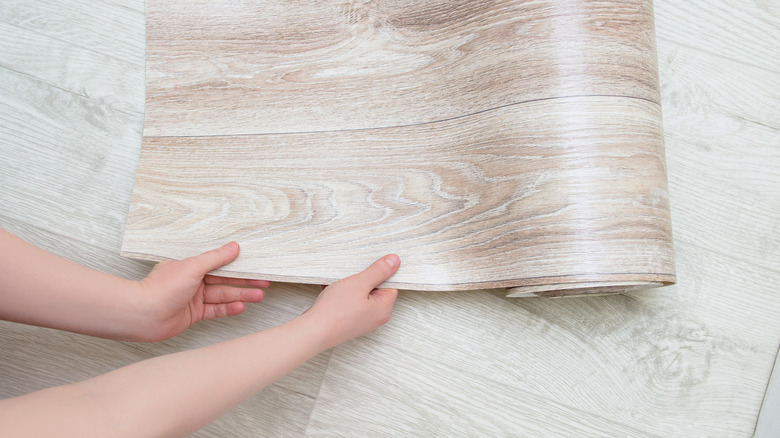
Lay the linoleum flat in the installation room to begin the acclimation process. Don't unroll it right away. If your room has extreme temperature swings or fluctuating humidity levels, you might want to leave it for a little longer. The idea is to let the linoleum "learn" the room's climate and adapt accordingly. This way, by the time you're ready to cut it to size and start installing, you won't be left with any surprises or issues with your measurements.
Ignoring manufacturer instructions
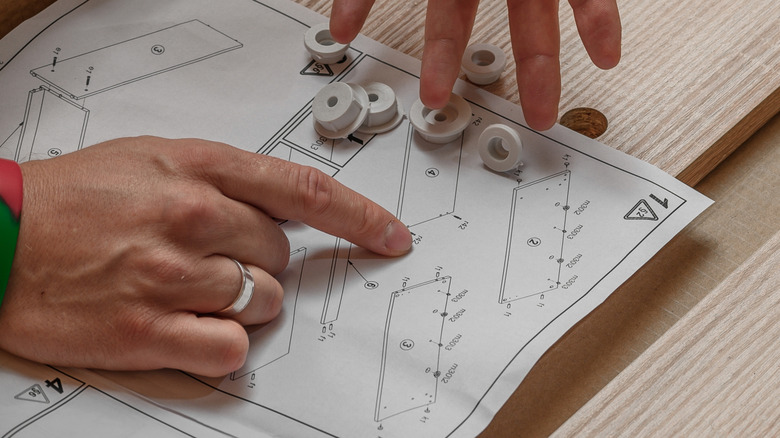
Ignoring the manufacturer's instructions might feel like an easy way to speed up your linoleum installation, but it's a shortcut that will only lead to trouble. Every type of linoleum has specific guidelines that must be followed to achieve the best results. These instructions include essential details like preparing the subfloor, which adhesive to use, and how to handle the material during installation. By ignoring these directions, you're guessing your way through the process, and we know how that typically ends — usually in frustration and wasted time. Before you dive in, take a few minutes to carefully read through the manufacturer's instructions.
In addition to helping you achieve the best results, manufacturer instructions are crucial for ensuring your warranty stays intact. When you install linoleum, you're not just purchasing a product — you're also entering into a kind of agreement with the manufacturer. That means following their specific installation guidelines is part of honoring that agreement. If you skip important steps or use the wrong materials, you could risk voiding your warranty and losing your chance of getting a refund if you face any issues down the line.
