The Major Problem With Changing A Ryobi Weed Wacker Pull String
Picture this — you're ready to get into some extensive trimming work around your yard and take your Ryobi weed wacker out of the tool shed. You check that it's got enough gas, don your protective gear, and get ready to commence your tasks. But as you pull the rope to start your trimmer, your string snaps, and that puts a stop to all your good intentions. You then have to figure out how to replace the pull string, and that's where you'll come across a major problem. You see, to actually exchange the string for a new one, you're going to have to disassemble the entire unit to get to the starter assembly and put in a new rope. It's certainly not as easy as restringing your Ryobi weed eater.
If you're reasonably mechanically minded and used to doing repairs yourself, you can attempt this by carefully following the steps in a YouTube tutorial. But if this all sounds like a lot of work or you're not comfortable with pulling apart your powered tools, it might be best to take your trimmer to a mower repair place where it can be done for you. This will save you time and ensure the job is completed correctly. After all, you're probably aware of the signs your lawn mower needs to go to a professional for repairs, so taking your weed eater to the same place shouldn't be a problem.
Why changing the starter rope in your Ryobi trimmer is so difficult
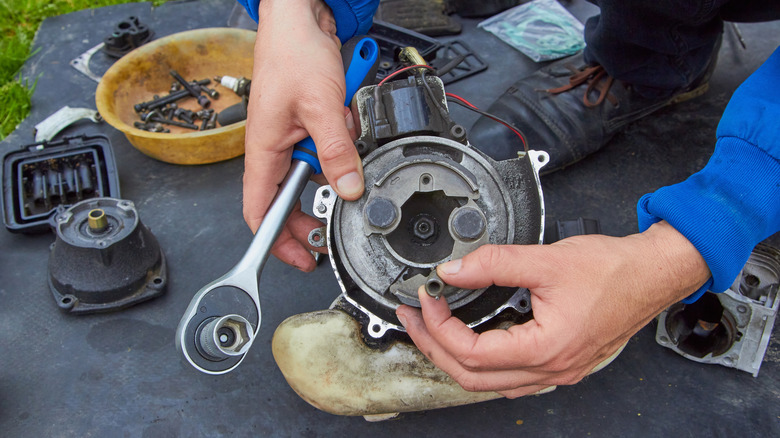
In order to replace the pull string in your trimmer, you have to get to the recoil starter. While the entire starter assembly is available as a spare part, it's encased right in the middle of the engine housing. This means you have to pull apart everything if you want to attempt this repair on your own. This onerous task consists of removing the cover, taking out the carburetor, disconnecting the clutch housing, binding the piston, removing the clutch drum and clutch, and finally, you can access the starter assembly.
But that's not all! Once you get to the assembly, you'll have to remove the starter handle and release the tension on the spring. Then, it's necessary to remove the recoil pulley so that you can replace the pull string. Of course, once all this is done, you'll have to begin the reassembly in the reverse order, making sure you put everything back correctly. Be prepared for the entire job to take close to an hour and that's if you're mechanically apt. So, essentially, while you could try and do this repair yourself or pay a professional to do it for you, at the end of the day, it might just be more economical to get a new trimmer. After all, the standard warranty on most Ryobi gas-powered tools is only two years. You might even consider a cordless battery-powered Ryobi tool that can help whip your lawn and garden into shape.
