How To DIY Heavy-Duty Garage Storage Shelves That Are Built To Last
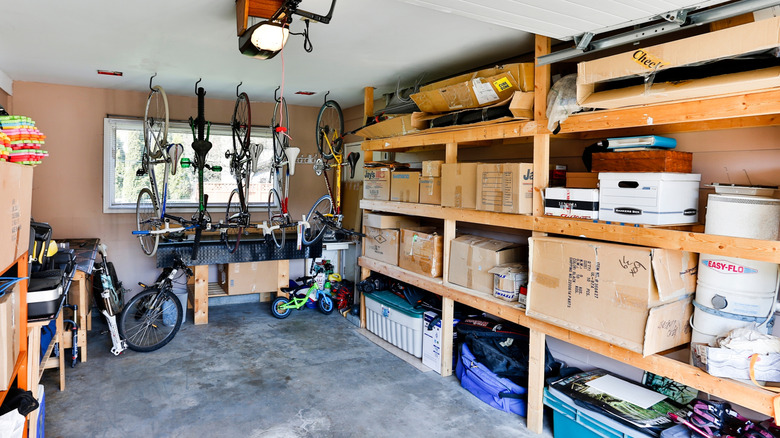
If you want to build a hanging bike rack or organize your garden tools, there are lots of garage storage ideas that can inspire you. While clever hacks are great, sometimes all you need is some sturdy shelving. Store-bought steel units are one option, but their cost and the potential for rust mean that you may want to think twice before putting metal shelves in your garage. It's actually pretty straightforward to DIY heavy-duty garage storage shelves. It will probably save you money, and you can build them at the perfect size for your space.
You'll need some 2x4 lumber and either OSB or plywood sheet material. You can normally find both at your local big box or hardware store. Plywood may look smarter, but OSB is usually cheaper. You'll want a cordless drill, and while you could use a hand saw, a power tool will make life easier. You'll also want a hammer, some small nails — or a nail gun, if you own one — and some wood glue. These shelves will be very strong but also heavy once complete, so it's a good idea to have a friend help with assembly .
Plan your storage shelving carefully
You don't need a detailed drawing, but you will need to decide on the overall size of the shelf unit and the number of shelves you want. Although it's equally easy to custom-build them to a particular length, you might want to consider the best use of your lumber. For example, standard 2x4s are eight feet long, so making the shelves six feet by two feet would be economical.
Don't rush the design step. Marking outlines on the floor and wall with chalk can help visualize the finished unit, and they're easy to erase if you want to change something. Although you're probably keen to get on with the job, it's sometimes a good idea to leave the sketch overnight and take a second look the next day. You might also want to take into account the size of any storage bins that you intend to place on the shelves. If you're doing a complete garage makeover, now is a good time to consider other DIY projects that will maximize your storage space and how best to combine them with your shelving.
Putting the heavy-duty garage storage together
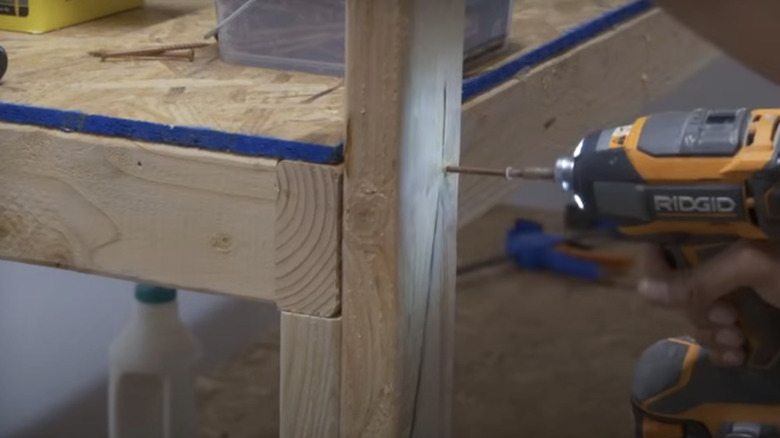
The above video from YouTuber 40 Figs explains the process, but basically, the shelves are constructed as simple boxes with the 2x4 boards glued and screwed together and braces at ⅓ and ⅔ the length. The sheet material is then glued and nailed to the top, which increases rigidity. This structure is strong, so there's no need for corner brackets.
Uprights are also cut from the 2x4 boards, with spacers screwed to them to position and support the shelves. For clarification, check out the part of the video on "building the legs." You'll then screw the shelves and uprights together. This is where a friend comes in handy. It's also a good idea to do the final assembly near where the shelves will be installed because there will be quite a lot of weight to move around.
The finished garage shelves will be stronger than many store-bought options and will likely have cost less. They will not only provide heavy-duty storage but are built to last. That will be a bonus if you consider moving in the future — having efficient garage storage can affect your home's resale value.


