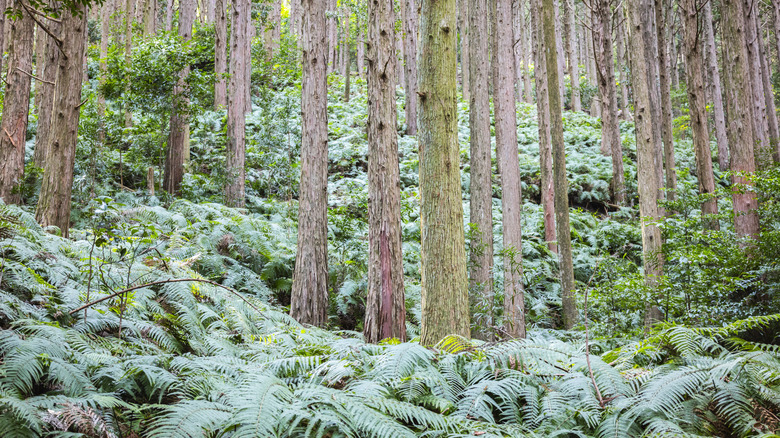
Garden Mistakes To Avoid Making When Using Ferns As Ground Cover
We may receive a commission on purchases made from links.
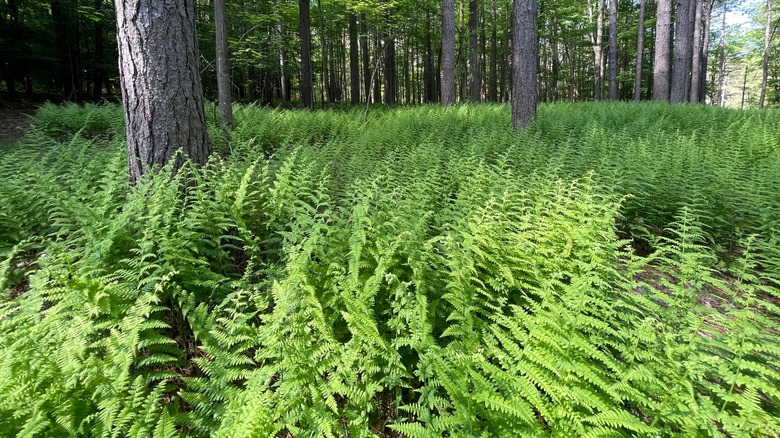
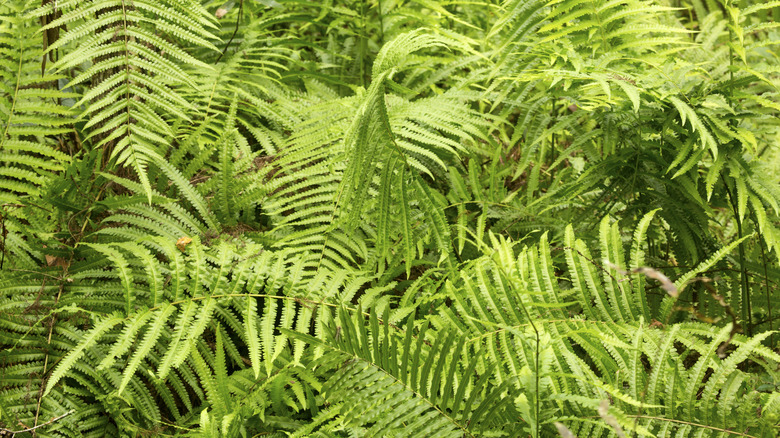
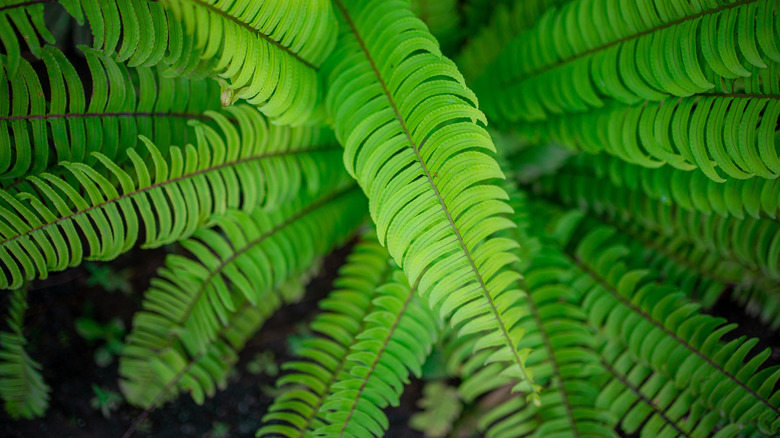
Want a no-fuss ground cover that works in those weird, dark parts of your garden? Or maybe you want to give your garden that fairy glen aesthetic. Ferns are the perfect species for the job. These ancient plants make a beautiful ground cover that's unique and perfect for mass plantings in low light, kind-of-wet areas. However, despite being relatively low maintenance and hardy enough to stay strong for millions of years, there's a limit to their tolerance, and many gardeners end up with sad, fried fern fronds when all they needed was a slight tweak to stay happy.
That's why we're breaking down the most common mistakes we've seen gardeners make when using ferns as ground covers. We'll discuss what makes each mistake so detrimental to ferns and how you can either avoid it or fix the problem before it's too late. So, round up those fern starter plugs you're ready to plant, and let's dig in.
Choosing the wrong fern species for your garden
There's a reason ferns have been around over 350 million years — they've learned to diversify. Consequently, there are multiple species of fern that have evolved to thrive in different climates and regions. One of the most common reasons a fern will fail as a ground cover is because it's not suited for your garden. Maybe you've planted a maidenhair fern (Adiantum pedatum) that's begun to look a little sad because it's in an acidic soil when it really needs to live in soil that's more alkaline; meanwhile, a hayscented fern (Dennstaedtia punctilobula) would've done just fine. Or you've planted a row of Boston ferns (Nephrolepis exaltata) in your Boston garden and only now realized they're hardy in USDA Zones 9 to 11, while you're in 6b and should've gone for something like a marginal shield fern (Dryopteris marginalis) instead.
Ensuring your garden thrives for the long haul requires a little more planning than tossing in something listed as "hardy" and hoping for the best. The two most practical methods for ensuring you pick the right ferns for your area are understanding your USDA Plant Hardiness Zone and measuring the pH level of your soil. From there, you'll be able to narrow down which ferns would do best in your landscape.
Picking the wrong planting site
While it's true that there are dozens of fern species out there, each with different quirks and care requirements, there are also some general truths the majority of ferns need to thrive. Picking the wrong location that's too sunny or too dry could result in even the hardiest of fern species withering away. Generally speaking, ferns need partial shade and acidic, consistently moist soil to be happy. So you'll either need to find a shady, moist spot to make your ground cover plants happy or pick a different type of ground cover that's drought-tolerant or prefers lots of light.
To nail the lighting requirements, think about the conditions ferns favor in nature. Most of the popular fern species for gardens originate in a forest location with dappled light. The amount of light they get in their home turf is usually strong enough to reach past the tree canopy and hit the fronds, allowing photosynthesis to occur, but not so harsh that it dries out the soil. Consequently, things that fall to the forest floor, like branches and leaves, can slowly decompose, feeding the ferns and turning the soil a little acidic. That's the goal to keep in your head when considering if ferns would survive in the spot you're considering: ensuring it gets just enough light to encourage photosynthesis, but not so much that moisture evaporates from the soil.
Planting them at the wrong time of year
Since you're here to learn about using ferns as ground covers, then you're most likely going to buy multiple fern plants at the same time in order to, well, cover the ground. Also, if you weren't aware, ferns are typically pretty slow growers, so buying multiple plants is probably a good idea. Ferns need a little bit of time to settle in, so the time of year you're planting matters. If you plant them in the summer, then they'll most likely be too frail to handle harsh summer sun or temperatures, while planting them too close to cold winter temperatures will make it too difficult for their roots to get a good hold in the hard, unmovable ground. To give your freshly-purchased plants the best chance, plant them in the spring or autumn.
But what if you've accidentally planted them directly before harsh weather is due to set in; can you help give them a little extra protection? Short answer: yes. Long answer: During the summer try to give your ferns extra sun shade to ensure they have filtered light that's not too harsh on their fledgling fronds. Shades like the Cool Area 55% Sun Shade Cloth Mesh Tarp work really well for protecting baby or starter ferns. If you've planted them close to the first frost and want to protect your ground covering ferns, add a 2-to-3-inch deep layer of mulch or straw around the crowns and consider loosely wrapping them with fleece.
Watering them improperly
Ferns need a lot of soil moisture to thrive, so it stands to reason that you'll probably need to water them often. But watering the fronds or crowns can lead to rot, so you've got to try your best to water the roots. However, this gets tricky when your ferns do their job and carpet the ground, so you have to think through your water routine before planting. Consider installing drip irrigation lines or sliding a hosepipe under the foliage without a spray nozzle to give your ferns the water they need without making them susceptible to rot. Adding a layer of mulch will also help prevent water from evaporating from the soil.
But what if you've already planted your ferns and have begun to notice rot — are they doomed? Not necessarily, especially if you take action quickly. First, remove any mulch around the plants to reduce excess moisture. Next, remove any debris, old foliage, or fronds that have begun to rot (they'll look brown and feel mushy). This will improve air circulation around the plant and help promote evaporation. You may also want to use a fungicide to remove any pathogens contributing to the rot, but this can get complicated as different fungicides work for different bacteria. Finally, change up your watering routine; ferns only need your help with water their first year or so as they get established. Once they're settled in, you can reduce watering frequency, unless you start to notice signs of dehydration from your plants.
Digging individual holes for your ground cover ferns
Another mistake to avoid is defaulting to digging an individual hole for each fern when doing a mass planting. Preparing an entire area can be much better for your ferns' health. Individual holes can end up getting flooded, leading to root rot, while digging a larger area and then backfilling it once your ferns are planted can help spread moisture across the whole colony, lowering the chance for root rot to develop. Plus, it can actually be more straightforward than digging multiple tiny holes.
Another benefit of doing a mass planting is that you'll have a chance to backfill the spot with more goodies than just the topsoil. Incorporating organic material will help fertilize the plants, so add a little composted pine bark, grass clippings, or peat moss. Also, consider incorporating something that can improve drainage, especially if your soil is sandy or heavily compacted. Materials like pumice, pea gravel, or crushed granite all work great for improving soil drainage.
Choosing ferns that are too tall
When you think of ferns, what species first comes to mind? For some, it's the Boston fern (Nephrolepis exaltata) or the bird's nest fern (Asplendium nidus), while houseplant enthusiasts might default to the staghorn fern (Platycerium bifurcatum), and so on. It makes sense why; Boston and bird's nest are usually readily available for sale in most big box stores or nurseries. But choosing either (or the staghorn, for that matter) would make for a poor ground covering for your landscape because they can end up becoming massively tall, as high as 7 feet for the Boston, 5 feet for the bird's nest, and 4 feet for the staghorn fern. So, when picking ferns, it's good to research your options and search for low-growing species.
Luckily, there are great varieties of ferns that stay low and spread wide. The Korean rock fern (Polystichum tsus-simense) and Japanese painted fern (Athyriumniponicum 'Pictum') tap out around 15 inches, the ebony spleenwort (Asplenium platyneuron) stops at 20 inches, and the tactile-delight felt fern (Pyrossia lingua) rises only to 1 foot, but spreads its fronds up to 18 inches long. Those are only a few options, so check your locally-owned plant nurseries, as they'll know which species will work best for your climate.
Using too much fertilizer
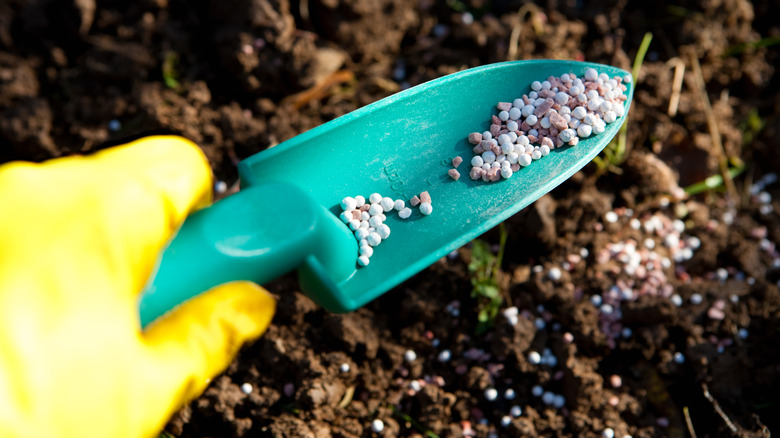
Ferns would really just prefer you left them alone once they've settled into place, but we know that's easier said than done. Since they're slow-growing plants, many gardeners think giving them a few hits of fertilizer can speed up the process, but this ends up doing more harm than good. Ferns are very sensitive to fertilizers, and giving them an abundance of macronutrients like nitrogen, phosphorous, or potassium could result in burned roots, fronds, and dead plants.
However, there are some acceptable reasons for giving them a little boost of nutrients. If your ferns have made it through the winter, a small pop of fertilizer in the spring once new growth has begun can help them recover faster. Also, if your soil is naturally lacking nutrients, adding in some organic matter or sprinkling fertilizer around the planting area might help nourish your ferns. Only use an organic, well-balanced fertilizer that's slow-releasing so that the plants get an equal amount of each macronutrient a little bit at a time. You can also try using natural ingredients that can fertilize and provide nutrients for lawns and plants, like alfalfa or fish meal.
Not being patient with their growth
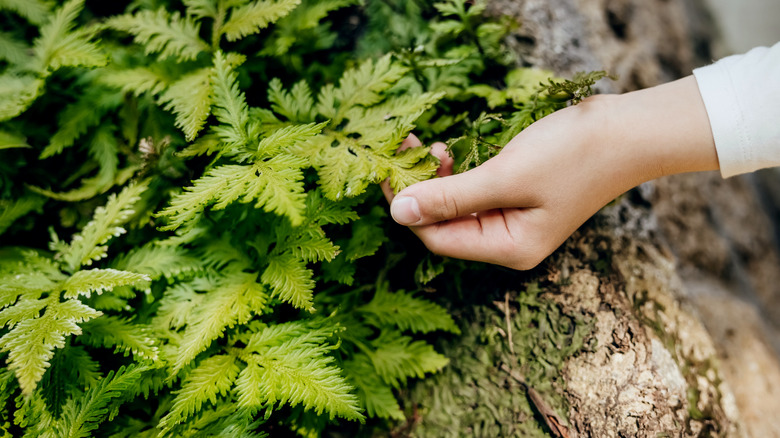
Being around for over 350 million years means you've seen it all and aren't in a hurry to get anywhere soon. But ferns' slow-growing nature can be a concern to impatient gardeners who then begin to helicopter parent their plants to death. To create a successful groundscape with ferns, you've got to give them time to settle in — which could take several years. While it might look like nothing's going on, the fern is fine and just doing its thing, so you've got to be patient.
Thankfully, there are a few trade-offs your ferns will give you in appreciation for the chance to grow at their own pace. First, despite being so slow to move that they make Eeyore look like a Formula 1 racer, ferns are quick to settle in, so they won't need much intervention to get established. Also, that slow growth means they're able to conserve their nutrients and live for years as a perennial, meaning you'll be able to enjoy a beautifully carpeted landscape far into the future.
Not keeping up with their care
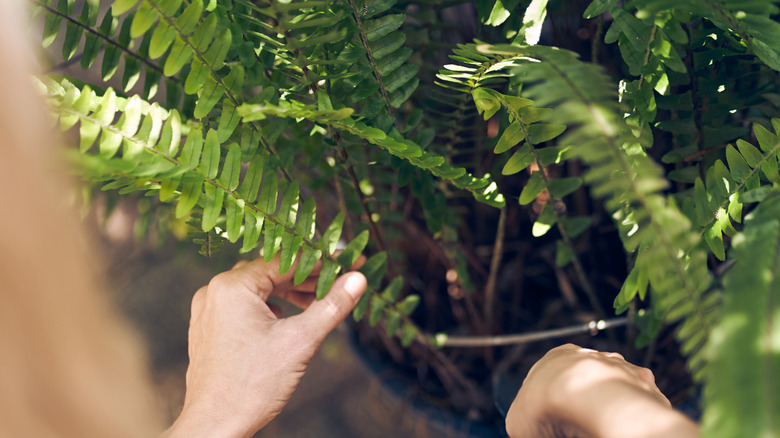
We know, we've said multiple times that ferns want you to leave them alone, and now we throw lack of care in as a common mistake? But hear us out. While ferns are considered very hardy and low maintenance, they still require a few upkeep tasks to ensure their longevity. Namely, clearing away debris to maintain good air circulation and keeping an eye out for pests. Other than that, it should be smooth sailing for your ground covers.
All this task requires is just clipping away dead or crispy-looking fronds. Since ferns have been around nearly forever, they've acquired a high tolerance for pests and don't run into many infestation issues. However, slugs and snails love to munch on young fern fronds, so keep an eye out for those when you've first started your fern colony or if you've recently planted newly-divided offshoots (more on that below). You can opt to create DIY traps, or experiment with using a household ingredient to rid your garden of slugs or snails, but being vigilant is key. If you come across the occasional caterpillar or leaf-hopper, just pick them off; ferns are sensitive to insecticides and will probably suffer more from any harsh chemicals than the occasional creeper.
Choosing ferns that are too complicated to propagate
Not every fern is willing to divide and conquer, so when you've got a lot of area to cover, it makes sense to opt for varieties that separate nicely, if only to save you from needing to spend money on multiple plants. Consequently, we'd recommend avoiding sterile ferns or attempting to propagate via spores, as it's just too complicated, especially when other ferns are so easily divided.
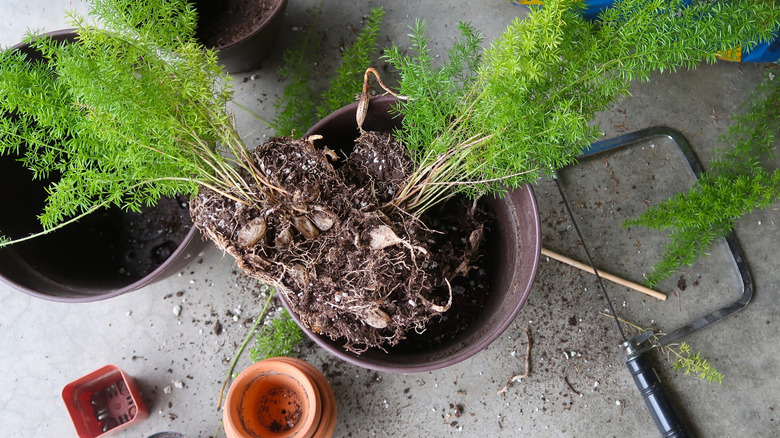
Ferns are typically propagated in one of five ways, depending on their growth patterns: rhizomes, crowns, bulbils/fernlets, leaf bases, and spores. If your fern is a rhizome-spreading variety, like the southern lady fern (Athyrium aspleniodies) or bramble fern (Hypolepis repens), simply remove the rhizome and chop it into segments that contain at least one growth bud and root ball, then plant the segments with some space in between. For ferns that produce multiple crowns, like the marginal wood fern (Dryopteris marginalis), just split the crowns apart into separate plants and ensure each new plant has a few roots to anchor itself. However, ferns can take up to 10 years before you'll need to split their crowns. For bulbil- or fernlet-producing ferns like the Anderson's holly fern (Polystichum andersonii) or walking fern (Asplenium rhizophyllum), gently tamp the frond with the bulbil or baby fern into the ground; nature will take it from there.
There are a few ferns that are sterile, the hart's tongue fern (Phyllitis scolopendrium) being one of the more well-known varieties. These take a little more work to divide and require peeling off leaf bases, cleaning any remnants of the mother plant off, planting in sterile soil, and then sealing in a bag for three to four months. Finally, there's the option of mimicking a fern's natural reproduction method: cultivating spores. Like leaf base separation, this is doable, but requires a lot of steps. If you're interested, the American Fern Society has a full guide on it.
Not mulching mass plantings of ferns
Newly planted specimens of any kind typically want a little help in the beginning and ferns are no different. One issue gardeners will run into is having their baby ferns outcompeted by weeds for resources, making it difficult to get established. This is why adding a layer of mulch around your new ground covers is so important — it not only helps block weeds while you wait for the ferns to start covering the empty area, but also protects the roots from temperature changes that could kill off the young plants.
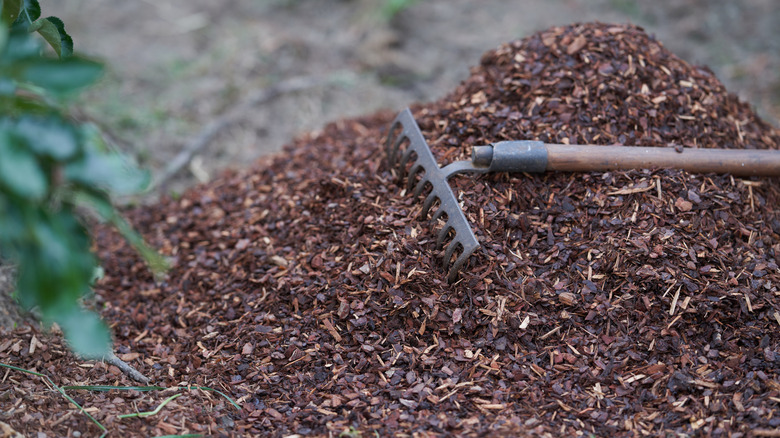
Most experts recommend adding a layer of mulch late in the fall to protect the roots and crowns from harsh winter weather. However, apply the mulch by hand and do not use a rake; often, little fern fronds or fiddleheads will get caught in the rake's teeth and this can either damage them or rip out the whole plant. Once the spring has rolled around, remove any excess mulch that could be hindering the fiddleheads from unfurling and let excess moisture from the remaining snowmelt evaporate.
Planting invasive fern species
Most ferns are slow-growing, meandering plants, but there are a few that act aggressively and can become invasive. In particular, the hayscented fern (Dennstaedtia punctilobula), bracken fern (Pteridium aquilinum L.), New York fern (Thelypteris noveboracensis L.), and narrow sword fern (Nephrolepis cordifolia) should be avoided as they can become a problem in your landscape over time. They're especially troublesome if they're planted before any tree saplings or seedlings or other young plants, as they can outcompete them for light, nutrients, and space.
While it might seem like a good idea to use these when you want to cover a big bare area, since they're somewhat faster-growing than their non-invasive fern cousins — these plants will do more damage than you think. Their colonies make up what's known as "fern understories" that develop extensive rhizome structures underneath the ground that will spread impressively fast, smothering fledgling neighbor plants and creating biological deserts as they steal nutrients and space. And these aggressive growers aren't just a problem in yards and gardens. Forest experts in Pennsylvania are especially concerned; they estimate over 20% of the state's forests are covered with these aggressive flora killers.
Forgetting to plant some evergreen fern species
So you've planned to get ferns that play nicely with the locals, your soil is all prepped full of delicious organic matter and you've even tossed in some pea gravel for good measure; what's there left to worry about? Well, have you considered if the ferns you're planting are evergreen? If not, your landscape could look pretty sad when it's full of brown, dead-looking ground covers.
However, that doesn't mean you need to stick to just evergreen ferns — try adding a mix so that you can have a colorful landscape during the later seasons when plants begin to hunker down for the winter. Consider doing a few tried-and-true evergreen varieties like the ebony spleenwort (Asplenium platyneuron), Korean rock fern (Polystichum tsus-simense), or variegated holly fern (Arachniodes simplicior 'Variegata') interspersed with a few deciduous varieties, such as the southern lady fern (Athyrium asplenioides) or Japanese painted fern (Anisocampium niponicum). Or you could mix in a few other ground covers that explode with late-season color, like the American wintergreen (Gaultheria procumbens) or even some varieties of hosta, a low-maintenance perennial that can make your garden look fuller on a budget.
