Warning Signs Of A Bad Tile Installation (And What You Should Do)
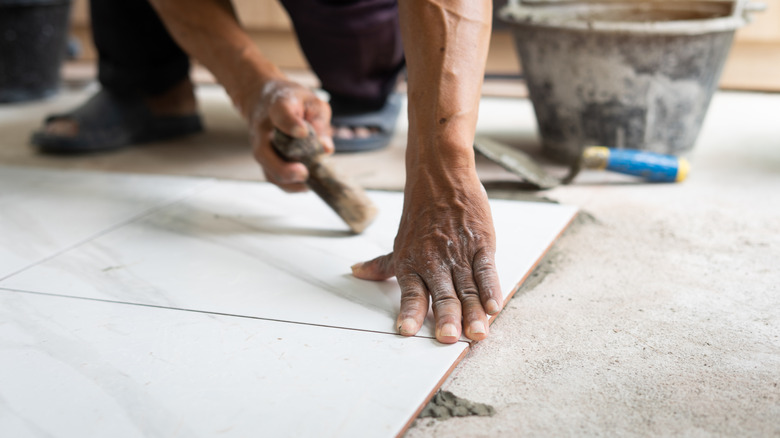
When you plan to update the flooring in your home, you envision perfectly spaced tiles laid evenly and precisely. But it takes a lot of precision to get that perfect tile floor installation. One small mistake during the installation process could cause a range of tile issues, including misaligned tiles with uneven grout lines or gaps where they shouldn't be. Issues with the subfloor preparation can cause uneven or loose tiles that are more likely to break. Bad installation affects everything from the look to the safety of the room. For example, loose or uneven tiles on the floor can cause a falling or tripping hazard.
Whether you install the floor yourself or hire a professional, there are signs that the tile installation was bad. Being aware of the signs and the issues that cause them before you install tile helps you avoid these common mistakes. It's also helpful to look for these issues as you're installing the floor so you can correct them before the tile adhesive dries. It's much easier to lift a tile that isn't set yet to correct an issue than it is to remove a tile that's fully adhered and grouted.
Poor alignment with inconsistent grout lines
Tiles that look crooked or variations in grout line widths indicate issues with placement. This can happen if you don't have a layout plan or don't use guide lines. Aligning tiles with walls may create crooked rows since walls often aren't straight and rooms aren't always square.
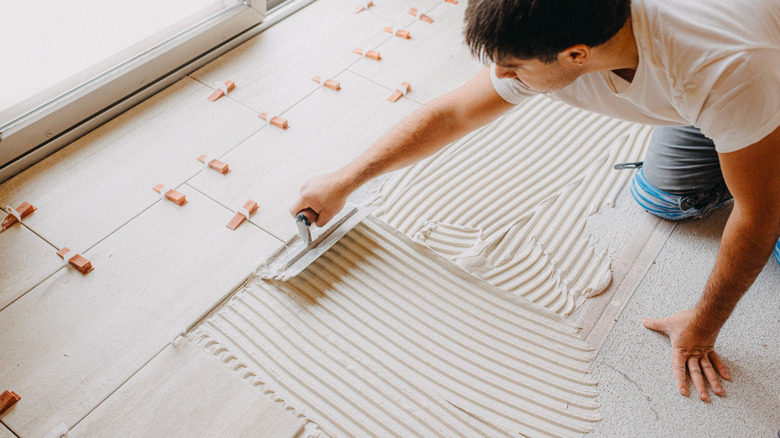
To avoid this problem, determine how much space you should leave between tiles based on their size. Tile spacers that match that width help you keep consistent spacing between tiles for even grout lines. It's also helpful to create guidelines on the floor by snapping perpendicular chalk lines to mark the center of the room. Starting from the center point and using the chalk lines as guides helps you maintain straight rows. Once you establish your basic guidelines, do a dry run of the tile layout. Create a row of tiles going each direction across the room, using your tile spacers as a guide. This helps you determine if the rows will be straight and whether or not you'll have to cut the final tiles at the ends of the rows.
If you've already laid your tiles and notice they're not straight, determine if the adhesive is set by knocking on the tile. It sounds solid if it's set or hollow if it's not. You can still pull up the tiles and properly align them if they're not set. For already installed floors, you'll likely need to remove the misaligned tiles and reinstall them.
Uneven tile surface
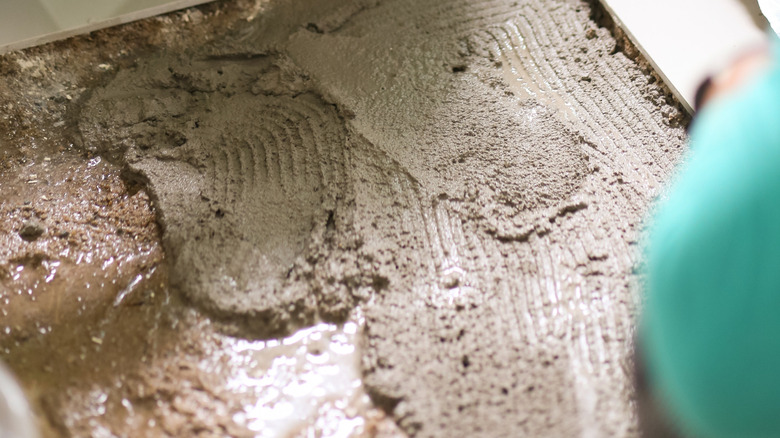
There are many mistakes to avoid when tiling, including skipping proper surface preparation. If your subfloor isn't level, your tiles won't be either. Applying adhesive or thin-set mortar inconsistently can also create uneven tile floors due to different thicknesses of the adhesive. Uneven tiles create a bumpy surface referred to as lippage. That means the edges of some tiles are different heights than the those surrounding them. Even slight height differences may cause a tripping hazard. Tiles that are higher than others have exposed edges, which can become damaged over time. The tiles may also crack over time if they're not laid evenly.
Ensure you start with a sturdy, level subfloor to minimize this issue. When installing the tile, apply the adhesive consistently to avoid varying thicknesses. Using a level as you install the tiles helps you identify uneven surfaces. Use a rubber mallet to adjust tiles that are higher, or remove and reset tiles before the adhesive sets.
You may be able to fix a lip in your tile floor without taking it all up if the height difference is minimal. Lightly sanding or grinding natural stone tiles along the higher edges can level out the tile if the lip is minor. However, it's easy to take off too much of the tile, which creates a new problem and could ruin the material. If the lippage is severe, the best option is to remove the affected tiles and put them back in place.
Loose tiles
When tiles are installed properly, they're stuck to the floor firmly with no wiggling or moving. Loose floor tiles happen if you use the wrong type of adhesive, choose a low-quality product, or don't apply it properly. Another potential cause is laying the tiles on an uneven or unstable surface. Movement in the subfloor can pull the tile away from the adhesive and loosen it over time. You might not notice loose tiles immediately as the adhesive failure doesn't always happen right away.
Preventing loose tiles is a key reason to properly prepare your subfloor for laying tile. The base needs to be strong enough to withstand the weight of the tiles. Check for a flat, level base before you start your tile installation. Controlling the heat and humidity in the tiled space also protects your subfloor to keep it sturdy and stable.
If a tile pops up on an older tile floor, you can apply new adhesive to stick it back down. Removing the tile grout gives you access to the edges of the loose tile. If you want to secure the tile without removing it, injecting epoxy or another adhesive underneath the tile is an option. You can also pry the tile up and replace it with a new one. The tile may be difficult to remove if it's still securely attached in some areas. Wear safety goggles if you have to chip the tile out to protect your eyes from flying pieces.
Incorrect grout
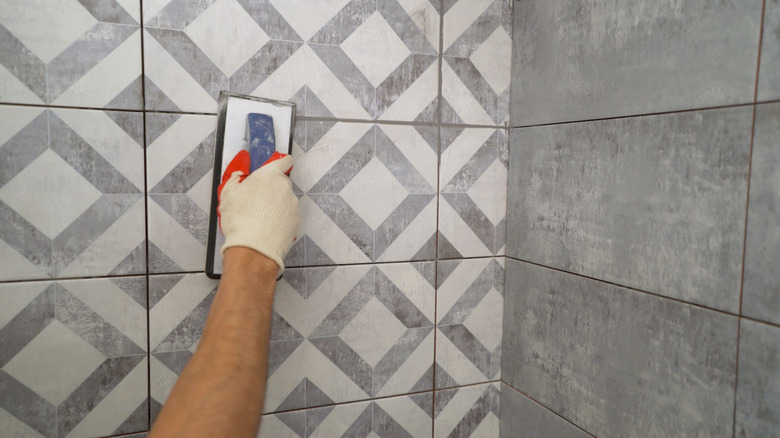
Too much grout impacts the aesthetics of the floor, making the grout more noticeable or messing up the details on patterned tiles. If the grout is higher than the tile, it could create an uneven surface. Not applying enough grout creates lower gaps where dirt and crumbs can settle. Uneven grouting creates a bumpy texture on the floor and makes the tile job look unprofessional.
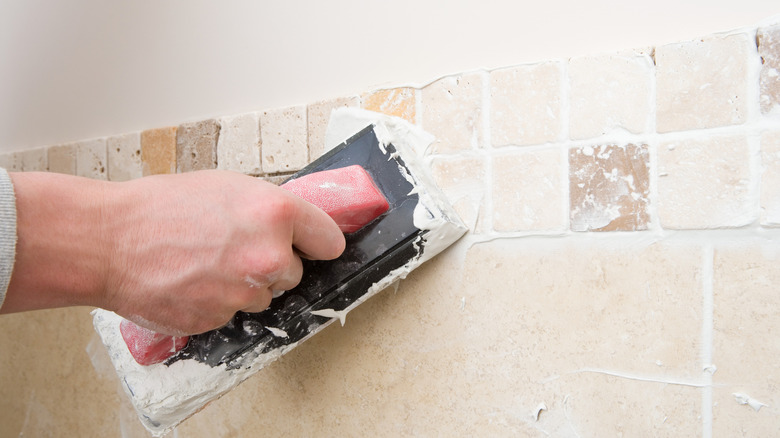
To properly grout your own tile, apply grout with a float held at a 45-degree angle. This helps you force the grout into the joints to pack them well. Once the joints are full, go back over the area with the float held at almost a 90-degree angle to remove the extra grout. Working at a diagonal prevents you from digging into the grout lines and removing too much grout. You typically need to let the grout sit for a short time based on the package instructions before wiping the tiles with a damp sponge to remove grout haze.
You may be able to remove some excess grout if the installation was within the last week. Wet the grout so you can scrape away the excess grout and achieve the ideal depth. Older installations may require complete removal of the grout. With low grout, you may be able to add more if there's room to add at least 1/4 inch on top. You'll need to clean the grout well before adding more. Completely regrouting the tile is also an option.
Large gaps around the edges
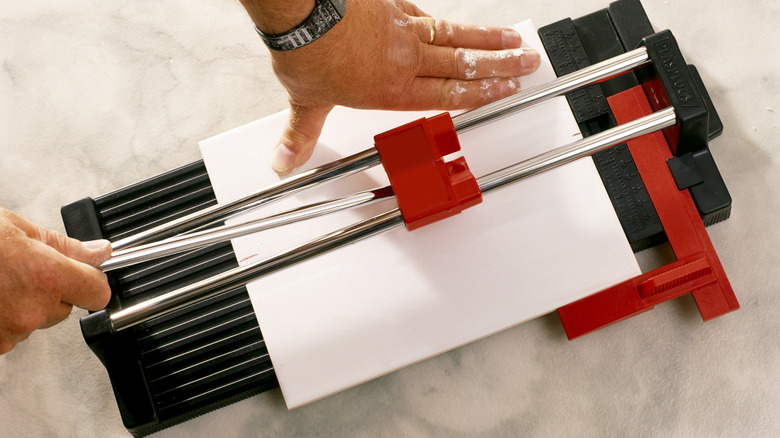
Leaving a small gap between the edge tiles and the wall allows room for expansion to prevent cracking, but a larger gap is a sign of poor planning and bad tile installation. The typical expansion gap at the wall is about 1/4 inch wide, although your tile manufacturer may offer a different recommendation. Wood trim or tile bullnose trim hides the gap. Larger gaps between the last tiles and the wall indicate poor planning. It may be difficult to cover a larger gap with standard trim. A similar sign of a poor tiling job and a lack of planning is ending the rows with narrow pieces of tile. Your edges should typically be at least half of a tile to avoid excessive waste and to create a better finished look.
Properly planning your tile layout helps you avoid a large gap along the edge. Measure your room carefully to start. This allows you to plan your tile layout based on the tile dimensions and the width of your grout lines. You typically want to start in the center of the room with your tile pattern. Once you find the center, do your test run of a row of tiles in each direction, intersecting at the center. This allows you to see how much space you have left at the edges. You can shift your starting row slightly to create a layout that requires fewer cuts and ends with half tiles or larger.
