Common Mistakes You're Making When Sanding Wood Projects
Sanding is one of those projects that is not quite as simple as it seems. While the actual process is fairly uncomplicated, there are some key mistakes you might be making when sanding wood pieces. House Digest spoke exclusively with Bob Beacham, our expert carpenter and remodeler, to learn about these mistakes and how to avoid them.
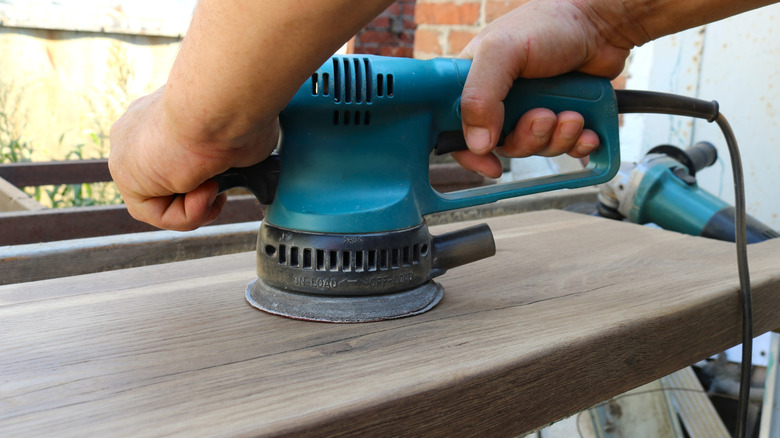
Beacham shared that one of the most common errors made when sanding is not being thorough enough, which could result in a finish that doesn't look great when stained or painted. He also warned against staying too static when using a machine sander — keep the wood moving, or your project will be left with dips and hollows. You should also avoid focusing too heavily on blemishes rather than the entire surface and keep away from edges and corners that aren't meant to be smooth. Finally, don't do more work than you have to by overusing your sandpaper.
How to avoid these common mistakes when sanding
During his exclusive chat with House Digest, Bob Beacham cautioned against stopping before the sanding job is completely finished. "Bear in mind any sanding fault is always magnified when the finish is applied," he said. To avoid a rough look to your completed project, Beacham suggested working through the different grit levels, beginning with the coarsest grit suitable for your project and ending with the finest. "Sand until the only scratches you see are those caused by the sandpaper," Beacham explained. "Then go up a grit and remove those scratches. Then [repeat the process]. The final finish should look, and feel, silky smooth. ... Start with 80-grit, move to 120-grit, [and] end with 220-grit."
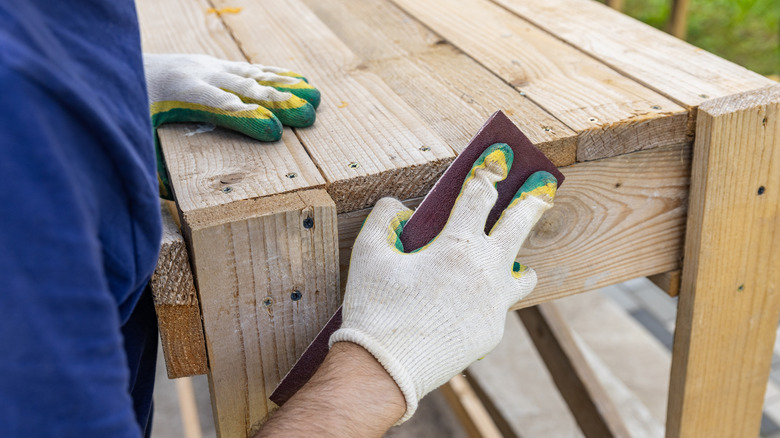
When it comes to blemishes and edges on flat surfaces, Beacham shared that it's important to sand evenly and keep the sandpaper flat. "If you're hand sanding, always use a sanding block," he advised. "Turn each side of the piece so you're always working on a horizontal surface. Don't be tempted to go down the sides." When it comes to not overusing your sandpaper, a sanding mistake you'll definitely want to avoid, the answer is simple — if it seems too worn, clean it or replace it! (And no, don't use an eraser to unclog your sandpaper.)
Expert tips for making your sanding even better
In the interest of making your sanding projects totally pristine — perhaps you're looking to sand your deck the correct way — Bob Beacham shared some expert advice during his exclusive interview with House Digest. First, he advised to always sand with the grain rather than against it. He also recommended not pushing too hard when sanding, whether you are sanding by hand or using a machine. "If the machine is juddering or stalling you're pushing down too hard," Beacham explained. "The grit does the cutting, you only need enough pressure to control and guide it."
The grit you sand with depends on the type of wood you're using and what you plan to do with the project. For instance, if you're sanding a piece that's going to be painted, Beacham said that 150-grit is high enough. If you're tackling hardwood, however, 100-grit or even 60-grit sandpaper might be required. Last but not least, when it comes to sanding or any home project, safety is the most important thing. Beacham recommended wearing a dust mask or half-mask respirator, and if you're using a machine sander, empty the dust bag often.


