The Floral Wooden Wall Pocket DIY That'll Brighten Up Your Space
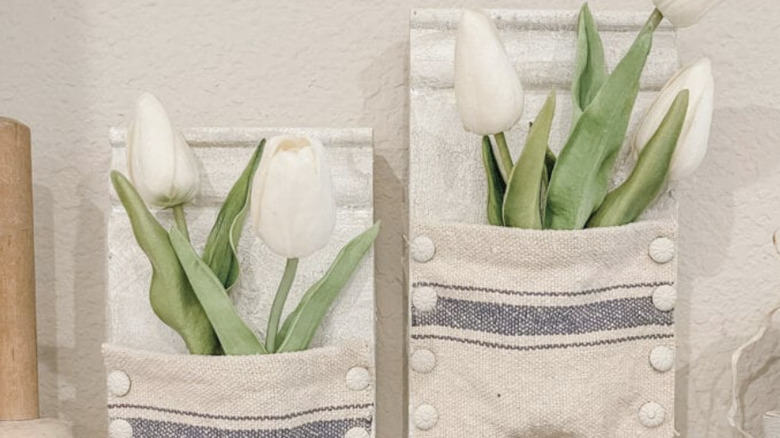
Wall pockets are a versatile and charming addition to any home. These DIY crafts provide a decorative or functional container that can hold various household items or decor. They are not only a great way to decorate your space with florals and greenery, but can also serve as a nifty organizer for utensils, keys, crafts, or jewelry. To start this project, you will need to purchase or salvage a wooden baseboard and choose a fabric that compliments your current decor. You'll also need chalk paint to get that stressed or vintage look, upholstery tacks to secure the fabric, triangle rings for wall mounting, and a paintbrush and hammer to finish out this simple DIY project.
Begin by painting your wood baseboard piece with chalk paint to create an aged or distressed look. For a more vintage appearance, layer on additional milk paint or a vintage wash. Then, trim your fabric to your desired width and height to make the pocket. Secure the fabric by nailing in upholstery tacks along the sides and bottom, leaving the top open to create the pocket effect. Add a triangle ring or a wall-mount strip to the back, then fill the pocket with greenery to complete the look. We suggest rotating the arrangement to match the season. Consider pine branches and red berries in the wintertime or wildflowers and eucalyptus in the spring. You can even style a collection of wall pockets together for an innovative way to bring wall art into your kitchen.
More creative wall pocket ideas
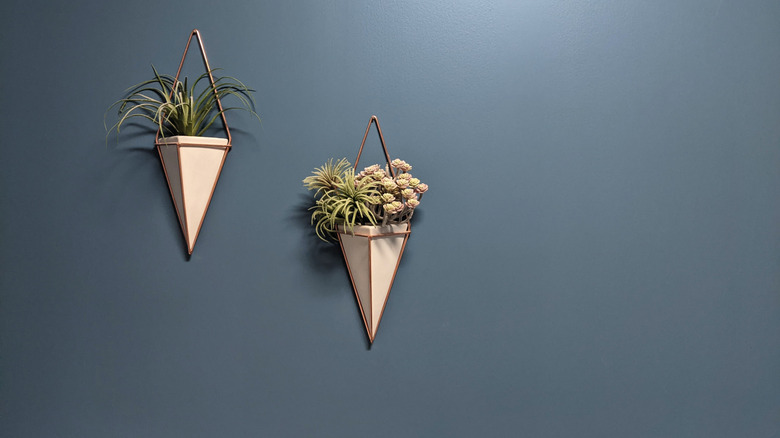
Wall pockets offer endless opportunities to elevate your home decor with a budget-friendly DIY, whether you use wood, fabric, or alternative materials. By combining function and creativity, you can design pieces that reflect your style while serving practical purposes. Whether you craft one from wood or up-cycle materials like tin molds or window shutters, wall pockets are a simple yet impactful way to brighten up your space.
Transform old shutters into wall pockets by attaching burlap to the front. Simply tighten the burlap around the bottom half of the shutter and secure it on the back with nails, adding polyfill at the bottom to create a puffed effect that holds flowers securely. Durable fabrics like canvas or denim are also ideal for creating fabric-based wall pockets. Arrange fabric scraps on a larger base fabric and sew the bottom and sides of each piece, leaving the tops open to create the fabric pockets. This design works well for storing sewing supplies, pantry items, or even small potted plants. Upcycle vintage tin molds into wall pockets by attaching them to a small wooden base with screws. Decorate the mold with paint or leave it rustic for an antique look. Use them to hold fresh flowers, seasonal greenery, or your favorite dried and styled flower arrangements. Air-dry clay can also be shaped into custom wall pockets. Fold the clay into a pocket shape, crimp the edges, and thread twine through the top for hanging. Air-dry clay pockets are great for lightweight items or a purely decorative home decor statement piece.

