How To Cut Wood Shelves For Unusual Dimensions To Conquer Weird Closet Angles
We may receive a commission on purchases made from links.
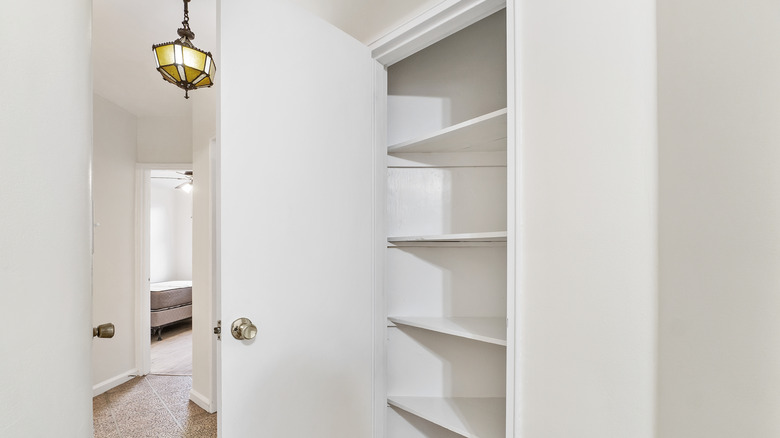
If you check out our expert advice to organize your closet, one of the suggestions is to use shelves properly. Maybe you have a closet that could benefit from a few added to it? When you have regular-shaped closets, it's relatively straightforward to DIY shelves that turn them into a dream storage space. Unfortunately, if you have weird closet angles, it can be awkward to cut them accurately. It's still perfectly doable, and many of the principles are the same, but it takes a little more care when measuring and cutting. So let's get into details.
We're going to use a popular, simple, and effective shelf installation method, slightly modified to accommodate those odd angles. Cleats, a wooden anchor point between the wall and shelves, will support the shelves. The cleats will be made with 1-inch x 2-inch wood strips fixed to the wall using drywall anchors and screws. The shelves themselves can be made from ¾-inch pine board found at many hardware and big box stores. It's handy if you can choose a depth (front to back) that suits the size of shelf you want, although they could either be cut down or joined together. Going with ¾-inch plywood is another option.
You'll need a power drill, tape measure, level, and a bevel gauge like this Johnson B75 T-bevel. You'll also need to find the studs behind the walls. You can knock on the wall and listen for when the sound changes or try a stud finder app for your phone. Alternatively, spend around $20 on something like this JAXWQ Stud Finder Wall Scanner that will also identify electrical wires and pipework.
Measuring and fitting wood shelves in oddly shaped closets
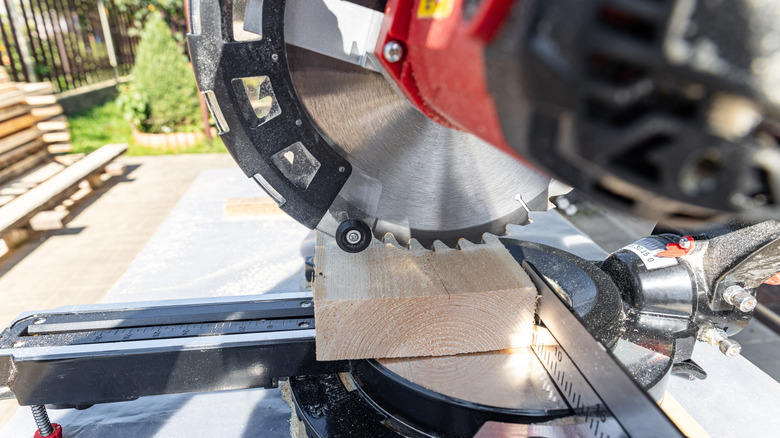
First, cut your cleats to length. Two for the ends, one for the back wall. They should be a couple of inches shorter than the shelf dimensions. A miter saw is ideal for this type of job and is one of the top tools worth investing in for woodworking at home. Decide the height you want the shelf, find the studs, and fit two drywall anchors for each cleat. Now drill holes in your cleats to match, and screw them to the wall. The most important thing at this stage is that the cleats are exactly the same height and level horizontally.
Now it's time to measure the shelf. Choose the longest wall (usually the back) as your baseline. Mark the length on your shelf board, leaving enough room on either end to allow for the weird angles. A rough guess is fine. Take your bevel gauge and position it horizontally, on top of the longest cleat, at the left-hand end. Set it to the angle of the side wall. Transfer that angle to your board. Repeat at the right-hand end. You should now have perfect lines for cutting. You could just measure everything with a tape measure, but a bevel gauge is more accurate, and they only cost around $10. Repeating the process for each of the other shelves ensures that even if the walls slope or the angles change, they will all fit properly.

