Use Old Brick Pavers As Stone Pillars To Level Up Your Next Fence Project
Brick pavers are great for building patios, but their uses go far beyond a simple deck DIY. With a little imagination, you can repurpose old pavers in your yard and garden in myriad ways. From crafting chic flower bed edging to making a stunning planter, brick pavers can level up a wide range of projects. Even broken pavers can go from trash to treasure when used to create an unexpected walkway. However, if you find yourself with a large number of leftover pavers, one of the best uses for them is to turn them into fence pillars. Whether you already have a fence or are planning to install one from scratch, you can instantly take it up a notch by building the pillars out of brick pavers.
First, count how many bricks you have and measure the diameter and height of your desired columns in order to ensure you won't run out of pavers halfway through. Clean any used bricks to remove mortar, as needed; clear the area where the columns will stand; and pour out flat concrete slabs (if they don't already exist). It's also a good idea to install wood post stumps in the center for added stability, especially if you plan on the columns being quite tall. Alternatively, you could fill the middle with mortar or concrete once you've built the pillars. Now, it's time to get to stacking.
How to lay a brick column for your next fence
When planning the width of your brick pillar or column (sometimes also called a brick pier), ensure it's at least a few inches smaller than the concrete base slab it will stand on. A 12-by-12-inch column, for example, will require four bricks per level and the surface you build on should be at least 14-by-14 inches.
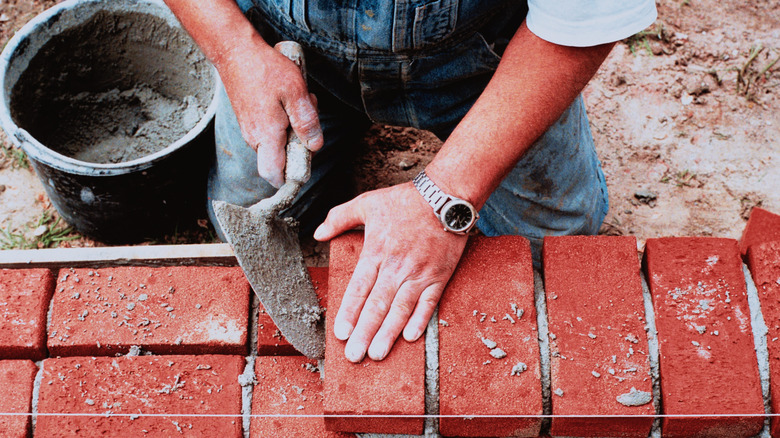
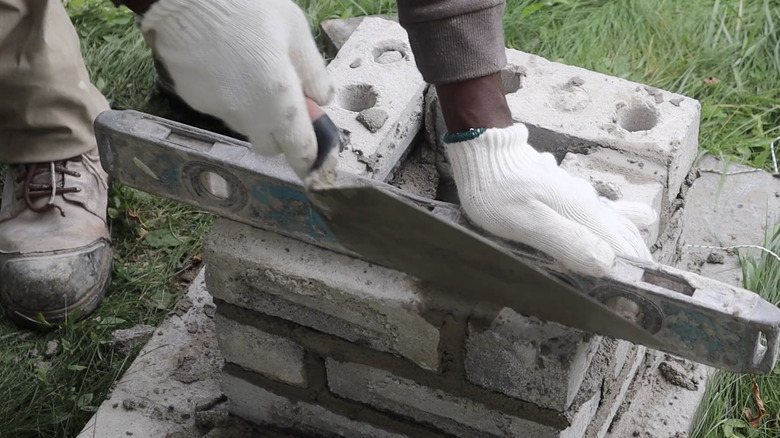
Spread a generous heap of mortar onto the base and place your first paver. Using a pointing trowel, tap it into place, then cover the smaller edges with mortar to attach the adjoining bricks in a square pattern. As you work, use the trowel to wipe off excess mortar that oozes out between bricks. Once the first layer is complete, use a level to ensure it's straight, both horizontally and vertically, and a square ruler to shimmy the corners into place (if needed) before the mortar dries. You want each layer to be perfect before moving on to the next.
With the base ready, it's time to move upward using the same process. Spread a layer of mortar on top of your bricks and place the next row so that the joints are staggered, i.e., the edge of the upper level's brick hits the middle of the one below it. Once finished, you can get really creative by painting the bricks a bold hue. As for the fence itself, choose between wooden and metal panels that best suit your aesthetic, or place colorful breeze blocks between the pillars to hide the eyesore of your neighbor's fence.

