Customize An IKEA Lamp With A Wooden Dowel Hack For A Unique Lighting Upgrade
We may receive a commission on purchases made from links.
Sometimes adding a touch of character to your space doesn't require a massive home project but rather a focus on the small details. With a few upgrades to your home staples, you can turn basic furniture into striking accent pieces that blend seamlessly with any interior design style. Whether you're going for a modern minimalist aesthetic, boho-chic style, or a mid-century look, personalizing an IKEA DESJA lamp will provide a stylish lighting solution that brightens up any room. By attaching wooden dowels to the base of your lamp and staining them, you'll introduce texture and color to your lighting, bringing a bit of much-needed character to an otherwise plain piece without overwhelming your space.
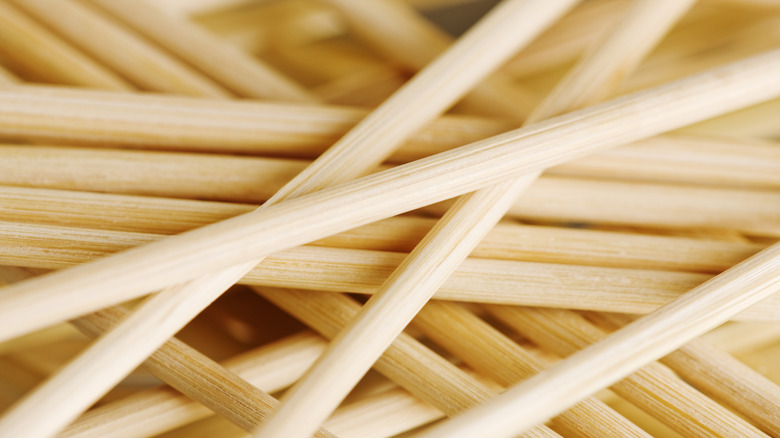
The main pros of this trick include the simplicity and cost-effectiveness. For just under $55, the IKEA DESJA lamp brings a modern flair to your lighting needs. But the lamp itself is a bit lackluster given its all-white and beige color scheme. By adding some skinny and stained dowel rods to the base, such as the HOPELF Dowel Rods Wood Sticks, you can achieve a textured, wood paneled look without spending a fortune on a designer item. The dowels themselves deliver a much needed splash of color that can be a brilliant way to accent any space. They are the perfect low-cost option. Furthermore, because you are staining them yourself, you can perfectly mix the wood tones in your space, ensuring that this piece stands out in your collection. Whether you use a vintage-feeling warm hue or a dramatic dark tone, you can't go wrong with this simple lamp DIY.
Upgrade your lighting
To get started, lay your pack of dowels on a flat surface. Measure the base of your lamp and cut your dowels down to the right length with either a small saw or a pair of pliers. You want to ensure that you are getting a clean edge on each dowel as you cut. A few of the pieces will need to be slightly shorter to accommodate the cord. Use a popsicle stick or nail file to sand down any rough edges that might be left on the end of your dowels. After you've cut enough dowels to cover the base of your lamp when aligned vertically, you'll need to attach them. While there are many adhesives that could work, E6000 Craft Adhesive is a safe bet since it dries completely clear, ensuring you won't be able to see any glue. Space your dowels evenly along the base of your lamp, ensuring that no large gaps are left. You may want to test the correct spacing before you begin gluing.
Once they're all attached, you can crack open your stain of choice. Alternatively, you could opt for a vibrant paint shade to add color. Choose a color that perfectly blends into the rest of your decor or incorporate a bit of contrast by painting your lamp a completely new shade. Once it's dry, display your new lamp wherever you desire. Furthermore, there are plenty of creative ways to revamp your lighting fixtures, and this DIY is no different. Try swapping the dowels out for natural sticks to achieve a more rustic feel or paint the dowels different colors before attaching them for an eclectic aesthetic.
