DIY A Gorgeous Rustic Table For Your Home Using Old Shutters
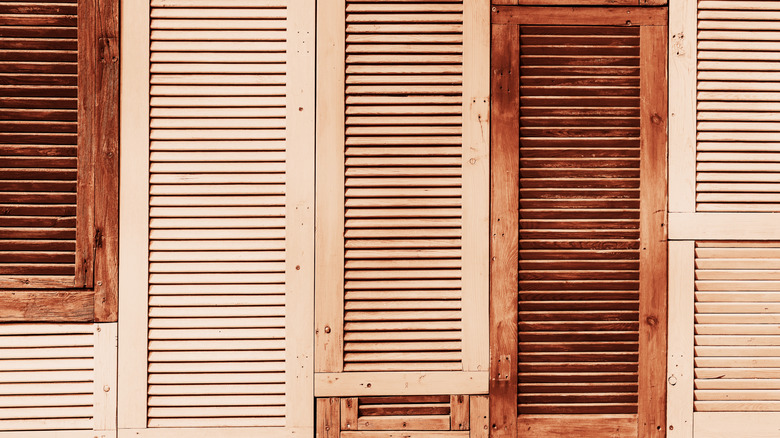
Wooden shutters can be a great way to introduce a sense of age and cottage-style charm into any space. Not only for windows, these architectural elements have a lot of texture and dimension they can add to furniture pieces or blank walls, the oldest and most worn of them also boasting charming finishes like rustic cracked paint and fading. While there are a ton of ways to repurpose shutters around your home, including DIYs creating everything from garden trellises to functional plate racks, YouTube DIYer @CynthiaNessel shows off a particularly ingenious tutorial on how to create a slender wooden vintage shutter table that is a perfect way to add some beauty to smaller areas.
You will need a piece of scrap wood the desired width of your table or shelf, an old shutter, a pair of L-brackets to support the shelf, and table leg hardware that allows you to screw in the two legs of your choice. Old shutters can be found in venues like antique markets or architectural salvage shops. but you may also find them on Craigslist or Facebook Marketplace for a steal after they've been removed during a remodel. You may even have some of your own lurking in the garage.
Creating a shelf table from a shutter
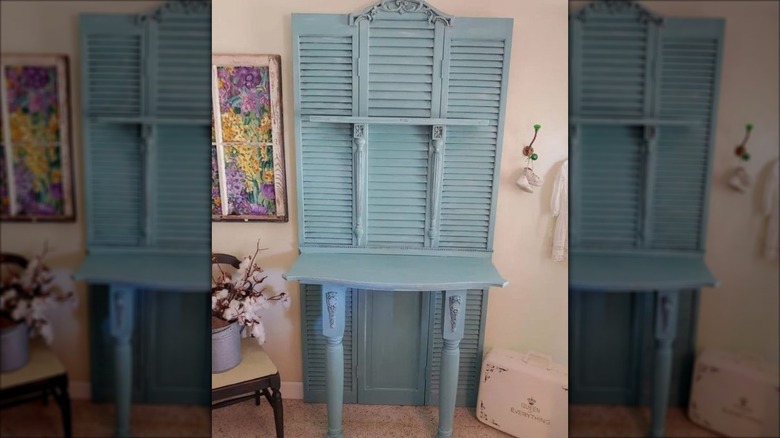
To turn an ordinary shutter into a stylish small shelf table, begin by cleaning up your shutter surface, sanding or painting as needed. You can leave the weathered finish as an accent for more rustic decors, or use some paint with a crackle finish for an antique look. Use scrap wood trimmed down to size to create your shelf, cutting it down to the desired width and adding some L-brackets to attach the shelf to the shutter underneath. On the outside edge, use screw-in legs in your desired style that will support the shelf like a table. If you want your shelf to be collapsible, you could also use hinges and folding legs so that it can be tucked away when not in use. You could also forgo the legs entirely for lighter contents if you lack floor space and want to mount the shutter entirely on the wall.
There are many ways that you can customize your small shutter table to your needs, including adding some shelves along the top portion of the shutter using slender boards (this DIYer uses wooden pallet segments). Cut the wood to size, then add some screw-in brackets or wooden wedges made with wood glue and attached with nails. You can also add hooks at the top of the shutter to serve as a coat rack, or create a floating shelf from another shutter to accompany it.
Where to use your shutter shelf
This slender shelf table would work perfectly as a console table in a small entryway or foyer to set bags and mail on as you come in. It would also work splendidly as a slender hall table that sits against the wall between two doors. With a matching pair, they could serve as adorable rustic-style nightstands that save a lot of space. The shutter shelf would also make a great shelf for a tight bathroom to add an additional surface and storage for toiletries and extra tissue rolls.
This project would also be ideal on a porch or balcony to provide a small ledge for plants or a tiny table to enjoy a cup of coffee. A foldable wall-mounted version of this table can easily create a floating desk large enough for a laptop in a small space like a studio apartment with shelves to hold supplies or décor above. Or the top can be used to hold memos, mail, photos, and other ephemera. You can also use several shutters attached with hinges to create a larger table unit.

