Mistakes You're Making When Regrouting Bathroom Tile (And How To Do It Right)
Tiling is typically a DIY-friendly project, and new, game-changing products like tile leveling clips have made it even easier to complete these jobs with a minimum of fuss. However, even professionally installed tile eventually needs maintenance, and it usually starts with the grout. Whether mold and mildew are a constant struggle or your grout is showing signs of wear, the signs that you need to regrout will eventually appear — and when they do, it's an issue that is best addressed immediately.
On average, having a professional regrout your shower can cost about $1,500. DIYing your grout can save a lot of money, but it's a high-stakes job with a lot of potential for costly mistakes. The most common of these include choosing the wrong grout for the job, improperly mixing your grout, using the incorrect amount of grout, and giving the grout too little time to set before removing the excess.
The biggest mistakes to avoid when grouting
First, choosing the right grout is crucial. There are many varieties, including sanded, unsanded, all-in-one, epoxy, and acrylic. In showers, acrylic grout is most common, and you'll almost certainly want to choose this type unless you have very specialized needs.
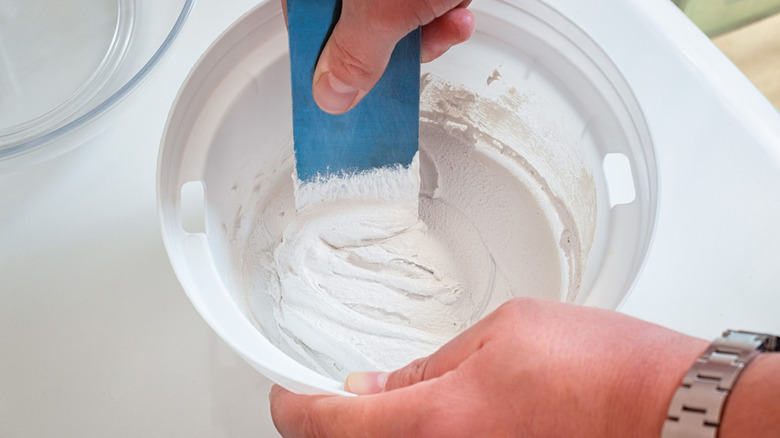
Of the many mistakes to avoid when tiling, failing to mix your grout to the right consistency is perhaps the most important. If it's too runny it will not set, and if it's too dry it will be powdery. When mixing, add water a little at a time until the grout reaches the consistency of peanut butter, then let it sit for about 10 minutes to "slake" or stiffen up a bit more. If you can find a pre-mixed grout that is right for your application, that may be the best option to ensure your grout is the right consistency. You should also make sure to apply just the right amount of grout. If you add too much, you may find the grout sits above the tile once it dries. On the other hand, applying too little grout can create noticeable peaks and valleys in the finish. Remember, grout shrinks when it dries, so don't be too sparing.
Finally, allow your grout ample time to set, usually about 20 to 30 minutes, before wiping away the excess. If you don't let it set long enough before wiping it away, you may damage the finish, but if you wait too long it might dry on your tiles. You should generally allow 24 to 72 hours for grout to set completely.
How to pull off a perfect DIY grout job
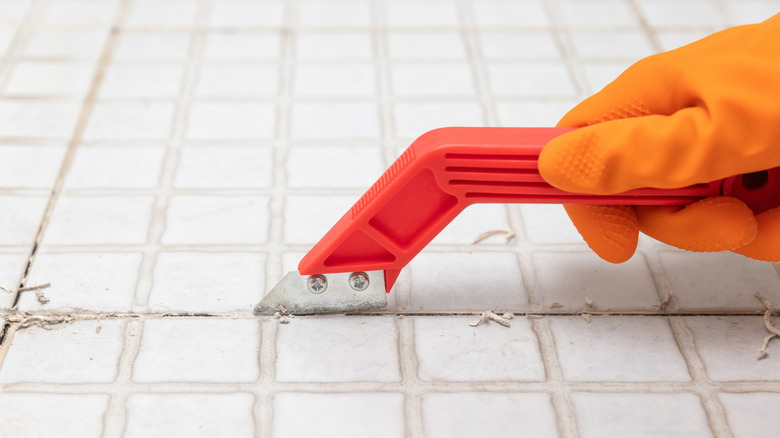
When regrouting a bathroom, the first step is to remove the old grout. If you are redoing the whole bathroom, that means every piece needs to be removed. If you're just doing a repair job, you only need to repair the broken grout and anything loose in its vicinity. You can do this with an oscillating tool, a Dremel, or even a grout saw. If you're working in a shower or around a sink, be sure to cover the drains.
When the old grout has been removed, it's time to clean. Get out the Shop Vac to remove any remaining dust or debris, and a damp sponge to make sure your new grout has a clean surface to cling to. Once you have a clean area to work with, the process is much like grouting brand-new tile. Mix up your grout or open your pre-mixed grout, load your rubber grout float, and start spreading.
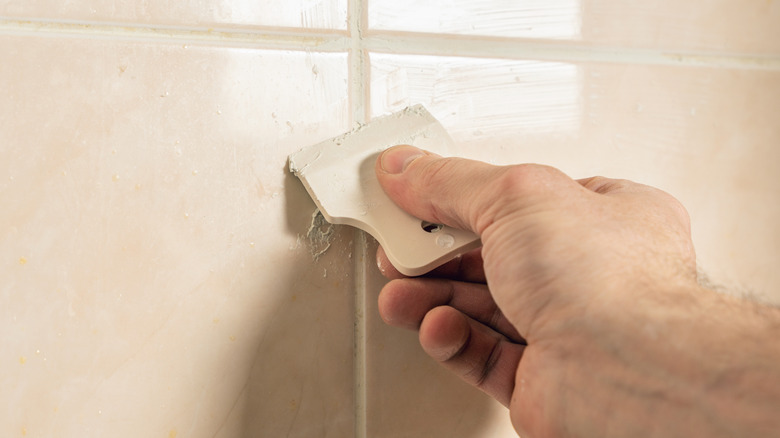
Use your float to apply grout diagonally to the joints, fully compressing it into each joint. If you are working on vertical surfaces, apply the grout upward. Once all of your joints are filled, use a serpentine motion to remove any excess grout before letting it set for 20 to 30 minutes. Then, use a damp grout sponge to clean off the tile. When the grout is fully dry, you can apply a sealer to help keep it clean.


