How To Replace Your Kitchen Sink Strainer In No Time
We may receive a commission on purchases made from links.
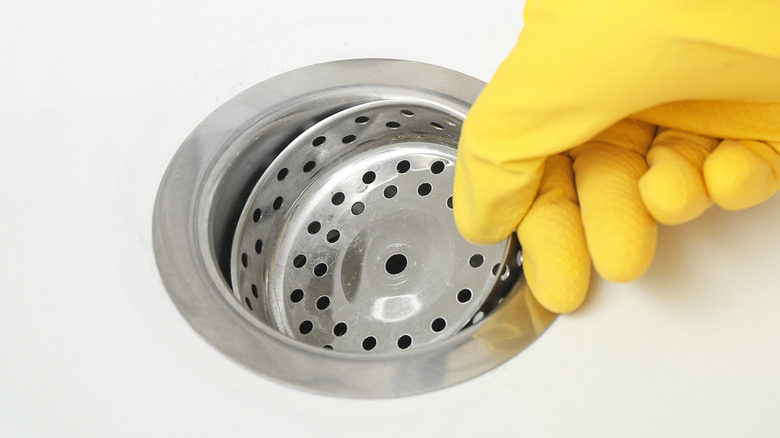
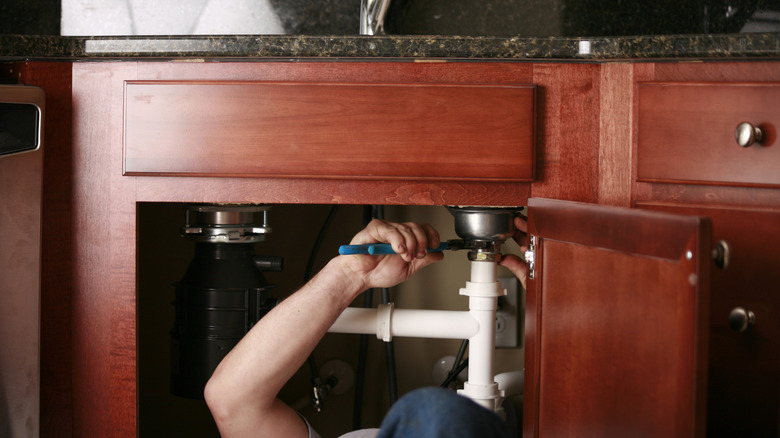
Replacing your kitchen sink strainer might seem messy and complicated, but it's easier than you think. With just a few tools and a little time, you can replace that old, leaky strainer on your own. First, gather your tools: a new sink strainer, Harvey's plumber's putty, an adjustable wrench, pliers, and something to catch water — a bucket or towel works fine. A flathead screwdriver may also come in handy. Once ready, disconnect the plumbing under the sink, including the drainpipe and tailpiece (the tubes connected to the strainer). Be prepared for some water to spill out, so place your bucket or towel underneath. Use pliers or a wrench to unscrew the nut holding the strainer, then push the old one up and out. Clean the area thoroughly, scraping off old putty or gunk for a smooth surface.
Now, for the new strainer. Roll plumber's putty into a rope-like shape and press it around the sink's drain hole. Insert the new strainer and press firmly to seal it. Underneath the sink, reattach the rubber gasket, friction ring, and locknut, tightening with a wrench. Then, reconnect the plumbing, double-check everything, and run water to test for leaks. If it's all dry, congrats -– you've just replaced your kitchen sink strainer on your own.
Pro tips to make the job even easier
Now that you know the basics, let's talk about a few tricks to make the process even smoother. First off, invest in a good-quality kitchen sink strainer. Stainless steel and brass are your best bets because they're durable and won't rust. You don't want to go through all this effort just to replace it again in a year or two. Also, when you're applying the plumber's putty, don't skimp. A good seal is what keeps leaks at bay. If you're worried about using too much, don't be; it's better to have a little excess you can wipe off than to risk gaps.
Tightening the locknut can be a bit tricky, especially if you're working in a tight space. If you're struggling, a DURATECH basin wrench is a game-changer. It's designed for awkward angles and can save you a lot of frustration.
Finally, don't skip the water test. Run the tap for a few minutes and check all the connections underneath for any signs of drips. If you spot a leak, no big deal -– just tighten things up a bit more or reapply some putty. With a little patience and these tips in your back pocket, you'll have it done in no time. And hey, now you've got a new skill to show off next time someone needs quick kitchen upgrades and fixes.

