Painting Tips That HGTV's Mike Holmes Swears By
We may receive a commission on purchases made from links.
Mike Holmes knows a thing or two about painting a house. While the Canadian contractor is best known for cleaning up after those who do a terrible job, he also runs a successful business of renovating things right — the first time. This includes making sure that each part of the house, both on the inside and the outside, looks its best. Yes, painting tends to be one of the easier DIY jobs out there, but not if you don't take it slow. Great results still require plenty of prep, planning, and effort.
Holmes knows this, as he always advises his clients to do lots of research before they crack open the first can. For example, different paint sheens (and bases) work best for different areas of the home, depending on temperature and traffic. There are certain materials you should never paint (only use stain on!), and even a particular order to follow when applying paint to a room so you don't ruin all your hard work. If you want to get professional results, these are the painting tips that HGTV's Mike Holmes swears by.
Apply paint and primer separately
When you're ready to paint, you can't just slap some paint directly on the wall and expect it to look professional. Instead, there are a few key things to do before the first coat goes on. To begin, you will need to clean the walls. Make sure they aren't sticky or dirty, so the paint can lay nice and flat. Next, Holmes recommends that you apply primer separately, and avoid two-in-one products that contain both paint and primer. "The job of a primer is to help the paint adhere to the surface you're painting, and not all primers perform the same function," Holmes wrote on his website, Make It Right. "Some are meant to suppress stains, while others are meant to make your chosen paint color look more saturated."
With this in mind, decide what areas of your home require a coat of primer (such as any raw masonry, wood, etc.) and read the fine print on the outside of the can of primer carefully to figure out if it's the best one for the job. If you struggle to get all the marks off the walls, look for a primer with a stain suppressant. If you're planning to cover dark walls with a light paint color, this is another situation when you need a primer for painting over painted walls, as primer can help block the dark color from shining through. You can save even more work by using a tinted primer, something Holmes strongly recommends. "Using the proper tinted primer can actually help cut down on the number of coats you need to give a room," he shared.
You need to understand the different paint finishes before starting your project
Different finishes work well in different parts of the house, and Holmes recommends knowing the main characteristics of each type before you start your project, so you end up with the best results. "Matte paints have a low reflective finish and dry quickly," he shared on his website, Make It Right. The contractor noted that matte paints are also sometimes called "flat paints" because they tend to hide irregularities, chips in the sheetrock, etc. — but can in turn wear away pretty easily themselves, too. He recommends matte paint for use in bedrooms, the living room, or for the ceiling. Somewhere they won't get too much action.
Next are satin paints. "Satin paints reflect more light than matte paint and is shinier as a finish, and easier to clean. Also known as an eggshell," he said. These work well in busier areas of the home, like in the entryway, the kitchen, or in the bathroom. Finally, there is semi-gloss. "Semi-gloss is a high-sheen paint that's good for rooms that get a lot of moisture like kitchens, bathrooms, and playrooms. Why? It's durable and can be scrubbed — so any grease splatter or other grime can be wiped clean," he said. "It's also a great choice for doors and cabinets." Although they are the two paint finishes that are easiest to keep clean, one drawback to satin and semi-gloss paint is that they can highlight imperfections in surfaces. High-sheen paints also tend to be more expensive than matte and eggshell options.
Choose the base of your paint depending on where it'll go
In addition to the paint's sheen, Holmes recommends familiarizing yourself with the base of your paint before using it, too. There are a few different types of bases: namely oil, latex, and water. When painting your home's interior, you are most likely choosing between oil and latex. "Oil-based paints are strong and durable, but they take longer to dry than latex paints," Holmes wrote for his website, Make It Right. "Since they're more durable, painting your trims with oil paint is a good idea because they tend to take a much bigger beating than the rest of the wall." Your trim is things like baseboards, wainscoting, and even windowsills. These things tend to come into contact with chairs, sticky fingers, or sharp pet nails more than the rest of the wall might.
Latex-based paints, on the other hand, are a great option for less high-impact areas. Brushes and rollers can be cleaned with water instead of a solvent (as is the case with oil-based paint) and they emit fewer VOCs. "You'll have an easier time working with latex-based paints, and they dry faster than their oil-based counterpart, but it's not quite as strong," Holmes continued. "It makes a good choice for those areas that won't see as much wear and tear, like a ceiling."
The colors you select can impact how big or small the space feels
Even if you don't have the biggest house, you can still make it seem a lot bigger. "Choosing lighter pastel tones and painting the trim and walls with the same paint color can create an illusion of a larger space," Holmes wrote for Make It Right. Try this in a cramped living room for a less boxed-in feeling, or in smaller spaces like a reading nook or half bath. However, if you have a large living space that you want to shrink, a different kind of paint also does the trick. "The reverse is true too," he continued. "With a larger room that you want to make look cozier, choose a darker paint color."
If you plan on selling your house anytime soon, you can still use these same paint principles. However, you may want to focus on calmer colors that will likely appeal to a larger group of people. "Of course, if you're a motivated seller, choosing neutral colors may be the best option," Holmes said. "[This is] because it allows any potential buyer to imagine just about any use possible for the room." To them, the reading nook might be a small office — or bold colors in the half-bath might put them off.
Paint your driveway for enhanced curb appeal
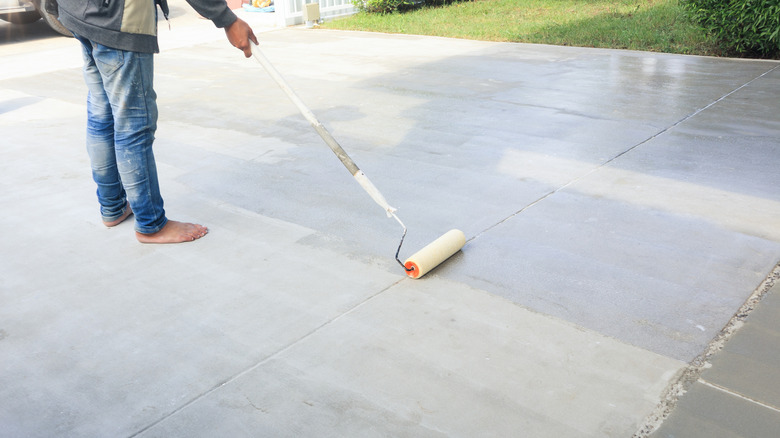
You only get one shot at a good first impression. That's why curb appeal is so important. Whether you plan to sell soon or not, it's important that the outside of your house also looks its best. To help you achieve this, Holmes recommends something a little bit unorthodox: painting your driveway. "Painting your driveway is absolutely a good idea," he told CTV. However, there is a caveat to make the ordeal worth it.
It's the type of paint you use. "Do not use an oil-based product ... you want a water-based product," he continued. The reason for this is that oil-based paints are rigid and likely to crack or chip in this location, and water-based paint tends to apply better onto concrete and asphalt. "It works very well and resists gasoline and oil spills," Holmes said. Water-based paint is also simple to apply. "[It] goes down easy with a squeegee, brush, or roller, and it will protect the driveway from the elements. It will even last up to three years, and is a great way to keep that curb appeal." While there are lots of colors to choose from, unless you want your driveway to look like the yellow brick road, it's probably best to stick with neutral shades.
There is a specific formula to use to set your painting budget
If you are trying to figure out how much it would cost to paint your home yourself versus hiring professionals, Holmes has a formula to make things easier. "First you'll need to figure out the size of your room to determine your needs," he shared on his blog, Make It Right. So, it's time to bust out the tape measure. Take note of each room's dimensions, making sure to account for any unique additions to the number of square feet, like a breakfast nook or built-in shelf. Next, it's time to do some math. "Typically, per 400 square feet, you'll need about 4 liters of paint," he said (which works out to roughly a gallon). "The cost and quality of the paint you select will vary — but this is a good baseline."
One thing to be aware of when calculating costs is that coverage can also play a role. Cheaper paint tends to have poorer coverage and require more coats. In other words, even though you're paying less per gallon, you'll probably need to use more. Unless you factor in coverage, it's hard to estimate the total cost with full accuracy. But knowing roughly how many gallons you might need and weighing up what you'll have to pay for paint can give you a realistic idea of your overall spend. If you don't feel like doing math, Holmes advises using an online paint calculator, like this one from Benjamin Moore, to estimate the total quantity of paint you'll have to buy. This type of budget planning is one of Holmes's best tricks for a seamless home renovation.
Use stain for exterior brickwork, don't paint it
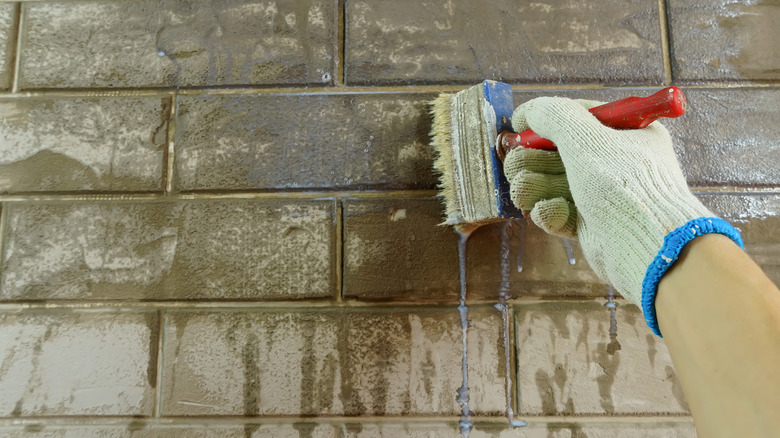
You might be tempted to paint your home's bricks if you want a different look, but one of Mike Holmes's best painting tips is to not do this, ever. Instead, reach for stain, which tends to work much better. "I don't think too many people know that you can stain your brick. You can change the color. You don't have to replace your brick," Holmes told his fans on YouTube. "Do not paint your brick. We choose to stain, not paint."
The reason for this choice is pretty simple. "Paint can block a brick. It's organic. It needs to breathe. It needs to dissipate moisture as it grabs it — think of humidity in the air," he continued. "Staining it will absorb into the brick. As long as the brick can breathe, it allows the brick to have life." If you slather the bricks in paint, this can trap moisture, leading to bubbling and peeling paint, which in turn means you'll have to paint them all over again. Save yourself the hassle by just using stains.
The temperature and humidity can impact the quality of your paint
You might not realize it, but the time of year, or even the time of day, you choose to paint can have a big impact on how well the color sticks. "If you painted a room that gets a lot of direct sunlight or has heat-generating appliances, the top paint coat could dry at a faster rate [than the base coats]," Holmes said on Make It Right. "This can cause bubbles." To ensure this doesn't happen to you, be sure it's not too hot on the day you plan to paint. If it is, plan to turn off the major appliances in the space and crank the A/C in the house – or at least rent a portable air conditioner from somewhere like Lowe's — to keep things cool.
In addition to the heat, you must also consider humidity. "Water-filled bubbles can also be a result of high humidity in your home," he said. "There are several reasons for high humidity in your home, and it can cause severe issues for you like mold and rot. Don't ignore that." In sticky climates, consider choosing a dehumidifier for your space and running it in the room you're painting until the paint is completely dry.
Check the weather before painting outside
While the right weather is important for indoor painting, it matters even more for exterior projects. "You'll want to choose a stretch of time to paint where rain isn't in the forecast," Holmes warned on Make It Right. "If you paint too quickly after rainfall, your siding may still need to dry out, leading to uneven coverage of paint. And you don't want your home to be bombarded with rain shortly after you paint while it's still curing." Of course, unexpected rainfall is always on the cards — but consider the major weather patterns in your area. In areas with summer thunderstorms like the Gulf Coast, time your project for the early fall, for example. This way, there is less chance of things getting interrupted.
Besides picking a good time of year, you'll also want to keep an eagle eye on the forecast before starting. "There's a reason I'm always checking my weather app on my phone," Holmes said. "Mother Nature can severely affect your construction plans, no matter what they are. Even adding a simple coat of paint." While the in-built Apple and Android apps work great, consider using options from The Weather Channel or the National Weather Service as well, to compare forecasts.
Paint your trim, then the ceiling, then the walls
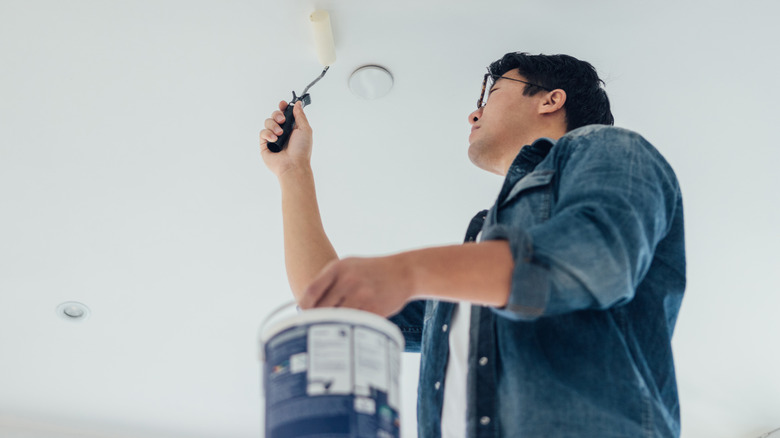
Mike Holmes says there is a correct order to paint rooms, and that if you do it this way, your property will look professionally painted — even if you didn't want to shell out for the service. "Here's the order the pros tend to follow when it comes to painting a full room," he told blog readers on Make It Right. "Start with the baseboards and trim, then do the ceiling, then do the walls last." By doing things this way, you can minimize the amount of taping and touching up you might have to do.
The idea is that by starting with the baseboards you don't have to tape off the walls (just the finished trim when it's dry), and if some of the trim paint does accidentally get onto the wall, that's fine, because it will get covered up when you roll the walls. "Typically, it's just easier to start with the smaller details first," Holmes continued. "Once that's finished, you properly tape them off to protect them when you tackle the larger part of the project." Remember, each step has to fully dry. You aren't going to paint the entire room in a day! When painting, patience is a virtue. Finally, the reason the ceiling goes in between trim and walls is so that if there are any drips, the splatters won't ruin your freshly done walls.
Use a tape gun to make tape and tarp application easier
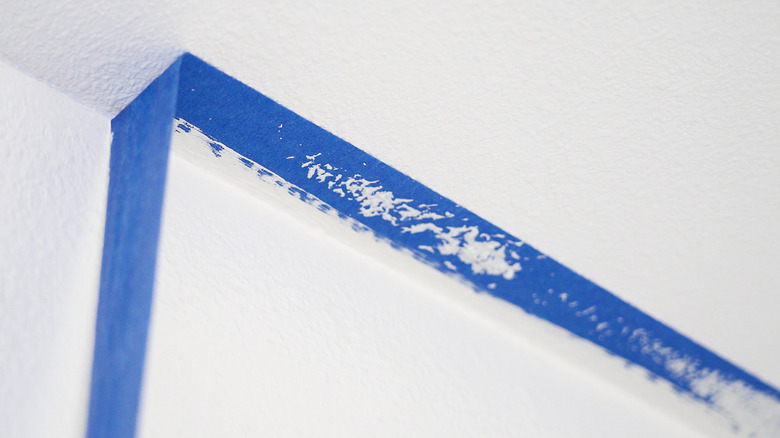
Setting up painter's tape and plastic drop cloths can be tedious work for some. If you are among those who dislike this part of the process, Holmes has a great tip for making things just a touch easier: a tape gun. In a video posted to Facebook, Holmes filmed his crew applying painter's tape with a tape gun, instead of by hand. This allows for easier application in smooth, straight lines. You simply load the tape into the applicator, press it to the wall, and voila! It's applied. Amazon sells various painter's tape applicators, but we tracked down the one used by Holmes and his team in the video: it's the 3M Hand-masker, available on Amazon for just under $40.
Knowing how to choose the right kind of painter's tape is the second piece of this puzzle. Your options are usually blue tape, green tape, yellow tape, and masking tape. Blue tape is most often used and available at all home goods stores. Yellow tape isn't quite as sticky, so if you are working with a fragile surface, it's your best choice. Yet, no matter which option you go with, applying it with a tape gun can make everything so much easier. For a final, time-saving tip, if you've got appliances, built-in furniture, or large areas of wall you need to cover, pick up some of the 3M No Residue Painters Plastic Drop Cloth to go with your hand-masker.

