9 Types Of Landscaping Glue For Outdoor Stones (& How To Use Them)
We may receive a commission on purchases made from links.
Let's face it, landscape design is not for the light-hearted. It requires significant planning, thoughtfulness, and the right tools and supplies for the job. One of those supplies is adhesive — but not just any adhesive. While there are dozens of options out there, landscaping requires a certain type of glue that can retain bonding even in the harshest of weather conditions. Now toss in the smooth but also jagged surface area of landscape stones, and you've officially got yourself into a stress-inducing situation.
But don't worry, we're here to help. We're breaking down some of the most popular types of landscaping adhesives, what they're good for, and how to apply them successfully. Plus, we've even got a few tips and ideas for how you can use landscape glue to improve your garden space by preventing wasteful run-off.
Use waterproof polyurethane glue for medium-sized landscape rocks
Waterproof polyurethane glue is used to bond outdoor stones together to create landscape features with small to medium-sized rocks. Polyurethane glue can bond concrete, glass, metal, stone, wood — pretty much any sort of material you'd use outdoors. Plus, it's waterproof and won't break down when exposed to harsh weather. However, it's worth noting that the expanding of the glue while it's curing can be unsightly, so you may need to do a little finishing with sandpaper or paint. Also, be careful when using this, as it can be a skin irritant. Since polyurethane glue bonds rocks like a champ, consider using it for projects like securing rock borders into place, stacking stones to create a waterfall feature, or attaching stepping stones or pavers to a base.
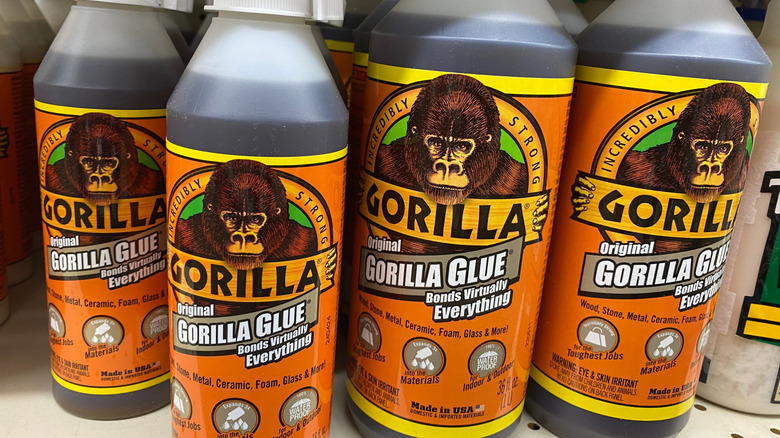
It's popular for landscape design thanks to its ability to expand into porous materials or nooks and crannies, strengthening the bond. Original Gorilla Glue is probably one of the most well-known versions of waterproof polyurethane glue. This glue is typically available in a brownish-tea color. There's also a clear version that is only water-resistant and not waterproof. You can also find other brands, so get whatever's the best for your budget.
Polyurethane glue requires water to activate it. So, you'll need to first clean all stones and then dampen one of the surfaces that you want to bind together. Next, while wearing gloves, apply the glue onto the dry stone surface with a disposable paintbrush. Once you've got a nice, even coat, push the stones together. Then, use tape, rope, or bungee cords to bind them for one to two hours to dry. After 24 hours, the glue should be fully cured and the stones will be ready to go in your garden bed.
Multi-purpose construction adhesive is great for larger landscaping stones
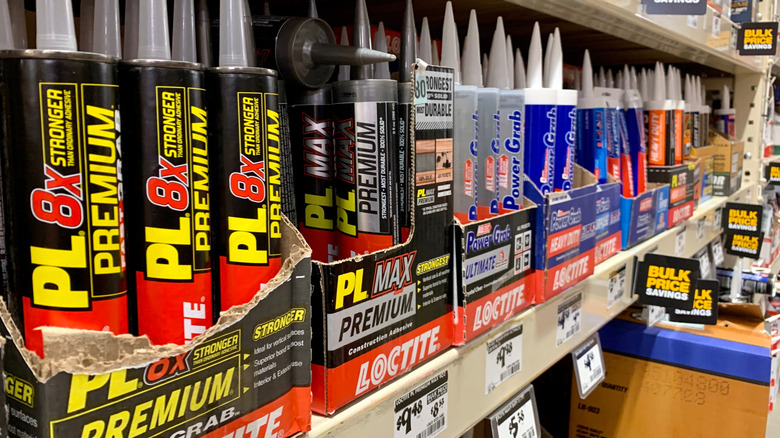
Multi-purpose construction adhesive is acrylic-based and works like a tacky caulk. It can successfully bind large masonry stones, bricks, concrete blocks, and other outdoor materials. This makes it useful for projects like creating a cinder block raised garden bed or bonding rocks together for garden sculptures. Many, like Loctite Power Grab Express Heavy Duty Construction Adhesive, are water-based formulas that have low odors. This makes them more environmentally friendly because they don't emit as many Volatile Organic Chemicals (VOCs) into the atmosphere as solvent-based glues.
If you head to the hardware store, you'll notice that most multi-purpose adhesives come in a long tube, so you'll need a caulking gun to push the glue out, or you can try using aluminum foil as a makeshift caulking gun. Pop the adhesive in the caulking gun then cut off the tip of the tube at an angle. Pump the caulking gun handle until the adhesive starts to come out, then apply it with even lines. Some people use straight lines, while others prefer a zig-zag pattern; the choice is up to you. Press the stones together and bind or clamp them for 10 minutes, then allow them to cure for 24 hours. Unlike polyurethane glue, construction adhesive does not expand, so where you put it is where it will stay. However, if some does seep out during the clamp hold, use soap and water to remove it. If there's adhesive left in the tube, there are a few ways to stop it from drying out, like wrapping it with plastic wrap and a rubber band or plugging the caulk tube with a wire hanger.
Landscape block adhesive is perfect for stone retaining walls
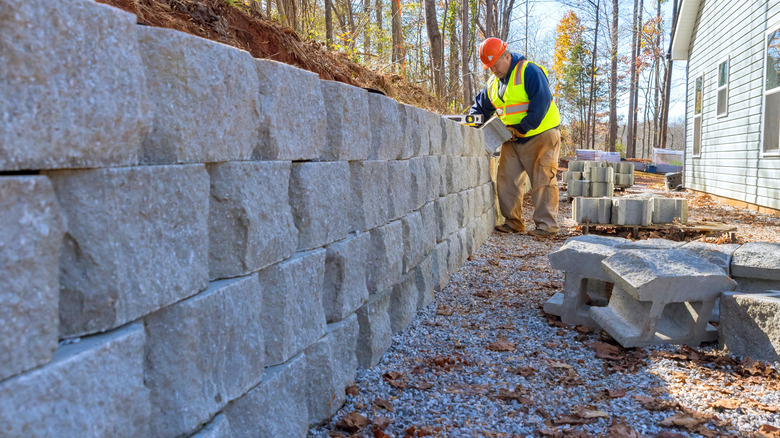
If you're building a retaining wall, then you'll need something that can stay strong even when getting constantly pushed against by tons of dirt. That's where landscape block adhesive comes into play. It's designed to withstand the force pushing against these walls, reducing shifting or loosening blocks. Though it's designed for blocks and stones, it's also useful for heavy planters, capstones, and even walkways or paths.
Landscape block adhesive like Liquid Nails Landscape Block and Stone, is an eco-friendly option thanks to its low-odor formula. Plus, it's weatherproof, ensuring your wall or stone feature stays put no matter the conditions. Not only does it cure faster than mortar, but it's not made from quarry materials like mortar. This reduces the environmental impact your projects create since adhesives skip the need for raw material acquisition and processing.
Like multi-purpose construction adhesive, landscape block adhesive comes in a caulk tube so break out that caulking gun. Cut the tip at an angle to the desired size and pump the gun handle until the adhesive comes out. Apply a beaded line on the block and then press it against another block, leaving it clamped for 10 minutes. Within 24 hours, your stone adhesive (and your new wall) will be cured and ready to go.
Acrylic concrete adhesive is great for repairing cracked stones
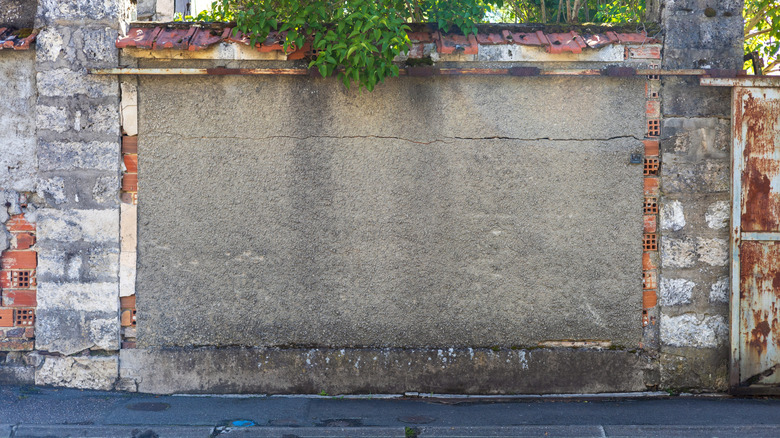
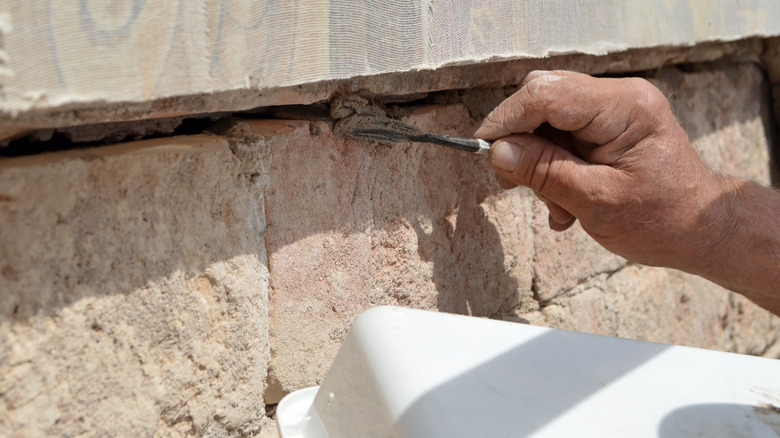
We're not the only ones who crack under pressure — concrete does, too. If you've got a concrete patio slab or stone walkway, then you've probably noticed over time a few stress fractures popping up. This is usually caused by the concrete expanding or compressing due to temperature fluctuations. Luckily, there's a solution for cleaning up those cracks: acrylic concrete adhesive. Products like SikaLatex R Concrete Adhesive Glue are acrylic-polymer latex blends that fill gaps and prevent moisture or air from getting in and growing the crack. Plus, you can even mix it into a fresh batch of concrete to strengthen the finished product.
The way to apply it depends on how you're planning to use it. If you're using it to repair cracks in hardscape features, mix it with sand and cement per the package's instructions to make a paste. Then, fill the crack and use a putty knife or trowel to level it, then leave it alone to cure. If you're planning to fortify a concrete mixture, you can either substitute some or all of the water for adhesive. Just be sure to follow the concrete manufacturer's recommended liquid-to-concrete ratio, then install the concrete as you would normally would.
Epoxy-based stone adhesive can bond and seal landscape stone projects
Epoxy resin is a miracle of the DIY world. It's a great crafting material, useful for preserving art and mementos, and is a super strong adhesive that can repair just about anything. Landscapers, contractors, and gardeners are all big fans who will use it on landscape stone projects because epoxy adhesives are water-, solvent-, and UV-resistant and can fill in gaps or cracks on vertical, uneven, or just plain awkward surfaces. Use it for sealing cracks in concrete or to protect mosaic tile designs from weather damage.
The environmental impact epoxy resin has is a little bit hinky. On one hand, some epoxy resins will emit VOCs during the curing process, which can affect the environment and your health, so wear a mask or work in a well-ventilated area. However, there are low-VOC epoxy options, and some are made from bio-based materials, reducing their need for fossil fuels in production.
Epoxy adhesives usually come as a two-part system — the epoxy and a hardener — so they will need to be mixed in a tray first. Mix for around 20 seconds, stirring gently to avoid bubbles. Once the mixture looks uniform, apply it to cracks or gaps with a putty knife and let it set for five minutes. During this cure time, you can wiggle the epoxy around if you need to reposition it, just don't fidget it too much so it has time to cure.
Silicone adhesive is a no-fuss landscape glue
Polyurethane, acrylic, and now silicone. Will the choices ever end? Unfortunately, we can't say, but we can tell you why silicone-based adhesive is awesome for landscape rock bonding and repair. Give it a try for repairing damaged planters or garden ornaments, filling in small gaps in concrete, or adding loose stones to rock or retaining walls.
But if silicone does the same thing as acrylic, why would you pick one over the other? Silicone-based adhesives have a better tolerance for colder temperatures than acrylic and are flexible, making them great for materials or spots that contract or expand with temperature changes. However, acrylic is better for applications where you need a bond fast or you plan to paint it eventually. So, if your landscape experiences some serious seasonality and you can let your stones sit for a while, opt for silicone. If your landscape stays pretty temperate or you don't feel like waiting around for your adhesive to dry, opt for acrylic.
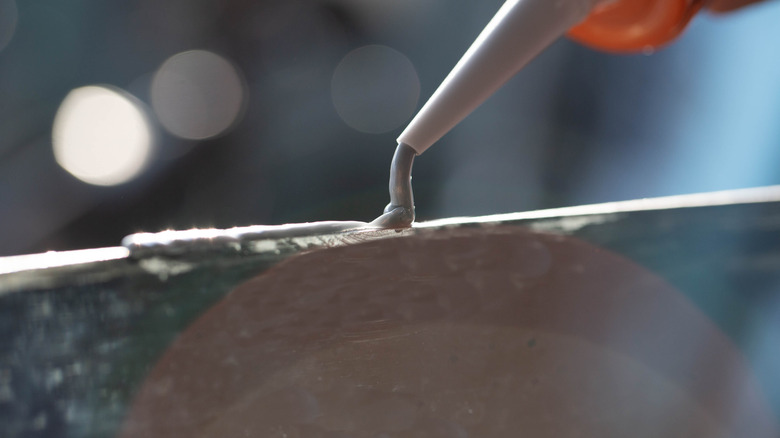
Silicone adhesives come in pretty much every color imaginable, but most outdoor DIYers will typically opt for white, clear, or gray. Like other adhesives on this list, your new silicone landscape glue will come in a caulk tube, so the same process applies. Pop it in a caulk gun, cut an angled hole in the tip, pump the handle, and apply, then press stones together and clamp until the adhesive is cured. Some manufacturers also require you to puncture a hole to break the internal seal, so check the directions to be sure. Once applied, silicone will take around 30 minutes to set and cure, so plan your clamping strategy accordingly.
Use ceramic, glass, and tile glue for creating or repairing stone or tile mosaics
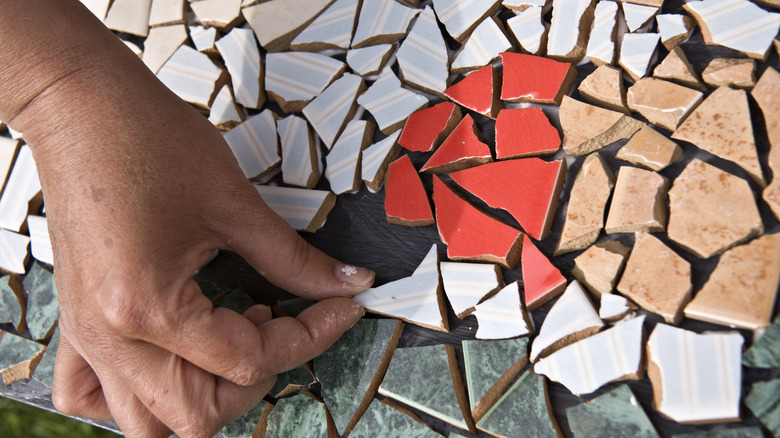
Not all landscaping stones are hard rocks or gravel; some are purely for decoration. So, what should you use when a piece of mosaic tile or a glass stone slips off of its home? Ceramic, glass, and tile glue, of course! This type of adhesive is made from cyanoacrylate and is completely transparent, durable, and waterproof, making it awesome for repairing decorative garden stone designs.
If cyanoacrylate sounds familiar, it's probably because you've seen it listed under the brand names Super Glue or Krazy Glue. ATP ADT also makes one named Stone Glue, but they're all close, so get whatever brand is best for you. However, it's important to note that cyanoacrylate is a synthetic polymer, meaning that it can have some environmental impacts. Some have also reported eye, nose, or throat irritation from its fumes. So, only use it in a well-ventilated area or wear a respirator mask.
Cyanoacrylate glues are usually sold in small tubes, so they're not great for massive projects (unless you buy multiple tubes) and are better saved for things like tile repairs. To use, clean off both surfaces as best you can, apply a thin line of glue to one surface, press the stones together, and hold for 10 to 45 seconds. If any seeps out, let it dry then blot the drips with acetone using a clean cloth. Then, gently scrub the area with a soft-bristle toothbrush, and go slowly so that you don't damage the stone or tile. Repeat the process if necessary, ensuring the acetone is completely gone by wiping the area down one last time with a clean, dry cloth when you're done.
Use rock glue for pebbles and gravel
Rock glue isn't subtle about what it does; the name says it all. If you have small landscape rocks that tend to wander off, rock glue is your best bet for keeping them secure and preventing pea gravel from washing away. There's also a type known as mulch glue. However, it's pretty much the same thing and can be used for gluing mulch on landscape rocks, so don't feel like you need multiple types for your rock and mulch landscape design.
Rock glue works by binding small rocks together with a thin, water-permeable coating, helping them to stay in place against erosion or the forces of nature. Since it's designed for landscape use, rock glues are environmentally safe and shouldn't harm plants, pets, or little ones. Rock glue most often comes in larger quantities (usually about a gallon) than other adhesives on this list. There are two ways to apply it and your method will depend on whether your gravel receives high foot traffic or not.
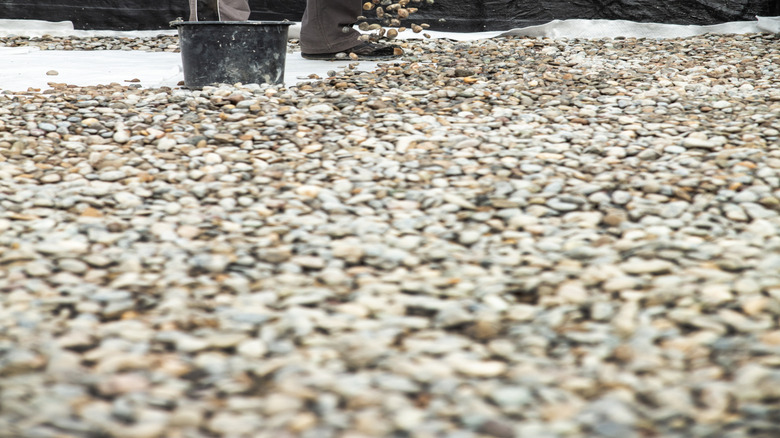
For patches with heavy foot traffic, add the stones to a bucket and pour the glue directly over the stones. Mix the stones and glue for a few minutes using gloved hands or a mixer attachment on a power drill. Once your gravel is well-coated, pour it over the area you want to cover and allow it to dry. For low-traffic areas, dilute the rock glue with water and add it to a garden sprayer, then evenly spray across the gravel. Turn the rocks over with a rake or trowel, then spray another coat. Repeat this process a few times to ensure that every stone gets coated.
Hydromulching binders could work for temporary stone projects
Let's say you're testing out a few landscape design ideas, but you're just not sure and want a few days to live with them before going all-in. In that case, check out hydromulching binders. These are temporary adhesives used to secure hydromulch into place on slopes, usually to bring fire-burned areas back to fertility for vegetation. The binding agents are typically naturally forming gums or glues, so they're super eco-friendly and won't damage your landscape's vegetation.
But we want to reiterate that hydromulch binders are temporary and will not have good adhesion for large rocks or features, so only use them if you want to test a design with smaller rocks, mulch, or pea gravel. You'll probably be hard-pressed to find something listed as a "hydromulch binder" in your local gardening center. Luckily, the USDA lists a few examples you can pick up in nearly any grocery store. Guar gum is the lowest adhesive binder, followed by xanthan gum, which has a slightly stronger adhesion. Psyllium husks are coated with mucilage, a natural glue, and are believed to be stronger than the former two but probably not as easy to get.
You'll most likely receive your binder as a powder and will need to mix it with water so that it forms a viscous gel that can be applied to your stones. Most will require about half a day to dry and, once in place, should be expected to wear off within six months. However, keep in mind the "six-month" theory is for mulch, not stones, so you should probably expect your binder to wear off much faster than that.

