How To Keep Mums Alive: A Year-Round Guide
We may receive a commission on purchases made from links.
Ah, chrysanthemums — the bright blooms that signify the last call for warm weather and the waning amount of long, sun-filled days. But did you know that feeling you get from mums might be deeper than a passing burst of feel-goodness? For over 400 years, Chinese medicine practitioners have used chrysanthemum flowers to relieve anxiety in patients, so perhaps those calming feelings you're picking up on aren't so random after all. Plus, mums are awesome for repelling ants and attracting hummingbirds. Let's keep those happy times coming by stopping your mums from acting like annuals, and instead turn them into year-round perennials.
We're going to cover everything you need to do every season to ensure your mum plants thrive for years to come. Since we know our readers come from both sides of the equator, we've opted to break this down by early and mid-season tasks (instead of monthly), so you have more of a moving target that adapts to your climate rather than needing to navigate hard cut-offs that might not apply. We'll dig into (get it?) what each task does to ensure the longevity of your mum plants and give you a few tips for signs it is, or isn't, going well. So grab your mum seed packets and let's go.
Mum care requirements and overview
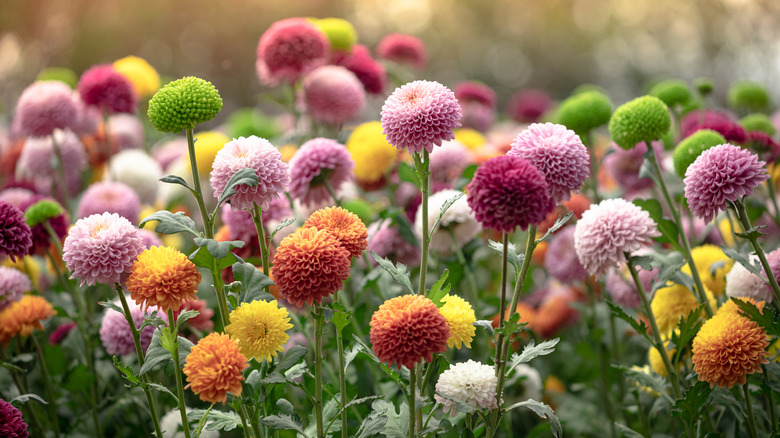
First, let's do a quick overview of what chrysanthemums need to thrive so that you can decide whether this is going to be easier — or harder — than you planned. There are two categories for chrysanthemums: garden hardy and exhibition. For the sake of brevity and to not bore you to tears, we're going to focus on the garden hardy varieties, as those are the types you'll most likely find in your local plant nurseries. Garden hardy mums break down further into three groups: Korean/rubellum mums that work well in the ground as perennials, spray mums that flower in clusters and also work well in the ground, and charm/cushion mums, which are compact and bred for pot life only. Charm/cushion types are the ones most typically found in big box stores or supermarkets and are sold in autumn. If you want to plant your mums in-ground, then you might want to look for varieties from the other two groups to ensure success.
Once you've ensured you've got the right type of mum, let's talk growing requirements. Generally speaking, chrysanthemums do best in full sun and need soil that's rich in organic matter and consistently moist, but well-draining. They can tolerate some shade, but getting them the most sun possible will give them the best chance of surviving harsh winters. Fertilize them often, as mums are voracious feeders and love getting lots of nutrients to keep their bloom seasons as long and full as possible.
Early spring: Begin prepping and planting
Alright, let's begin your year-round plan for keeping your mums happy and healthy. We're going to define "early spring" as the time when you're past the last frost and any chance of your mum plants freezing at night is gone. The soil should be workable at this point, but still early enough that things haven't begun to grow. During this time, we'll begin preparing the planting area, acclimating potted mums, and planting mums into the soil.
If you've planted mums before, you'll need to check your calendar and see which year of mum growth this is for you. If it's the fourth consecutive year, it's time to switch to a new planting area, as rotating your planting locations after year three will give the soil a chance to drive out any mum-susceptible disease or pests. If you're still in the three-year window, remove any protective coverings you've laid over the bed and chuck any old or dead plants that haven't made it through the winter.
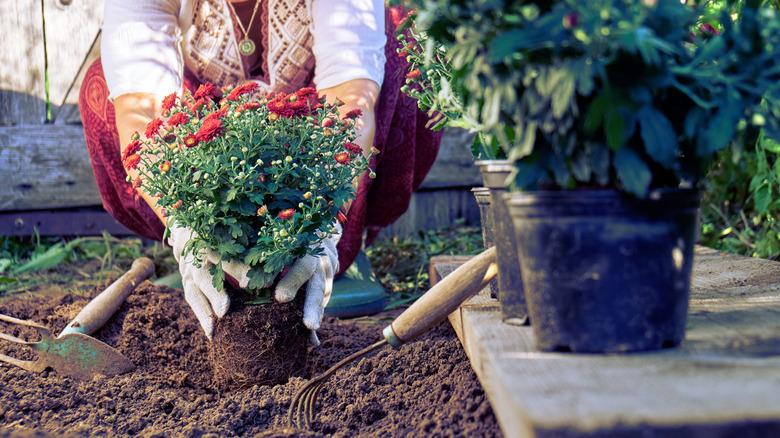
If this is your first time planting mums, or you're starting a new plot, it's time to prepare the soil bed. Start to till the soil around two weeks before planting and break up any soil clumps, digging around six inches below the surface. Incorporate organic matter into the soil for the mums to feed off of, such as peat moss, fertilizer, or compost. If you need to add pea gravel or small rocks to improve drainage, do that now, too. After allowing things to settle into place for those two weeks, it's time to plant your mums. If you're planting a starter or formerly potted plant, use those two weeks to acclimatize them from their former holding area to the outdoors; this will lessen the chance for transplant shock. Plant them at a depth so that the root ball is exposed; mums do best when planted high instead of deep. Give each plant 18 to 30 inches of space; this will keep the air circulating around them and allow them to stretch out. If you're planning on starting mums from seeds, unfortunately, you're a little late. They're best to sow in the fall, so you should start them ASAP.
Spring: Divide, fertilize, pinch, and prune
Now we're into the height of spring; the weather is pleasant and baby mum sprigs have sprung. This is when we'll begin setting your mums up for success to ensure a long bloom season. During this time, we'll divide old mums, pinch stems, incorporate a fertilizing routine, and move our potted mums outside.
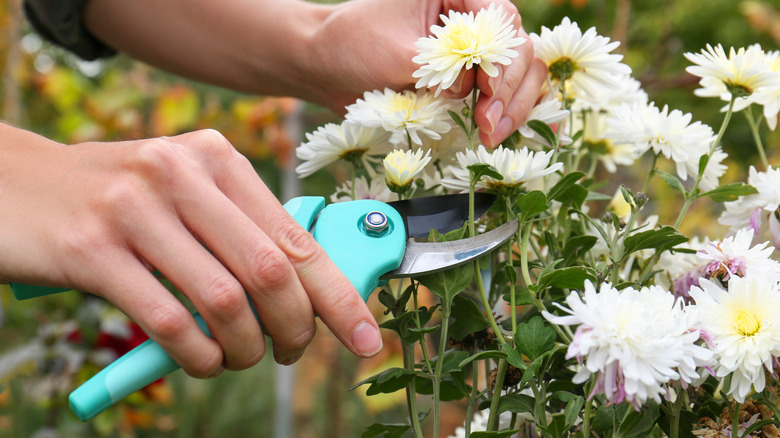
Mums can get cramped every three to five years, so they will need to be divvied up to reduce overcrowding or prevent a disease or pest infestation from taking over the whole colony. Dig the mum plant up and separate its root ball with a sharp, clean knife. Remove anything dead or mushy-looking and replant the divisions into loose, fertile soil. For newer, less crowded mums, it's time to spruce them up and prepare them for their bloom season. Cut off any old growth and pinch stems that are six inches tall or higher. Go down around 3/4 inch from the top of the stem and clip with clean pruning shears; doing this will make them bushy, instead of leggy, and promote more blooms. Pinch them once again after they reach 1 foot high.
If you're planning to keep your mums potted, bring them outside in the spring. Since potted mums have less insulation around their roots than in-ground ones, you want to wait until temperatures are comfortable enough at night to prevent root death. Regardless of where your mum is living, it's time to begin their fertilizer routine to help provide nutrients that will promote blooming. Give them a regular dose of balanced fertilizer, like Jack's Classic 20-20-20 All Purpose Water-Soluble Fertilizer with Micronutrients, and opt for a light-but-frequent routine, instead of heavy-but-every-now-and-then one.
Early summer: Stop pinching and start mulching
We're getting into the start of summer and temperatures are beginning to warm up consistently. Generally speaking, we should consider this time to be around 100 days before the first mums begin to bloom. For early summer, expect to stop pinching stems, begin propagations, and lay down the first layer of mulch.
Early and mid-summer months are fairly low-key for mums, so this should be a time when you're focusing more on your colorful summer-blooming plants and flowers. By now, your mums should look fairly compact thanks to stem pinching, so ease off the pruning now. This is also an excellent time to clip any cuttings you plan to use for propagation; mums do best by division or cuttings that are three to six inches tall. Remove leaves off the bottom third of the cutting and dip the end in a rooting hormone – Bonide Bontone II Rooting Powder is a popular option, but we also really like Hormex Rooting Hormone #1. Pop your cutting into a mix of coarse sand and perlite, and keep it consistently moist. In around a month the cutting should begin to root.
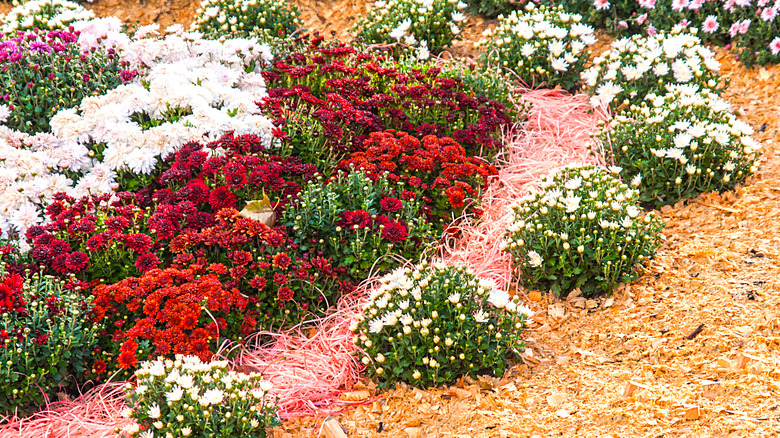
For the mother plants, it's time to add the first layer of mulch. This helps the soil retain moisture close to the shallow root systems mums have, which is key for helping them survive the harsh summer sun. Choosing the best type of mulch for your garden will depend on a few factors, but most wood- or straw-based mulches will do just fine.
Summer: Water, pinch, and provide support
Summer is one of the most important times for keeping up with mum care. Due to their shallow roots, maintaining adequate moisture during the summer is critical, so most of your tasks will revolve around protecting their growth. During the summer, expect to maintain consistent watering routines, add support stakes to taller varieties, and pinch off buds.
Mums are fairly hardy, easy-to-grow plants, but they can't stay strong if they're missing the essentials. Moist soil is required to keep mum's shallow, fibrous roots happy, and letting the soil get dry is one of the most common ways people end up killing their chrysanthemums. Pay attention to the moisture content of your mum's soil and consider upping your watering routine during the height of summer.
During this time, you may also see early-blooming mums start to flower. It's your call whether or not you want to let them bloom now or at a time when they'll have less harsh conditions to contend with. We'd recommend pinching off blooms and buds so that they'll flower in the fall. You can keep this up until around the end of July or whenever your climate begins to enter the dog days of summer. This is also a good time to give taller mums support netting or stakes to prevent them from drooping because of their dense, weighty blooms. Tomato cages, garden netting, or wire framing are all useful, but whatever you've got around or whatever is in your budget will do.
Early autumn: Time to pick your mums
Now is when all of your hard work finally pays off: bloom time. Generally speaking, this is the time when you're around two months away from your first frost. During the early fall, you'll spend most of your mum care routine picking blooms and beginning new mum seeds. You'll also want to continue watering and fertilizing your plants to keep them strong.
Mums typically begin to flower in the late summer/early autumn, so give them one more hit of fertilizer right before the buds start opening up. Once they've bloomed, cut off their fertilizer and give them time to rest; they've worked really hard to get those flowers out! This is also a time of year when gardeners may back off on their watering routine, but don't fall for this common misstep; your mums still need a good reservoir of moisture to support them during their bloom season.
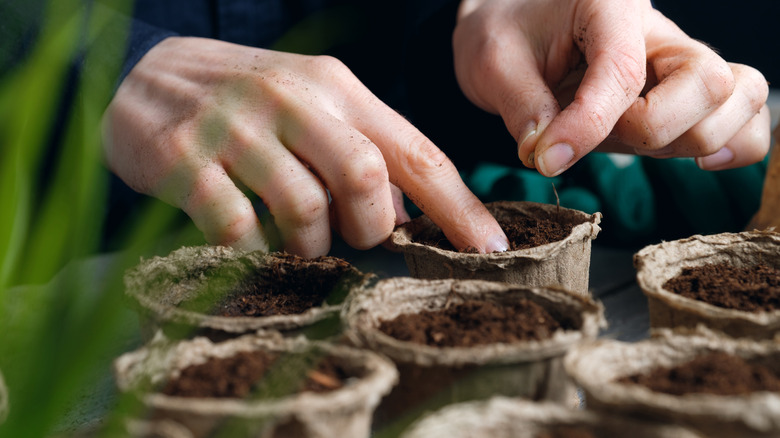
This is also the time of year when you'll want to begin prepping mum seeds for planting if you're going to sow them directly outside. Planting them now gives the seedlings time to adjust before the soil starts to harden. Your mum seedlings will take a little under a month to germinate, which is good, because this will give them time to root before the winter. Don't sow them too deep — remember that mum roots are shallow, so you don't need to dig in very far.
Autumn: Weed, deadhead, and mulch once more
We're about to hit the end of the growing season, so it's time to prepare your mums for the winter. During the fall, expect to add more mulch to the planting site, deadhead spent blooms, and move container plants into the ground for the winter. You'll also want to remove any remaining weeds and continue watering, but at a slightly reduced rate.
Deadheading spent blooms will help increase your mum's bloom season, so don't skimp on this. Your mums will also still need watering occasionally, but may not need it as often; check the soil's moisture consistency at least once a week. This is also the time that we want to prep the plants for their cold winter's nap, so pull any remaining weeds you see and add a fresh layer of mulch to insulate the roots.
Fall is also the time when tough decisions need to be made. If you've ended up getting a chrysanthemum plant that's in the charm/cushion category, then you'll most likely need to pull your plants once they're done blooming, especially if you live somewhere that has colder winters. Unfortunately, these types just aren't hardy enough to make it through the frost. You can also try transplanting container plants into the ground now before the first frost, but be aware that they'll need good insulation and might only tolerate this if you're in a warmer climate. For cold-weather folks, it might be best to just bring them inside.
Early winter: Protect potted mums and cut back foliage (or not)
Now that the first frost has hit, it's time to overwinter your mums. During this time of year, you'll need to decide whether or not to cut the plant to the ground. You may also want to install a cold frame for in-ground mums and move your potted mums inside for the season.
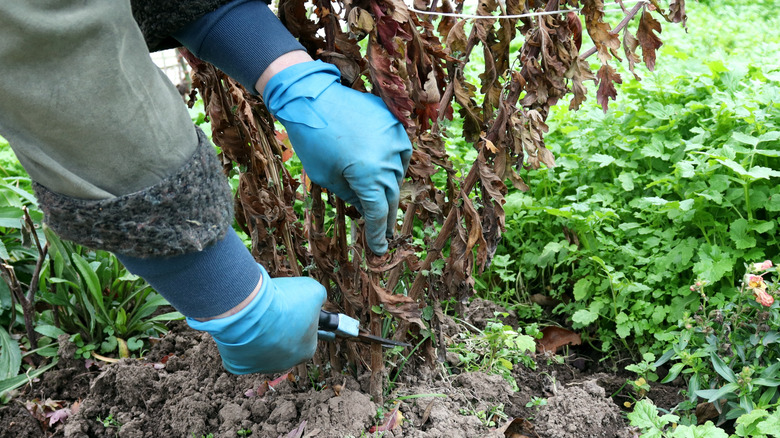
First, let's tackle whether or not you should cut your mum plants back. Our primary sources are conflicted on this, as there are benefits to both methods. If you live somewhere warm, we think the safest route to go is to cut back dead foliage once your mum is done flowering. If you live somewhere cold where mums would typically have a hard time thriving, leave them as-is. However, understand there are no guarantees that they'll come back either way, as it depends on their ability to tolerate your coldest winter temperatures, your care routine, and the type of mum planted.
However, if you want to play it safe, there's nothing wrong with transplanting in-ground mums into containers for the winter and moving them somewhere that's cool but well-lit, like a covered front porch. Mums still need a dormancy period, so they won't need to be kept in a warm area, but would still prefer some place better lit than a dark basement. You could also opt to install a cold frame over your planting site. This will be a little more intensive, work-wise, but not difficult; you can even DIY a cold frame with wood and plastic sheeting. Plus, it could be the better option if you've got a lot of mums or don't have a good indoor space for them to spend the winter.
Winter: Cover planting area, start new mum seeds, and take a break
Onto the final stretch — you're so close! During the winter, there's not much to do except cover the planting site with straw and start new seedlings indoors. Plus, you've definitely earned a break from your year-long effort to keep your mums happy, so kick your feet up!
This is the time of year you'll want to add a protective layer over the planting site to ensure any remaining perennial mums are well-protected from the cold. Add 2 to 4 inches of straw or mulch over the planting site no later than early December, or your equivalent month, when the frost has begun to form, but you're not yet into the full-on winter doldrums. If you've got a lot of pine trees around, a layer of pine needles that's a few inches thick could work, too, and save you a few bucks.
If you've decided to sow seeds indoors instead of outside, this is the time to do it. Don't sow the seeds too deeply, though, as those shallow roots don't want to have a lot of work to germinate. Within one to three weeks, you should start to see seedlings popping out. Use a seedling heat mat to keep the soil around 70 to 75 degrees Fahrenheit and consistently moist.
