How To Apply Polyurethane To Floors (& Mistakes To Avoid)
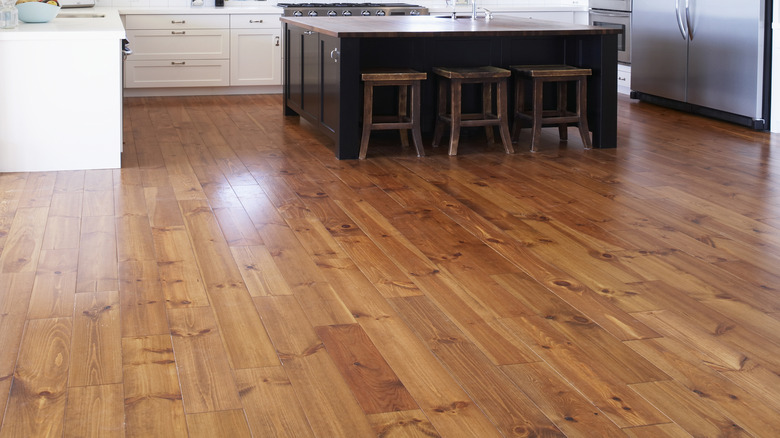
Your floors aren't just a place you walk on — they're the silent stars of your home's style. So the design shouldn't be an afterthought. If you're trying to find ways to upgrade the surface, consider using polyurethane. It is a clear and protective coat that adds a glossy finish and shields your floors from scratches, spills, and scuffs. Think of it like a shiny suit of armor, but for your hardwood. It also doesn't hurt that it's one of the budget-friendly ways to give your floors an upgrade. But achieving that perfect finish doesn't magically happen. To properly apply polyurethane, you need to prep the hardwood and have the right application tools.
The coating not only enhances the look of your floors but also their longevity. Plus, it's a good way to waterproof wood, too. However, it's a process that would need a little effort from your end, so you can achieve a stunning and long-lasting result. Messing up the application could quickly become a DIY disaster full of uneven streaks, sticky patches, air bubbles, and a finish that wears out immediately. The good news here is that applying polyurethane doesn't have to be hard. With some preparation, patience, and a few key tips, your floors can look brand new.
Applying polyurethane without any problems
The first step to a flawless polyurethane finish is thorough preparation. This is done by evenly sanding and cleaning the floor to remove any debris or old finish. It makes it easier for the polyurethane to stick and can prevent a bumpy or uneven application. Plus, it minimizes dust that can become sealed under the glossy layer. You also want to fix any cracks or deep scratches.
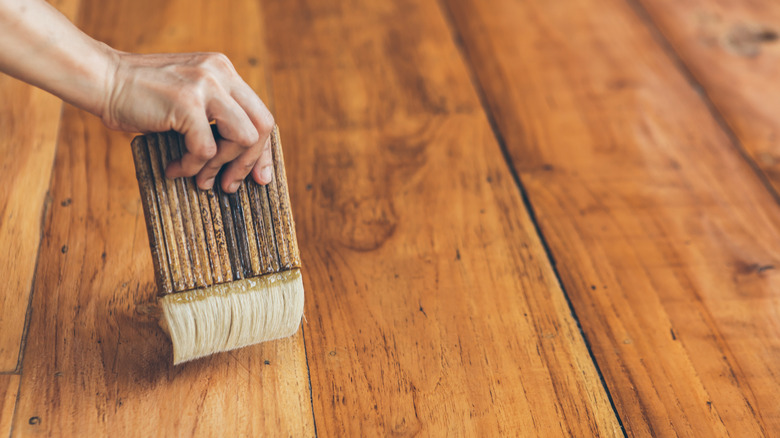
Next, use a high-quality brush or roller (this ensures even coverage) to spread the polyurethane. Start by going around the edges of the room, then work across the floor. Follow the wood grain (this avoids streaks) with smooth and overlapping strokes. The key here is to make thin and consistent layers since too much of the polyurethane can result in uneven texture. Allow the finish to dry fully before sanding lightly using a fine-grit sandpaper and adding another coat. Repeat this process for two to three layers, and don't forget to clean the surface between each coating.
You want to avoid rushing through the drying process since it can compromise the finish. See to it also that you are working in a well-ventilated area with controlled humidity to prevent moisture from affecting the curing process. Further, don't skip the protective measures, like wearing socks or shoe covers to prevent footprints and dirt on the finished floor. Then once the final coat has dried, wait a few days before placing back furniture to ensure that the surface has hardened. Just follow these steps to achieve a professional-looking polyurethane finish that will bring old hardwood floors back to life!

