Your Dream Dining Table Doesn't Have To Cost A Fortune With A Basic DIY
If you have your sights set on your dream dining room table, the price tag may be what sways you away from it. Whether you're moving into a new space or just redoing your dining room, why waste money on a new table that's going to break the bank, especially when you can create your own? Instead, grab your power tools and a 20 foot-long piece of wood to build your dream statement dining table without the fantasy budget!
Now, you might be wondering how building your own table could be more cost-effective than picking one up from the store. New wooden tables can be a pricey investment, easily setting you back over a thousand dollars for a simple design that can be made at home. On the other hand, using a single piece of wood saves you not only money, but also on additional planks should you need them. This trick uses the same piece of wood to create the entire table, including the underside supports, meaning your only investment is the original 9 by 3 and a set of legs. Combined, the supplies for a DIY dining table would be around a few hundred dollars. And with these simple steps, it is easy to curate a designer feel without the hefty price tag.
Creating the perfect dining space
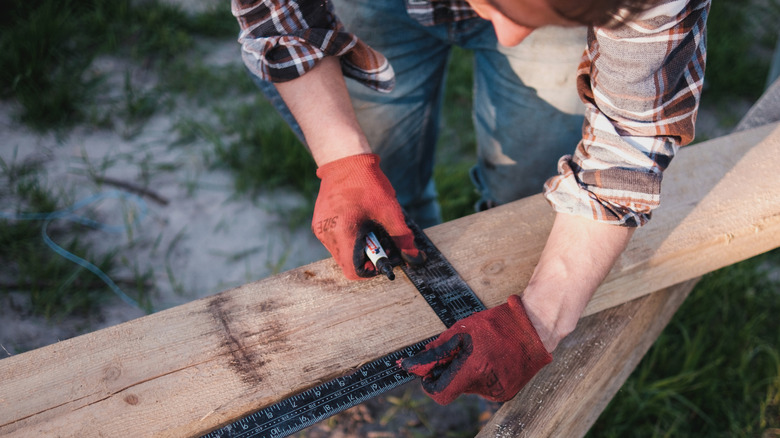
To kick off your table journey, you want to grab yourself a 20 foot long wooden board that is 9 inches wide and 3 inches thick. Lay your newly acquired wood down on a flat surface and measure out four sections of about 4.5 feet. These will be the boards that you are securing together to create the surface of your table. You should have small planks left over at the end that will serve as your support beams. Using a saw, cut along the measurements, ensuring that you are getting a straight edge on each board. Once that is complete, sand each board individually to get a smooth finish on all sides, giving you a more polished final result. If you are choosing to stain your wooden planks, now is the perfect time as you can easily reach all sides of your boards.
Once everything is cut and stained, it's time to assemble your new dining table. Apply a generous amount of wood glue between each board and clamp them together until it is completely dry. For additional stability, lay your extra pieces of wood perpendicular to your boards and screw them into place. These will serve as support beams, holding each board together from the underside of the table. Next, attach your purchased legs to the underside of the table using brackets or screws. All that's left is a little decorating of your dining table to create the perfect rustic hosting space.

