The Helpful Tip To Know Before Caulking A Bathtub To Avoid Unsightly Cracks
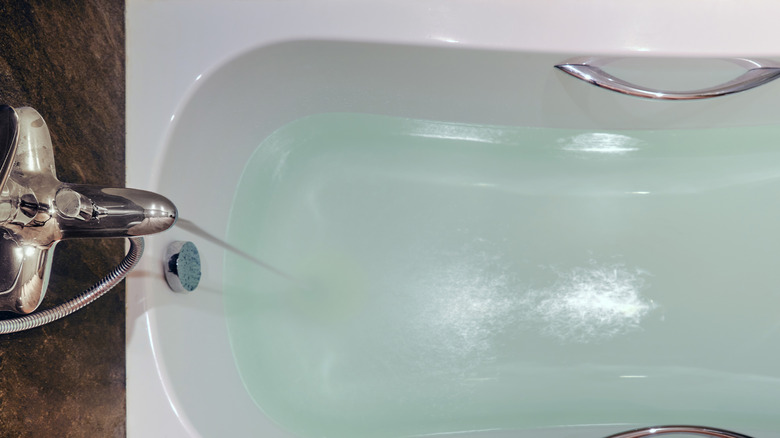
So your bathroom needs a new seal and you want to make sure the next caulk you put in does not get those terrible cracks after a short time. While there are so many genius tips for caulking your bathtub, not a lot of them help fix the annoying issue of cracks. Thankfully, there's a tip that should solve this problem which is to fill your tub with water before caulking.
The idea behind this tip is that caulking an empty bathtub doesn't take into account the added tension the tub experiences during use. While having a bath, your bathwater and body weight add pressure to the tub causing it to sag and stretch the caulked seams slightly. This stretching over time can cause the caulk to crack because of the increased gap. However, if the caulk was applied on a tub that was at least half-full, it means you're sealing it while it's already in that stretched position, so the tendency to crack reduces.
While there are mixed feelings regarding this hack, there don't seem to be any downsides to it, just that it could make the job a bit difficult since you'd typically want to be kneeling inside the bathtub while caulking. Experts from GE Sealants (a company that actually makes these products) advise filling certain types of tubs that will flex, like fiberglass, before caulking. This means plastic, acrylic, and thin-steel tubs should be pre-filled too, but cast-iron tubs would likely not need that step because they're pretty sturdy.
Steps for caulking a pre-filled bathtub
The biggest challenge you'll have while sealing a full tub will come when you want to apply the caulk to the tub. You shouldn't fill the tub before you remove the old caulk because you have to line it with a drop cloth to prevent the discarded grout from falling into the drain. After removing the old caulk, cleaning the area, and lining the edge of your tub with painter's tape, that's when you can start filling.
One tip that could make applying the caulk easier despite the odd angles you'll have to work with is warming the caulk up before use. This ensures a professional-looking caulking job because the caulk flows quickly and more evenly out of the tube. This makes your job a lot easier and lets you focus on keeping your hands steady while working from outside your tub.
You can warm up your tube by placing it in a cup of warm water for several seconds until the product inside is noticeably more supple. You could also place a warm damp cloth over the tube or place it under a stream of running warm water. Just ensure not to get the tube hot as this can make the product runny and your job messy.
Finishing your caulking DIY
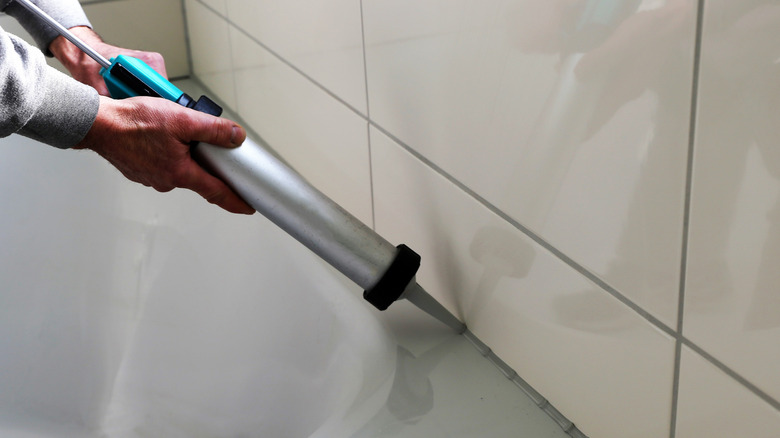
After warming your tube, don't forget your caulking gun. While you can apply the seal from the tube, given that you're not working in exactly favorable conditions, you will need all the help you can get. A good caulk gun helps you apply a continuous drip of caulk between your tub and tiles. Getting a dripless caulking gun would also be a good idea as they limit the flow of the product when you stop squeezing, making your task easier.
You should also not bother about having a continuous line of caulk from one end of your tub to another, especially along the length. It is easier to start at one corner of the seam and run a single bead to the middle then work from the other end and meet the previous bead. This method would make working from outside the tub easier. After application, smoothen out the caulk with your finger or a smoothing tool then strip away the painter's tape. Let the water sit in the tub for at least 24 hours while the caulk cures before draining. And you're done! Now you can be rest assured that your caulk won't have those cracks anytime soon.


