One Clever Hack That Makes Building Durable Drawers So Much Easier
We may receive a commission on purchases made from links.
Building a new set of drawers can be an incredibly rewarding experience, but it also comes with its fair share of challenges. When learning how to DIY drawers and pull-out shelves for cabinets, dressers, and other furniture pieces, getting the measurements just right can often be the toughest part. The sides of your drawers and the frame that they're sitting in both have to be equally cut and precisely squared to form even rectangles. The railings also need to be level, as do the grooves on the inside of the drawer, which should always have a consistent depth from panel to panel. Though this woodworking project can seem intimidating at first, you can make it significantly easier with a simple trick. The key to building perfectly level and evenly spaced drawers is to place spacers inside the furniture frame, then ensure the drawer pieces will fit perfectly inside the frame before assembling them together.
Instagram creator Melissa Woods (@welcometothewoodsblog) shared a fantastic tutorial for this project that showcases a smart way to make drawer installation smooth and satisfying. In her Instagram video, Melissa places a sheet of plywood on top of one finished and installed drawer box. Then, she puts an additional pair of thin planks on top of the plywood, along the sides of the dresser frame. These materials served as spacers that ensure that there's enough room between the drawer boxes below and above. They also allowed Melissa to install the railings and sides of the drawers without having to bother with a level. With this trick and a few must-have woodworking tools, you can easily build drawer furnishings for your home.
Preparing your drawer boxes for installation
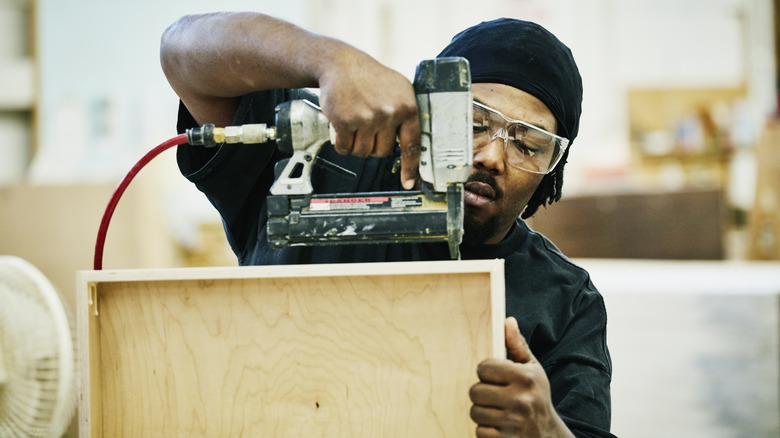
When putting together a set of drawers, first consider your building materials. MDO, or medium density overlay, is a high-durability choice. However, normal plywood with a consistent finish also works just fine. Consider cutting your boards so that the front of the drawer box is inset, between the two sides. This increases the durability of the furnishing because you won't be pulling the two sides apart when you open the drawer. Plus, as Melissa Woods mentions in her video, the pocket screws will remain hidden behind the drawer front with this arrangement. Next, use a table saw to cut level grooves on the inside of your drawer box panels. This recessed design will hold the drawer bottom in place.
To follow Woods' drawer building trick, you'll need to measure and cut spacers beforehand. The spacer panel that sits on top of the existing drawers should match the intended vertical gap between the two boxes, which should be thin but often varies in height depending on drawer's size. If your drawer fronts are taller than the height of the box, you'll also need to add the difference to the thickness of your main spacer. The two spacer planks that sit on top of this panel should be thick enough to lift the railing so it sits where you need it on the drawer sides. Using these exact measurements for each drawer will make installation easier and keep your DIY wood projects from looking cheap.
Putting together a new set of drawers
Once you've measured and cut your drawer boxes and spacers, you can begin installing them in the furniture frame. Start by placing the spacers on the bottom of the empty cabinet and mounting the slides for the bottom box. Products like REGUDA heavy duty locking drawer slides are a great choice for increasing the durability of your furniture. If you're following an inset design, make sure to leave a gap between the front of each slide and the edge of the frame so that there's room for the drawer's front face.
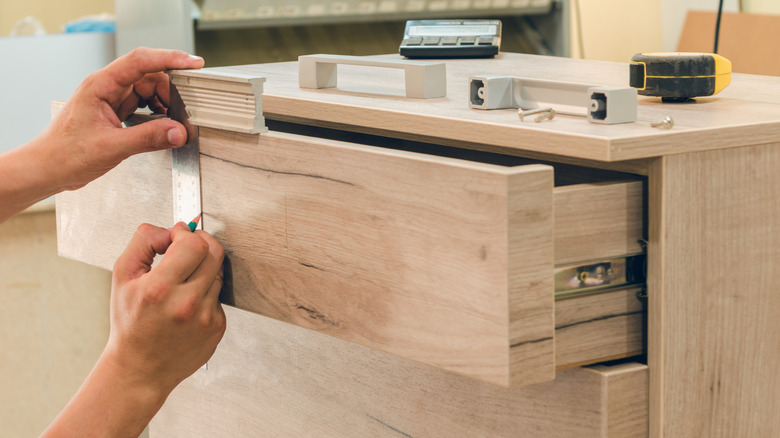
Next, remove the spacers directly below the slides and mount the sides of the drawer box. After that, attach one of the perpendicular edges of the box with pocket screws on the front or back, rather than the sides. If these screws are attached to the sides, they'll be visible when the drawer is open. Take the partially completed drawer box off the slides, and attach the remaining pieces of the box, with the exception of the front face, using Gorilla ultimate waterproof wood glue or a similar product. Slide the drawer box back into place, and remove the remaining spacer. Then, repeat the same process for the drawer above until you've filled the frame. Install the front faces last. Finally, choose the right cabinet hardware to finish the piece and add some personal flair. This brilliant spacer hack takes all the guesswork out of building perfectly even, professional-looking drawers.

