Swap Out Your Standard Shelf With A Stair Tread For More Surface Space
Is the time it takes to measure, cut, and sand a new set of shelves standing in the way of your home improvement projects? Well, look no further than this hassle-free way to get a bit of extra storage out of your wall space. Pre-cut and sanded stair treads can be the perfect way to quickly throw up a few shelves. And you can surely find a finished stair tread that comes pre-stained and sealed for that added sense of ease. In just a few easy steps, you can have the shelves of your dreams without the need for saws and sanders.
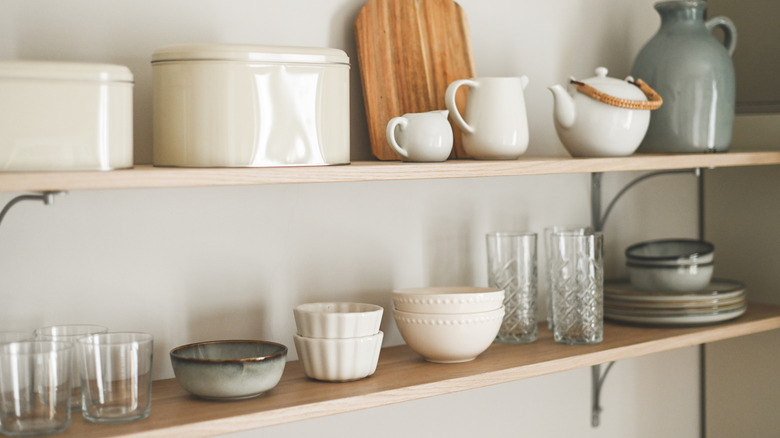
The reason that wooden stair treads work so well as the focal point of any wall-mounted shelves is their durability and simplicity. Most stair tread options come pre-cut to a uniform length, making a multi-shelf installation a breeze. You won't need to fuss over cutting your shelves to the right size; it's already been done for you! They are also thick pieces of wood that are intended to be walked on, meaning they will easily support the weight of your various knick-knacks. Wooden stair treads have a flat back that lays smoothly against your wall and a rounded front edge. Since they come pre-sanded, you don't need to spend time or elbow grease trying to get the perfect curve on your shelves. Working with wooden stair treads takes all the hard work out of shelf installation, creating the perfect space to add organized decor to your walls.
How to install your new shelves
Before you reach for your drill, it's important to decide whether or not you want to stain your wooden stair treads. Unless you splurged on the pre-finished option, you might want to give them a coat before you add them to your walls. Staining a set of shelves can be a great way to add a splash of color to your space. You should also think about what kind of brackets you want to use in your space, from an elegant black to a warmer brass tone. The world of brackets really is your oyster so feel free to experiment with your options before settling on one that will look best in your space.
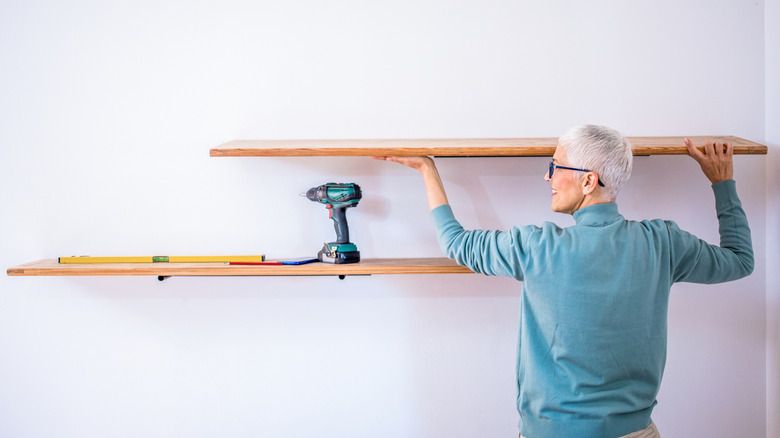
Once you have all of your supplies, you're ready to get those new shelves put up. Start by measuring your stair treads. Because stair treads tend to be extremely heavy, you want to use around three brackets per shelf. To get a bit of extra support, you can find and measure the distance between your wall studs. This will be the placement of your brackets, ensuring that your shelves are held up by more than just drywall. Mark the space with a pencil and mount your brackets into place. During this step, you can lay your tread over the markings that you made and place a level on top to ensure a straight finish. Just secure your treads to the brackets with screws, and you are all set to decorate your hassle-free shelves.

