The Downsides Of Glue-Up Ceiling Tiles To Consider Before Installing
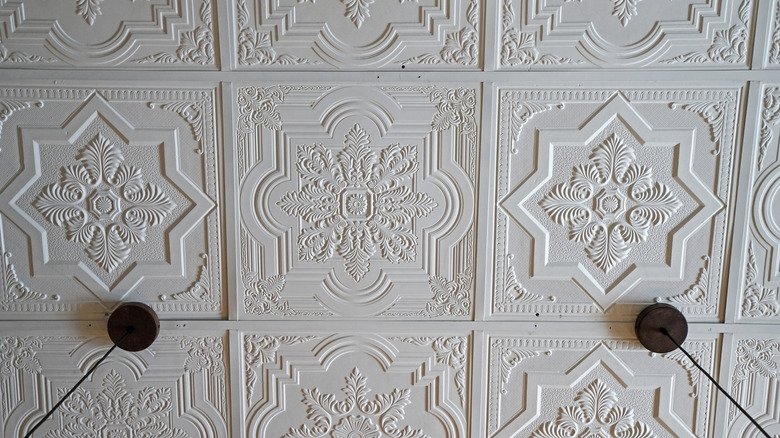
Ceiling tiles are an inexpensive, DIY-friendly upgrade that can help you cover ugly ceiling features or create a focal point for your design scheme. Glue-up ceiling tiles can be a fast, easy option with little prep, but you could find yourself in a sticky situation without doing your research. The adhesive can cause a mess, and it requires a smooth, sturdy ceiling surface.
It's possible for adhesive to drip onto your floor, work surface, or other items. Putting too much glue on the tiles could cause it to squeeze out around the sides since it spreads when you press the tile to the ceiling. Adhesive on your hands can transfer to the visible surfaces of your tiles or cause other materials to stick to your hands.
You also need the proper surface for installing ceiling tiles. Adhesive tiles need a smooth, even surface with a secure finish. Paint that's loose, peeling, or chalky could cause the glue to pull away and the tiles to fall. If you're trying to cover unsightly popcorn ceilings without scraping, gluing tiles directly to it might be a bad idea. The texture could cause the tiles to fall off, or it could result in an uneven and misaligned surface. A successful installation could also cause issues if you change your mind down the road. It's common for the tiles to break while you're removing them, which can be messy and take longer. If the glue stays on the ceiling, you'll have to scrape it off to get a smooth surface.
Tips for installing glue-up ceiling tiles
If glue-up ceiling tiles are the best solution for your room, these tips help you install them successfully. Start by reviewing the tile manufacturer's recommendations for adhesive to help the tiles stick well. Then, read the adhesive packaging thoroughly to understand the proper application method and usage restrictions. Some tile and adhesive products may have heat limits, which could be an issue if you have heat sources near the ceiling, including your HVAC vents.
Preparation of the ceiling and your work area also improves your results. If your ceiling isn't level, installing furring strips and attaching the tiles to them is an option. Check the paint for loose areas, chalkiness, or other issues that might affect how the glue sticks. Repairing loose or cracked surfaces, cleaning the ceiling, scraping off loose paint, or painting over the ceiling first are ways to overcome those issues. Installing a few test tiles and waiting at least 24 hours lets you check how well your new ceiling will stick before going all in.
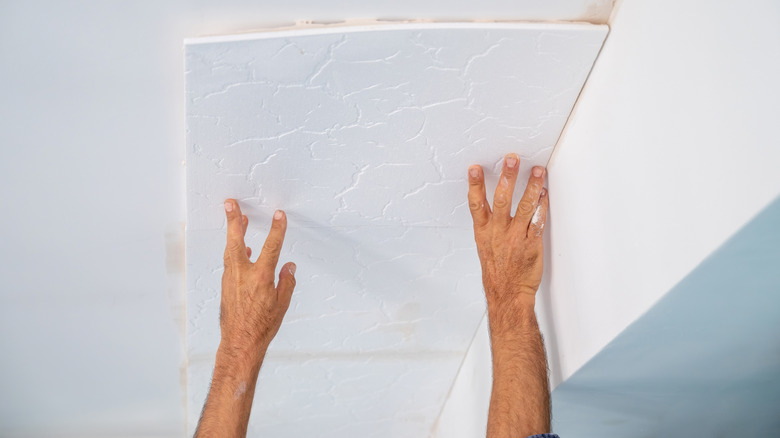
When you're ready to install, put drop cloths down to protect your surfaces from errant glue drops. Apply the glue according to the package instructions, being careful not to put on too much or apply it too close to the edges. When applied carefully, these tiles will allow you to bring a stunning ceiling design trend into your home and refresh the look of the room.

