Tips And Tricks That Make Staining Wood Cabinets A Breeze
We may receive a commission on purchases made from links.
One of the best ways to rejuvenate a stale space is to upgrade any outdated cabinets with a new wood stain. Applying wood stain is an achievable do-it-yourself job, even if it's your first time. In fact, this woodworking project is so popular among hobbyists and DIYers, many people have come up with unique staining tips and tricks to streamline the process. These ideas make staining faster and minimize how much cleanup you have to do when it's over.
Below are eight wood stain methods from home improvement TikTokers, YouTubers, and other influencers and bloggers to help upgrade your bathroom, kitchen, or any other area featuring wood cabinets. These tips can save time and frustration, letting you in on niche hacks using household items and trade secrets. While these clever tips are useful, you must be aware of their potential drawbacks as well. Learn more below about how to execute these hacks so you can easily refresh your cabinets.
Apply wood stain using disposable gloves and old socks to save on time and cleanup
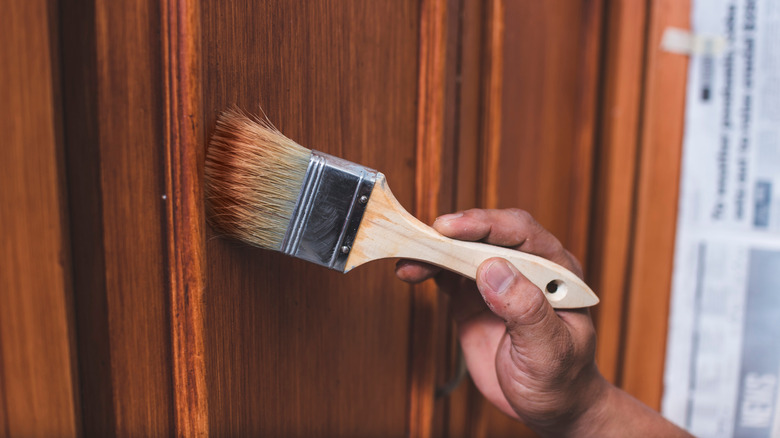
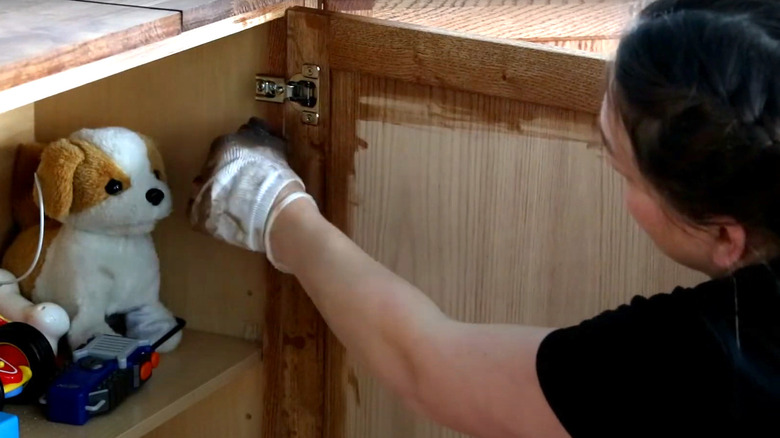
There are various different ways you can approach kitchen cabinet refinishing and people use all kinds of tools to apply wood stains: brushes, paint pads, rollers, spray bottles, and even spare rags and old clothes. If you're looking for an applicator method that's easy to use and throw away, a pair of disposable gloves and old socks may be your saving grace. Start by pulling on a pair of poly or latex gloves. Put clean but unwanted socks on over the gloves — you're going to throw them away when finished, so don't use any pairs that will be missed. Dip the socks lightly into the wood stain, and apply it to your cabinets, using your fingers to get in the small details and along the edges.
When using this method, you have lots of control over your movements, and your hands can probably run over a set of cabinets quicker than if you were to use a brush. If you're really short on time, you might even be able to get away with not removing the doors from the cabinet frames, since your fingers in the socks may be able to slide into the areas between the hinges. But, if the space is too tight, it might just be easier to remove the doors, as is usually recommended when staining cabinets.
This technique is best suited for projects where you're not too hung up on getting a perfect finish — and where you just want a light layer of stain. It's very important not to oversaturate the sock, as it can then drip, creating splatters and splotches. Applying a light layer and working it into the wood in this way will get you a subtle, soft stain, and prevent the need to wipe away lots of excess.
Skip a few steps by using liquid wood
If you're on the fence about whether to paint versus stain your wood cabinets because you don't feel up for the work that's required to entirely strip them to bare wood — here's a potential hack. The standard procedure for staining cabinets is to remove the doors and any hardware, sand and clean the surface, use a wood conditioner, stain, apply any additional coats, and add a finishing sealant before putting it all back together. Using liquid wood can eliminate several of those tedious steps. The most popular brand is Retique It, whose formula contains 65% recycled wood fibers. Liquid wood is designed to work on nearly any metal, painted, or previously stained surface. You don't have to use additional conditioners and sealants, simply apply it right over stained wood, without any sanding or stripping. After painting on a layer or two of Retique It, wait for it to dry, and apply your stain of choice. And if you want to achieve a butcherblock finish on a budget, you can even use liquid wood to DIY French oak kitchen countertops.
Retique It Wood'n Stain is available on Amazon in various colors. There are other liquid wood products out there, but their steps may differ from the process described above. Also be aware that there is a drawback to using liquid wood. Although it can save you a lot of labor, the finished product won't look the same as if you had sanded down and stained the actual wood of your cabinets. There will be a lot less grain visible, and while you can use a graining tool to add some imitation grain back into the surface — we wouldn't recommend doing this with cabinets made from prized wood with a beautiful grain pattern, such as oak or walnut. Instead, consider this option for cabinets where you don't mind losing some grain pattern, or ones that are made from inferior wood like pine, laminate, or cheap veneer.
Take a break and store your used sponge in a plastic glove until you return
Depending on the size of your bathroom or kitchen, staining wood cabinets can be a multi-day project. Whether you're applying more than one stain coat, waiting for cabinet doors to dry before flipping them, or simply taking a rest — you'll have to step away from staining every so often. Instead of tossing away perfectly good sponges during break times, fold up a used sponge in a plastic glove until you're ready to continue your project. Make sure the wrapped sponge is extra airtight, by securing a hair tie or rubber band around the opening to seal it shut. You should also be mindful and put the wrapped glove in a place where you won't accidentally throw it away.
Note, this tip is only useful if you wear disposable plastic gloves and use a sponge to paint on the wood stain. Other applicators, like brushes and rags, probably won't fit in your plastic gloves. But, you can experiment with the same concept by sealing them up in an appropriately-sized plastic bag or some plastic wrap.
Stir, but don't shake, your can of wood stain
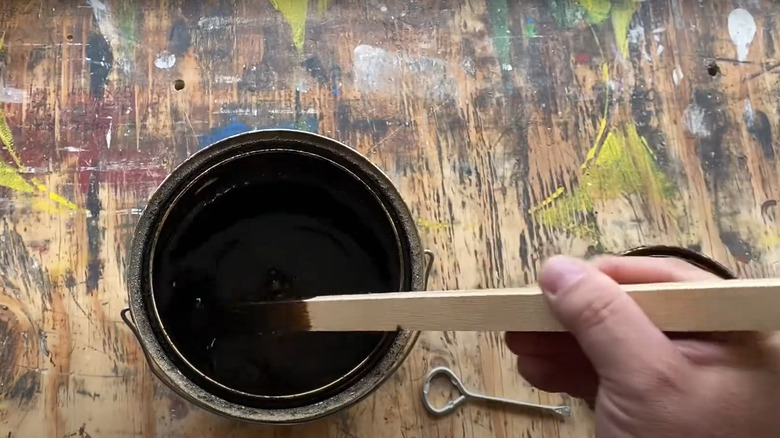
You'll want to think twice before shaking cans of wood stain for the same reasons you shouldn't shake traditional paint. The brusque motions can cause air bubbles to form and might unevenly mix the formula, which can result in an irregular staining job. To avoid this circumstance, make sure you stir smoothly and thoroughly instead. You can use any clean, stick-like object to stir your stain, as long as you don't mind having to throw it away when you're finished. The Home Depot's 10-pack Wooden Paint Stick for Crafting is only $1.48 and includes extra stirrers if you need to mix multiple cans.
Shaking may mix the can faster, but the air bubbles negate its practicality. Also, don't slack on the stirring since this is one of the most important tips you'll want to apply when using wood stain. Since the pigments are heavier, they tend to sink to the bottom of the can. Stir for a few minutes to start and every 10 to 15 minutes throughout the project to ensure the stain stays properly mixed as you go.
Try using a magic eraser to apply your stain
Magic erasers can make lots of tasks easier, including applying stain. Multiple DIYers on social media have demonstrated how they use magic erasers to evenly and efficiently swipe on stain. The melamine foam (which is what magic erasers are made out of) seems to perfectly soak up wood stain, holding enough for multiple passes. This means you don't have to dip into the can as often, and can cover more cabinet area in less time. The stain also applies in a beautifully even layer, which can prevent blotchiness.
Another advantage is that unlike with a regular foam sponge (or sponge brush), the stain seems less likely to wick up the melamine. Not only does this mean less mess (a saturated, soggy sponge is bound to drip), but you can also use your magic eraser for multiple applications by cutting off the used tip. If you want to make your sponge go even further, cut it up into a few smaller pieces before starting to stain, instead of grabbing the whole pad. Also, don't feel like you need to shell out for a brand-name magic eraser. Generic ones from places like Dollar Tree should work just fine. This 100-pack of magic eraser sponges from Amazon is also an exceptional deal, working out to roughly 26 cents per sponge.
There doesn't seem to be any significant downside to using magic erasers, however, we advise first applying a wood conditioner and experimenting on some scrap pieces before going to town on your cabinets. Using wood conditioner before staining cabinets is always a good idea, but especially in conjunction with magic erasers. Some magic erasers contain sodium bisulfite, which is a mildly acidic cleaning agent, and stain absorption can be affected by pH. Whether or not the sodium bisulfite in a magic eraser would materially impact how stain works on wood isn't clear. But applying wood conditioner is a great all-round safeguard.
Leave stained cabinets to dry in warm areas with low humidity
It's important to take environmental factors into account when applying wood stain. Too much humidity, sunlight, or extreme temperatures can interfere with the drying process. Ideally, aim to stain your cabinets when the temperature is between 50 to 80 degrees Fahrenheit (with 70 degrees being pretty much perfect). If you have built-in bathroom cabinets, avoid using the shower or tub immediately before or after applying the wood stain. Use a dehumidifier or bathroom fan to ensure the room stays as dry as possible. Also, wet clothes, mats, and towels should be removed from the room.
Don't stain cabinet doors in the sun, even if the better lighting makes it easier for you to see your work in progress. Direct sunlight can dramatically decrease drying time in a process coined "flash drying," whereby the water and/or solvents in the stain evaporate too quickly and the color doesn't fully soak into the wood. The sun's heat can also potentially cause moisture in the wood to "bubble", a problem which will appear similar to air bubbles from shaken stain cans. Some craftspeople recommend putting freshly stained wood outside to dry faster, but be warned that the aforementioned side effects are a risk.
Dab excess stain with cotton rags to make wood cabinets dry faster
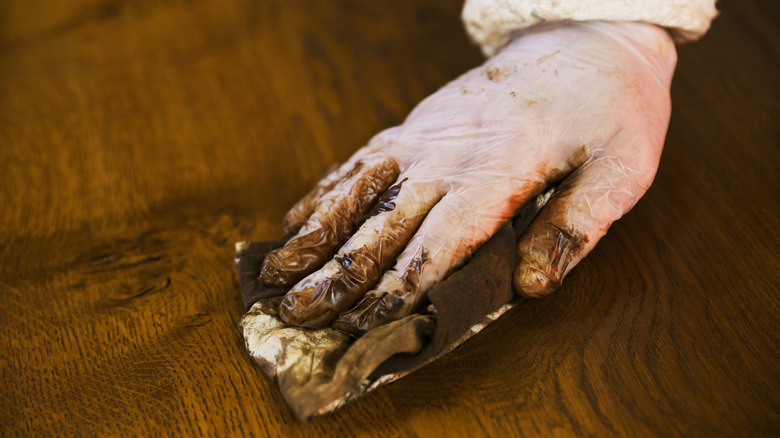
The faster new wood stain dries, the less likely it is to get ruined by accidental bumps or environmental changes, and the quicker you can get back to using your cabinets. When applying wood stain, you may leave some wet spots behind with too much dye or pigment. Instead of leaving these spots (which can cause uneven color), soak up the excess with a clean rag. Cotton cloth absorbs well and shouldn't leave lint in its wake, making it an ideal fabric for this task.
You can use old cotton t-shirts, or visit a Salvation Army outlet and pick up a rag bag (not all of the fabrics and garments in there will be cotton, so you will need to do some sorting). The Home Depot also sells Cotton Pocket Rags, but the Nabob Wipers New Lint Free Rags from Amazon are larger and cost the same amount — or less if you buy a bulk pack. On another note, once all the extra moisture is dabbed up, don't toss the stain-soaked rags into the trash. Wood stain is highly combustible, and the cloths must be hung in a ventilated area until they're dry. Make sure this space is nowhere near any appliances, open flames, radiators, or similar heat-emitting devices. Once the rags are dry to the touch, place them in another sealed container before throwing them away.
Control the cabinet stain color using a damp sponge
A clean sponge soaked in water can be a great applicator for wood staining. The flat foam-like texture of a kitchen sponge provides more control over the staining process than a brush. While brush bristles can leave streaks and globs of stain behind, a damp sponge emits a steady and consistent layer of dye. It's also the ideal tool to use if you don't want to lather on a thick stain layer. To start, fully submerge the sponge in water, wring it out, dab it in the stain, wipe off any excess, and apply it to the cabinets, thoroughly working the stain into the wood. If you're aiming for a soft stain that gently tints the wood and won't aggressively change the color, this process allows you to apply a light layer, and because you're using such a small amount of stain, you also shouldn't have to wipe up much excess.
The main concern to keep in mind with this tip is that you need to squeeze enough water out of the sponge to make room for the stain. Too much water makes it harder for the sponge to absorb the wood stain. Additionally, if there's already water dripping from the sponge, pressing the damp sponge on wood cabinets could cause small drips and narrow streams of water to run down the surface. If you're working on cabinets with lots of details, raised panels, or grooved edge profiles, and are struggling to get the stain to flow into these areas, you can try wetting your sponge a little more, just be careful of the aforementioned runs and drips.
