A Creative Nightstand Idea To Elevate Your Bedroom Using Dollar Tree Essentials
Who doesn't love a good nightstand? They're so convenient, keeping smaller items like your phone, charger, books, and glasses within easy reach of your bed. And when you need to organize (or hide) bedside clutter, nightstands serve as the perfect backup storage for your closet. When it comes to design, Paolo Moschino Design Studio says the right bedside table "can add functionality, style, and personality" to your bedroom, too.
But what if the luxurious nightstand you've had your eye on is a bit outside of your price range? YouTube user @yoduvhessentials6310 has a solution for that. In this video, the YouTuber shows how you can DIY a lavish nightstand out of simple Dollar Tree essentials. Of course, building your own nightstand may sound like a farfetched idea if you're not a woodworker. The good news is, you won't need to be one for this project. With a little creativity and affordable store items, here's how you can craft the perfect nightstand like the YouTuber.
DIY luxurious nightstand on a budget
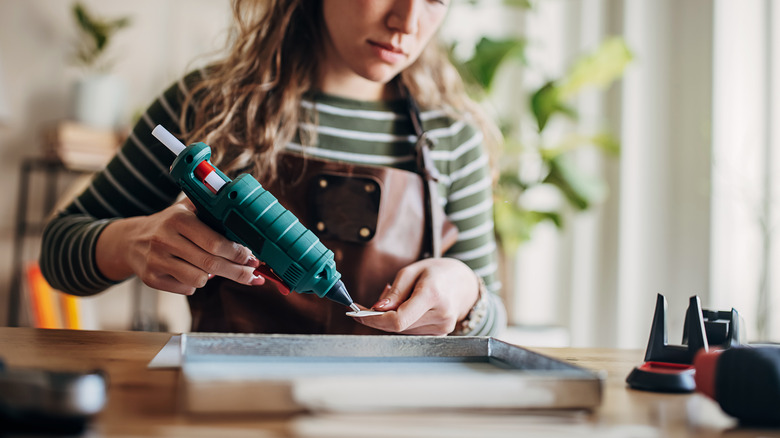
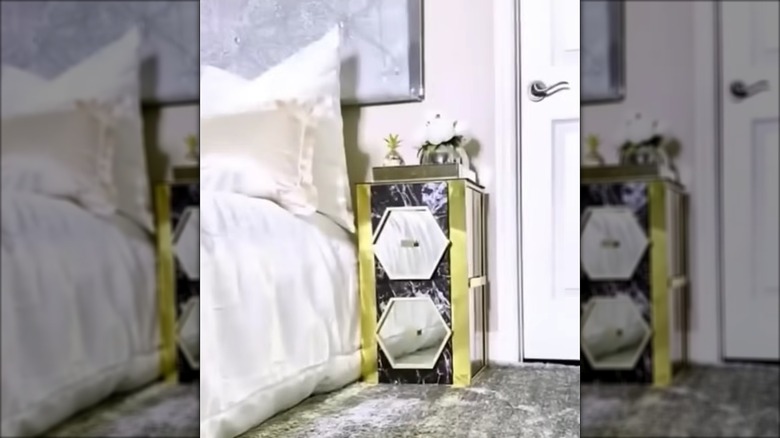
With inspiration from @yoduvhessentials6310, start with two frameless chalkboards from Dollar Tree. These will serve as the base and tabletop of your nightstand. For the legs or sides of the stand, stack and glue two or three picture frames from Dollar Tree (depending on your desired height) on both sides. For stability, the YouTuber uses a wooden board and plaques (like these wooden welcome plaques), all from Dollar Tree as well. The board will serve as the back, to which you'll glue or screw the picture frame sides. Once dried, you can glue the plaques horizontally between the frames, one on the base and another at midway height.
Now that you have the basic structure and frame of your nightstand, the next steps are all about customization. YouTube user @yoduvhessentials6310 demonstrates how creative you can get with more Dollar Tree items and accessories, like placing a foam board on the vertical plaques as a shelf and using paper boxes as drawers.
Kick the style up a notch by adding decorative contact paper and geometric mirrors to the sides and drawers for visual interest. Just remember to allow hot glue to dry and harden for up to 12 hours or more before moving and adding décor. This allows the glue to set adequately so your work of art stays intact.

