Simple Ways To Organize Your Tool Belt For Increased Productivity And Efficiency
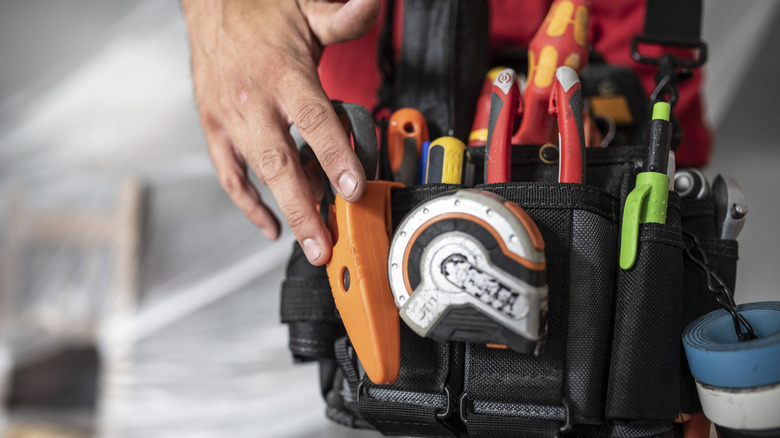
When kept neat and tidy, a tool belt is a tradeperson's best friend. When disorganized, a tool belt can lead to frustration, wasted time, and even injury if the gear happens to slip out or become damaged. Essentially, your tool belt is a piece of equipment in its own right, and you want to take care of it as such. Even if you're not in the trades, tool belts are still highly useful for home repairs and fun projects, like building your own DIY privacy wall, and you'll want to keep them neat and organized to maximize your time working around the home.
In most cases, organizing your tool belt for efficiency is as simple as keeping the tools you use most often on your dominant side. That said, you'll first need to find a belt that can accommodate all the assortment of items you need. Also, you'll have to devote some time to reorganizing it before every job and care for the belt properly when it's sitting idle.
While we'll share a few organizational tips, one of the best ways to use your tool belt as efficiently as possible is to practice different setups and see how they work. If something doesn't feel efficient, don't be afraid to change it up and try a different organizational strategy! It might take a few projects, but with these tips in mind, you'll eventually find your perfect tool belt setup and never dig around for that elusive fastener again.
Choose a suitable tool belt to stay organized and efficient
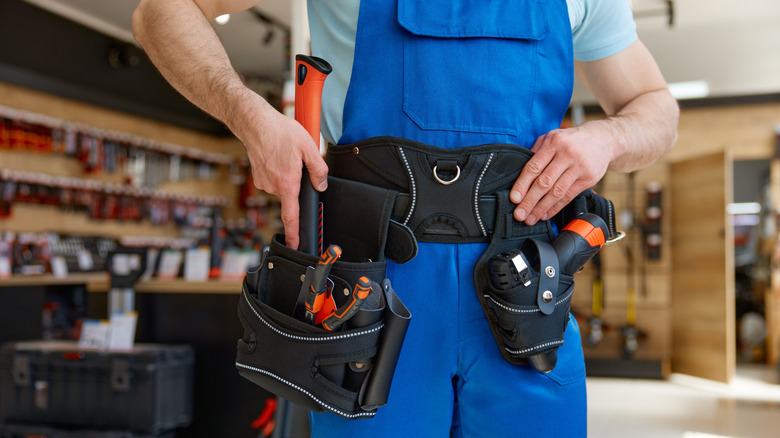
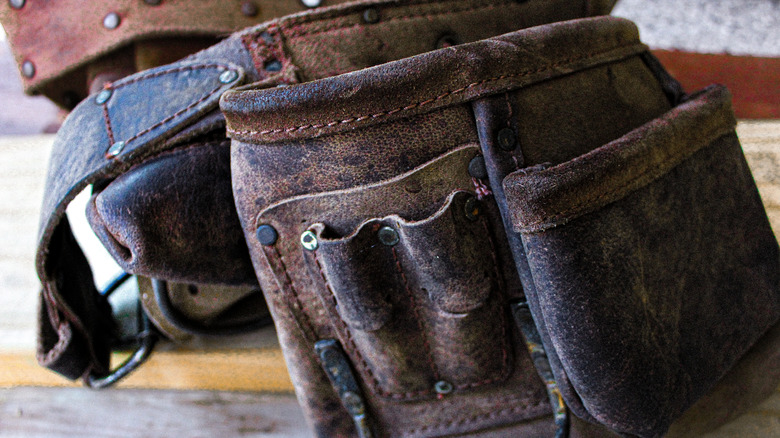
First things first, you should find a tool belt that works well for you and the projects you plant to tackle. Tool belts can be made from a range of materials, like nylon, leather, and synthetic compounds, and also come in different styles, like hip belts, suspenders, aprons, and waist belts. While tool belts that go around the hip or waist are by far the most popular, an apron-style belt isn't a bad idea if you want to keep your clothes cleaner or like the added support of the straps around the back. In terms of material, nylon and leather are the most durable, which means they'll stay intact for longer and keep you from losing tools through holes in the fabric. Another factor to consider is your dominant hand. The majority of tool belts are designed for people who are right-handed. If you're a lefty, you should look for a left-handed tool belt, or one with adjustable pouches.
To make sure your tool belt stays organized, you should purchase one that aligns with its intended use. If you're working on some light DIYs inside the home, like transforming a cheap media cabinet into a bathroom vanity, you probably don't need a super heavy-duty 34-pocket belt, as the required tools will possibly disappear in its many pockets. However, if you're working on advanced projects, like roofing, plumbing, and serious carpentry, you may want a larger belt that accommodates more items.
How to find the right pockets for your tools
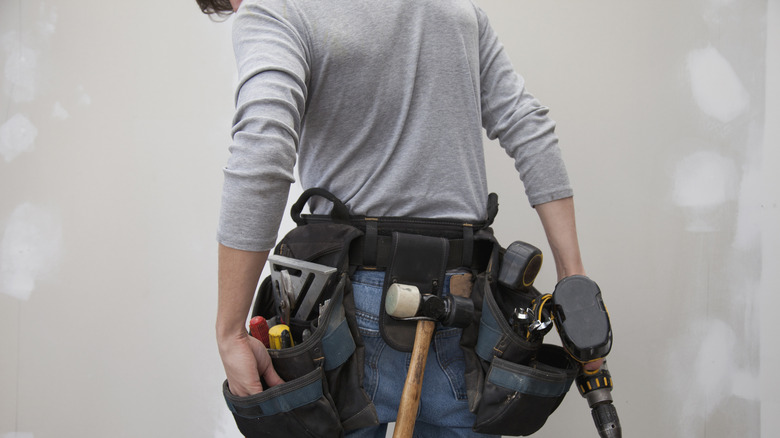
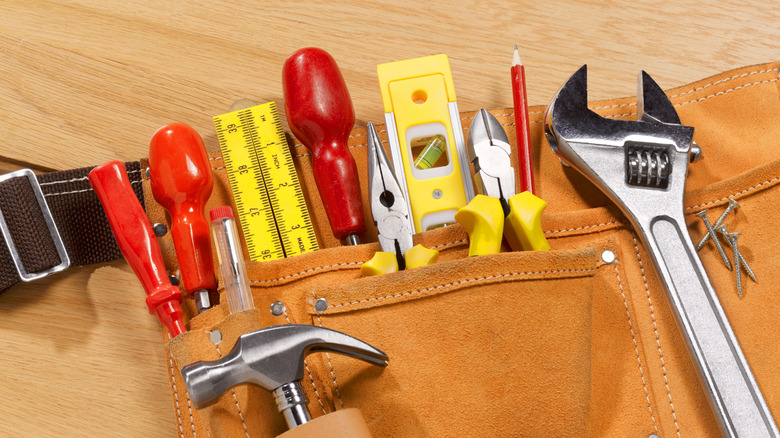
The tools you need will vary depending on the project at hand. However, for general carpentry, the tools you use more frequently should go on your dominant side, and any slender tools, like paint brushes or smaller pliers, should slide into the narrower pockets so they don't get lost. Also, consider how you'll use both hands to operate the item. For example, assuming you're right-handed, you'll want the tape measure in the top left pocket of the belt. This way, you'll retrieve the tool with the non-dominant hand, then use the dominant right hand to pull out the tape. Meanwhile, the marking pencil should be tucked into one of the higher, slender pockets on the right side — you can remove it from the pocket and use it quickly with one hand. If you're using a speed square, you can slide it into one of the lower, wider pockets on the left. With this setup, you'll be able to measure and mark in a very fluid motion. The same logic applies to other items, too.
Other tools you'll want to place on the right side of the belt might include the utility knife, nail set, center punch, pliers, and a putty knife — all tools with a similar shape. These fit into the slimmer, less accessible pockets of the belt. Additionally, your hammer should go on the right side of the belt — in the hammer loop, if there is one. If you're a lefty, just reverse this system. While this setup is more geared towards general carpentry projects, it also holds true if you're painting or landscaping.
Don't overload your tool belt
Another tip for keeping your tool belt organized for greater efficiency is to not overload it. If your tool belt is stuffed to the brim with unnecessary tools, you'll have a harder time digging around and finding the items you actually need. Having to stop your activities and search for the right tools will slow your pace while you're working.
The added weight and bulk of an overloaded tool belt will also slow down productivity and efficiency by encumbering your movements. Because of the excessive weight, you might end up wasting time pulling the belt up every time it slides down. Besides the inefficiency, an overfilled tool belt is a safety hazard, as the items are more likely to fall out and cause injury. Overloading your tool belt places unnecessary strain on the belt, causing it to wear out soon. You'll also find that it puts more weight on your back.
Set time aside for organization
A simple tip for keeping your tool belt organized — one that will make a huge difference in your efficiency — is to set a few minutes aside to arrange your gear before you jump into your project. You can take this time to gather all the tools you'll need for your project and place them in the proper pockets. This is also a good opportunity to remove any tools you won't need for the task at hand. This step will help you maintain a neat and tidy tool belt.
Arranging your tools on the belt will take some time. However, you'll improve your efficiency in the long run, since you won't need to take breaks mid-project to find missing tools. You can experiment with arranging your tool belt in a variety of ways every time you tackle a different DIY home improvement project. This way, you'll learn what the most efficient workflow and tool placement options are for various tasks.
A well-maintained tool belt is an organized tool belt
If your tool belt has holes in the pockets or is otherwise falling apart, it's easy for items to get lost and damaged, hindering your workflow. Depending on the quality of your belt and how often you use it, it will inevitably wear out with time. However, you can slow this process down by taking good care of the belt. One key way to do this is to hang your belt up after each use. Doing so prevents your tools from getting all jumbled together and helps keep the belt from collecting moisture. Ideally, when you're not using your tool belt, you should hang it in a clean and dry room with good airflow. It's also a good idea to keep it away from heat and out of direct sunlight, so avoid storing the belt near sunny windows or a heater.
The way you clean your tool belt also impacts its lifespan. When cleaning a nylon belt, like the Diamondback tool belt, you can use water, a scrub brush, and, if necessary, a nylon-safe cleaner. To reduce strain on the belt, avoid throwing it into the laundry machine — it's always better to wash it by hand instead. To clean a leather tool belt, shake out all dust and debris, then wash it with a mixture of water and gentle soap. When you're finished, allow the tool belt to dry, then seal it with a leather protector.
