Helpful Tips For Wallpapering On Stairs (And Mistakes To Avoid)
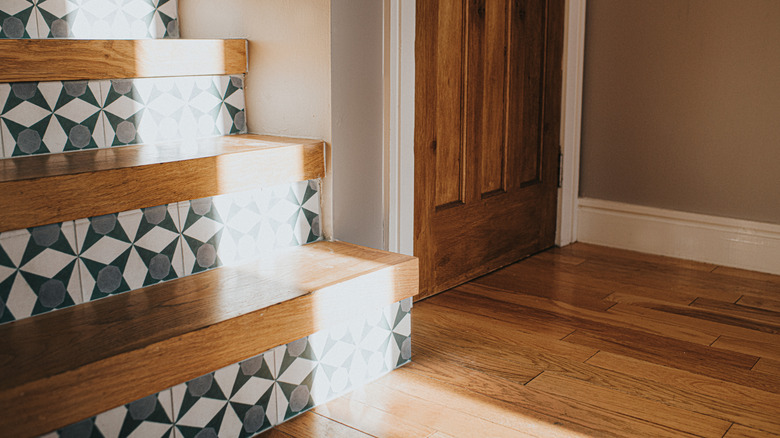
Are you tired of looking at your plain, boring staircase? Applying wallpaper to the stair risers is a great way to add color and patterning. If you choose peel-and-stick wallpaper, it's a relatively easy refresh without messy wallpaper adhesive, but you can use any type of wallpaper. Getting the best possible results is much easier after choosing the right wallpaper, measuring correctly, following the right application steps, and protecting the surface to make the design last. Also avoid making common mistakes like skipping the preparation work, assuming all your stair risers are the same size, and moving too quickly.
When you wallpaper your stair risers, it's important to choose the right wallpaper for your space. Instead of one large, continuous area, you're covering several smaller sections. But since the stairs are next to one another, the pattern appearing on each section needs to make sense next to the others. A small pattern with a random design, such as small flowers, is easier to apply with less concern about alignment. A very distinct or precise pattern, like one with vertical stripes, requires you to align it carefully.
Another factor in choosing a wallpaper pattern is the width of the stairs. On average, residential staircases are 36 to 42 inches wide. Wallpaper usually comes on rolls that are either 20.5 or 27 inches wide. If you apply the wallpaper with the pattern vertically like normal, you'll need to use two pieces and align the pattern in the middle. For easier application, choose wallpaper with a pattern that looks good sideways so you can cut one long piece for each riser.
Tips for installing and protecting your wallpaper
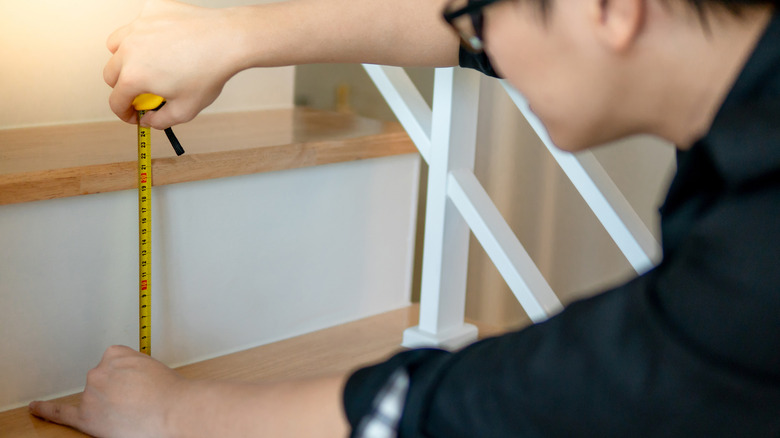
Before you cut your wallpaper, take measurements of each riser. Then, add about a half inch on each side to give yourself extra paper to make sure you fully cover the riser. You can trim the excess after you stick the wallpaper panel in place. One easy way to cut the excess is to hold your wallpaper smoothing tool along the edge and cut along it with a utility knife. When cutting the paper, look at the pattern to make sure you cut a panel that will look good on the riser and will align with the nearby wallpaper sections.
For unpasted wallpaper, it's easier to apply the adhesive to the stair riser. You can put painter's tape along the edges to keep the paste from going everywhere. Pre-pasted paper needs to have water applied to the back of it, per the product's instructions. If you're using peel-and-stick paper, pull the backing off in one corner and start at the top, moving down the riser. As you apply the paper, continue peeling the backing and pressing it in place with a wallpaper smoothing tool to prevent bubbles.
When using wallpaper as a way to update your staircase, you want the results to last. Clear, water-based varnish offers a protective layer to keep the wallpaper from getting scuffed, dirty, or damaged. Another option is clear acrylic glaze. Two or three coats applied once the wallpaper glue is completely dry should do the trick.
Stair wallpapering mistakes to avoid
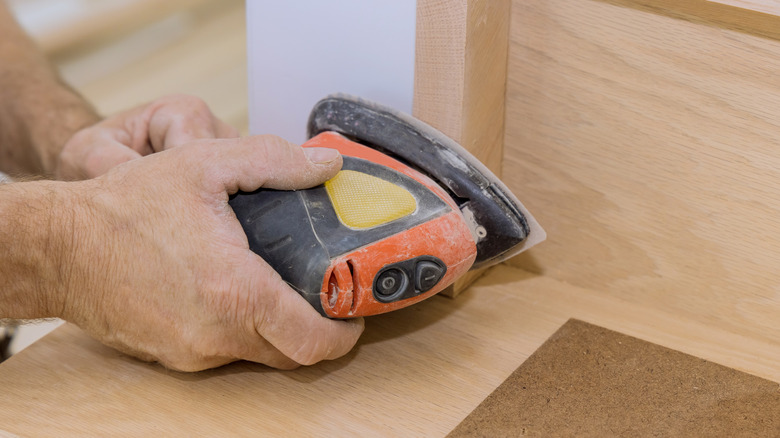
Decorating stair risers is an innovative way to use wallpaper, but there are several mistakes that could ruin your project or create more work for you. One of those mistakes is skipping the prep. Make sure the risers are clean and free of dust. Sanding the risers lightly helps the wallpaper stick better. Clean up the dust from sanding before you start applying the wallpaper. You can also apply wallpaper primer to help the wallpaper stick better with smoother results and easier removal if you change your mind. Oil-based wallpaper primer could be a good option if your risers are raw wood or have a glossy paint coating on them. Prepare for adequate ventilation to keep the fumes under control.
Another stair wallpapering mistake to avoid is assuming all of the risers are the same size. There could be small differences in the height and width of the stairs, especially if your house is old. Measure each riser individually to avoid cutting the wallpaper too small. If you want to cut all of the sections out at once, use sticky notes to label each piece.
Slapping the wallpaper on the riser without care is yet another mistake. Start on one edge of the riser, using the wall to help align the wallpaper. Slowly move across the riser, smoothing the wallpaper as you go to prevent bubbles. Go over the wallpaper with the smoother again, working from the middle to the edges to smooth out bubbles.


