The Bathroom Area Where Undetected Mold Can Thrive (And How To Get Rid Of It)
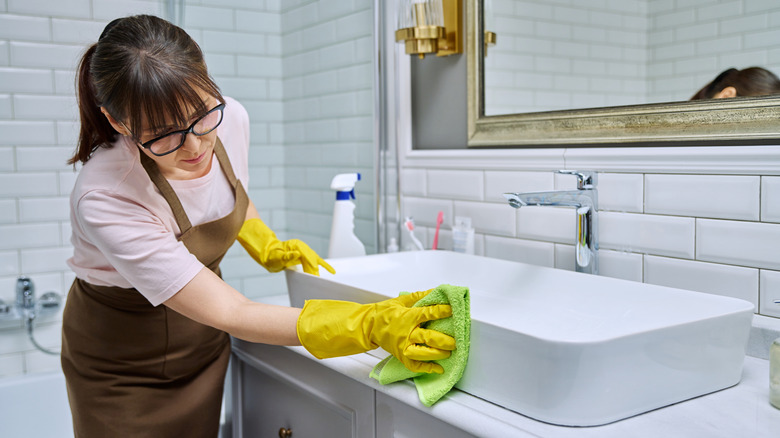
Cleaning the bathroom might be one of the most rewarding tasks on the household to-do list. When you're done, the fixtures are gleaming, the bathtub doesn't feel grimy under your feet, and water spots no longer hide your reflection in the mirror. But before you call it a day, you might want to check one more spot that often gets neglected — your faucet aerator. It's not easily visible, so it often gets overlooked on cleaning day.
First, what is a faucet aerator? Here's what you should know. Faucet aerators are tiny round screens, usually made of plastic or metal, that screw onto the end of the faucet. As the water flows through the faucet, the aerator breaks up the water, providing a smooth stream and minimizing splashing into the sink. Not only does this make using the faucet more pleasant, but an aerator reduces the amount of water that comes out of the sink (up to 30%, according to Home Water Works), therefore lowering the water bill.
However, where we find moisture, we also find mold. Black slime is an indication of bacteria feeding on manganese, a mineral often found in the water supply. As the water passes through the aerator, traces of the mineral remain on the screen, which essentially becomes a feeding dish for manganese-loving bacteria.
Steps to remove mold and black slime from your faucet aerator
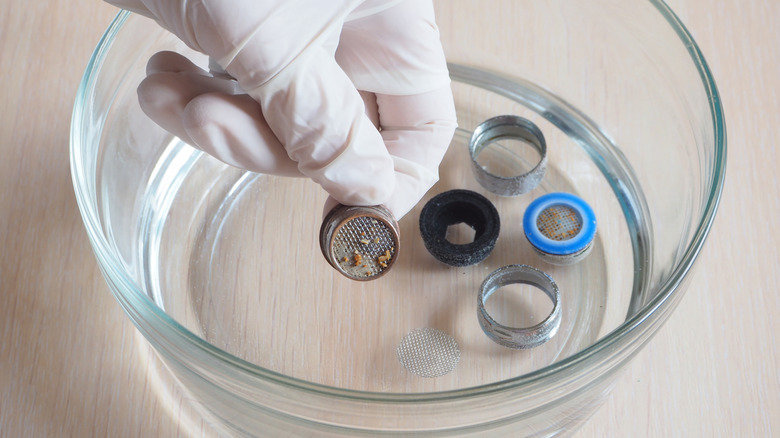
Cleaning an aerator is quite easy and quick — and will probably make you feel better about using your bathroom faucet. The most thorough way to clean the gunk off your aerator is similar to one of the best ways to clean a clogged faucet aerator. Before we start, let's first address the construction of your faucet. Sitting flush against the faucet is a rubber washer, followed by the aerator. On top of those two parts is an aerator housing, which is the tip and most visible section of the faucet.
Before removing anything, cover the sink drain with a hair catcher or a washcloth to catch any small parts if they drop. You may be able to unscrew the aerator housing by hand. If a wrench or pliers are needed, wrap masking or painter's tape around the tips of the tool or around the aerator housing to avoid leaving scratch marks. As you take apart the faucet, pay attention to where everything belongs so you can properly put everything back afterward.
Once you've unscrewed the aerator housing, separate the screen and washer. Put the pieces into a small bowl of white distilled vinegar and soak them for 30 minutes to an hour. For best results, scrub the parts with an old soft toothbrush after soaking them and before putting them back onto the faucet. If you spot any cracks on the aerator or washer, swap them with new ones — you should replace them annually, regardless, and repeat this cleaning process at least twice a year.
Additional ways to clean your faucet
If you're uncomfortable with taking apart your bathroom fixture, you may find other options for cleaning slime off the aerator less intimidating. One of the more common solutions is to fill a small plastic sandwich bag with white distilled vinegar and use a rubber band to wrap the bag around the end of your faucet overnight. Make sure the tip of the faucet is submerged in the liquid. The acidic property of vinegar works to break down mineral deposits, grime, grease, and bacteria.
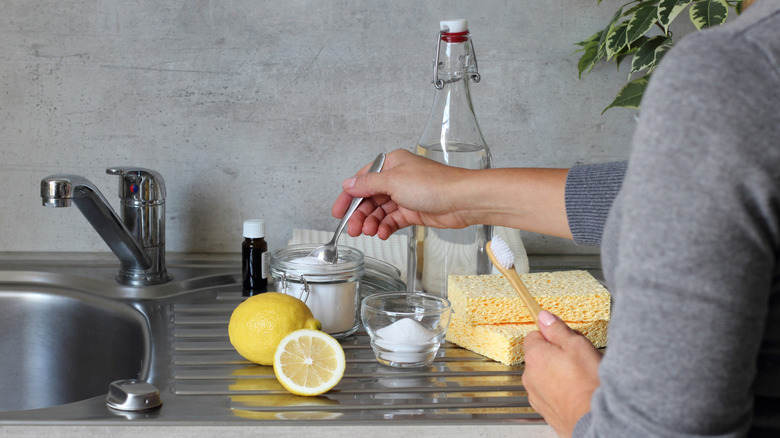
You can also combine two parts baking soda with one part vinegar and do the same — but for only 30 minutes. Afterward, scrub the faucet with an old toothbrush dipped in a paste of baking soda and dish soap to loosen and remove residual layers of slime. If you're sensitive to strong odors, you can mask the smell of vinegar while cleaning your home. Turn to your fridge for one more natural cleaner: Squeeze lemon juice into a spray bottle or onto a sponge, spray the mold, and scrub with a toothbrush.


