Add Stylish Open Shelving To Any Room With A Pottery Barn Dupe You Can DIY For Less
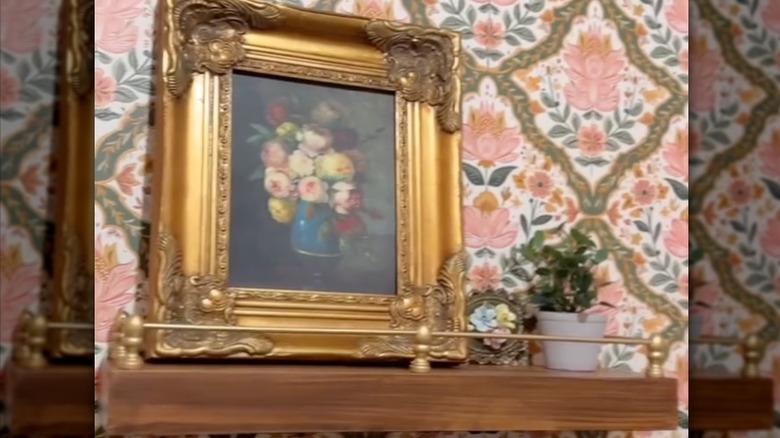
Open shelving allows you to store books or decor pieces out in the open so that they can enhance the visual appeal of a space. It's no surprise that the open shelving trend is so popular, but unfortunately, it is just as expensive as it is trendy. Pottery Barn, for example, sells a stunning Summerville Reversible Rail Ledge floating shelf piece that ranges in price from $179 to $299 depending on what size you order. You can DIY a dupe for less by spray painting wooden dowels and finials gold and attaching them to a wooden board.
This DIY is beginner friendly and can be completed in just a few steps, so what's stopping you from giving it a try yourself? Along with the aforementioned materials, all you need to complete this project is wood glue and an electric drill. The simplicity of the handmade open shelf makes it super budget-friendly. You might want to consider creating multiple to use to decorate an entire wall. You will have your very own shelving storing system when you're done. The end result is so convincing that guests likely will have no clue that you made the shelves yourself. However, you'll probably be tempted to let them know about the fun DIY modern shelf project anyway.
How to create a DIY alternative to the Pottery Barn shelf
To create your DIY floating shelves, start out by cutting your dowels to size and drilling holes in your finials. Next, spray paint all of your dowels and finials a color of your choice. Consider doing this outside on a large piece of cardboard to avoid floor damage. You could use the HOPELF Dowel Rods, Woodpeckers Small Wood Finials, and Rust-Oleum Gold Specialty Metallic Spray to do this. Feel free to customize your shelf by using a different color spray paint on the wood pieces.
After your dowels and finials dry completely, attach them to your wooden board with wood glue. You will need to position the finials in the corners and place one additional finial in the center of the front of the board. Add more wood glue to the end of each of your dowels and slide them into the holes you previously drilled into each finial. Once the glue on all components dries completely, you are ready to hang your new floating shelf up on a wall. Choose the best height for your shelf before beginning the hanging process.
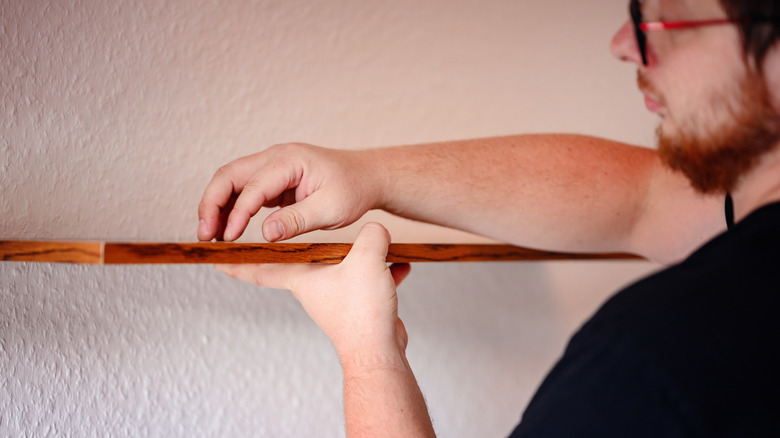
Floating shelf installation is not as difficult as it may seem. Start out by using a stud finder to locate the studs in your wall. Next, attach a bracket to the wall. If you plan to use this hanging method, you will need to drill holes in your wooden board to use to attach your shelf to the bracket. After figuring out your shelf placement, hook the shelf onto the bracket following the instructions that came with the hardware.

