Declutter Your Garage Workbench With A DIY Glue Caddy
We may receive a commission on purchases made from links.
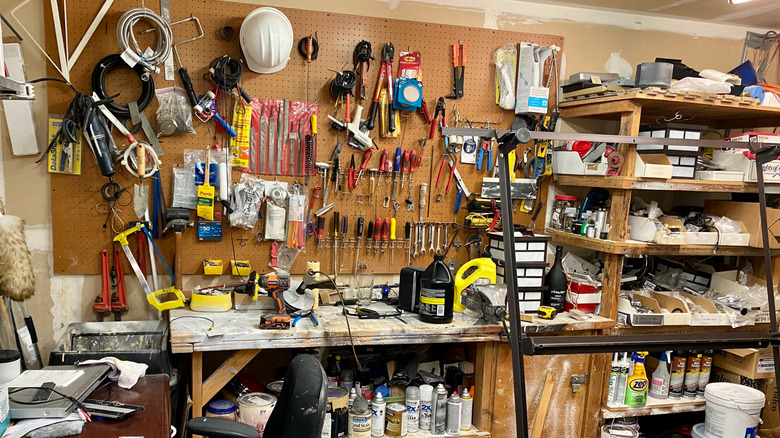
If you have a workshop haven, you may have extra motivation to organize your garage like a professional — and that includes keeping your workbench free from clutter. This can be challenging to achieve if you own a ton of tools and products, including the different types of glue you should have on hand for home and garden upkeep, as well as glue applicators, scrapers to get rid of excess squeeze-out, and more. While you have the option of corralling all your glue supplies into a purchased container, like a Rockler Glue Caddy, or repurposing something from elsewhere in your home as a glue supplies hold-all, you can also DIY your own glue caddy.
For DIY inspiration, look no further than The Wood Whisperer on YouTube. This user created a glue caddy complete with carrying handles, plus a middle shelf and bottom with recesses designed specifically for the products he keeps on hand. You can use the basic idea to build your own glue holder. The Wood Whisperer started with scrap wood — if you do the same, that's an excellent way to use some other spare supplies in your stash.
Choose the size and number of your holes
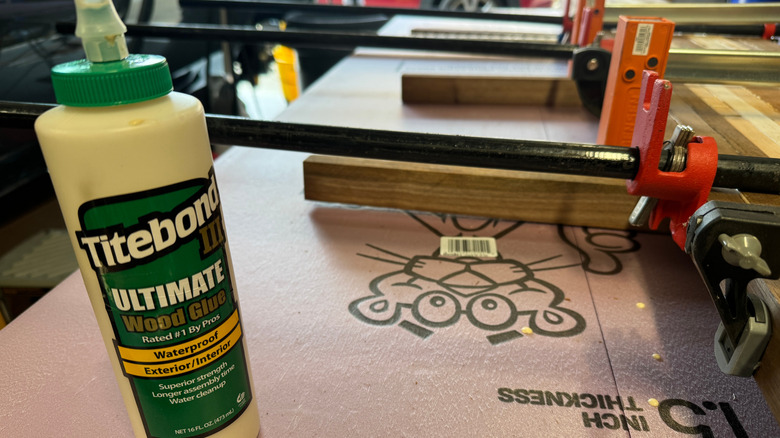
If you are using scrap wood, you may need to use some of your glue to adhere pieces together for the desired size of your glue caddy. The pieces you start out with may not be large enough to reach the height you want your sides or the width you want your bottom or your shelf to be. If that's the case, you'll have clamp-ups of your assemblies after you've run your wood through a planer and/or jointer to flatten any warps or cupping and get it to the proper thickness. If you don't need to glue assemblies to size, you can move directly after planing and jointing to cutting your parts to final width and length on the table saw.
The Wood Whisperer chose not to use mechanical fasteners for this project, but instead to employ sliding dovetails. Using a router table, cut the slots for the dovetails on the sides of the caddy and the dovetails themselves on each end of the bottom and middle shelves. Now, it's time to move on to cutting the holes in the shelf that will hold your glue bottles. In the YouTuber's case, he drilled five larger holes, plus six smaller glue brush holes.
Use your tote to hold more than glue
On your middle shelf piece, use a hole saw to remove the bulk of the holes, then employ a shallow pattern bit in a router and follow the pattern in a purchased Circle Template to rout out the larger holes at your desired size. Create smaller holes for glue brushes and the like on the drill press. On your glue caddy's bottom shelf, match the hole pattern you created for the middle shelf but don't rout or drill the holes all the way through — just create shallow indents where the bottoms of your bottles and brushes can sit.
The shape of any handhold holes in the sides, and of the sides themselves, are stylistic choices — you can make them any shape you like. If you do choose to cut handholds in the sides, you'll want to do that before gluing up the project's final assembly. To put your project together, apply glue to the dovetail slots, then lightly hammer all the pieces into place and wipe off any squeeze-out.
Your project's finish is again up to you. If you're using wood stain in your DIY – or paint — you could choose your favorite color, add embellishments, or use up what you have on hand. You don't have to limit the idea of a carrying caddy to your glue supply, either. You could use this concept to create a tote for paint brushes, paint, sealer cans, sanding drums and sponges, bottles of lubricant, and more. They're all great options for decluttering your workbench.

