Make The Perfect Trinket Shelf For Your Room With A Simple IKEA Hack
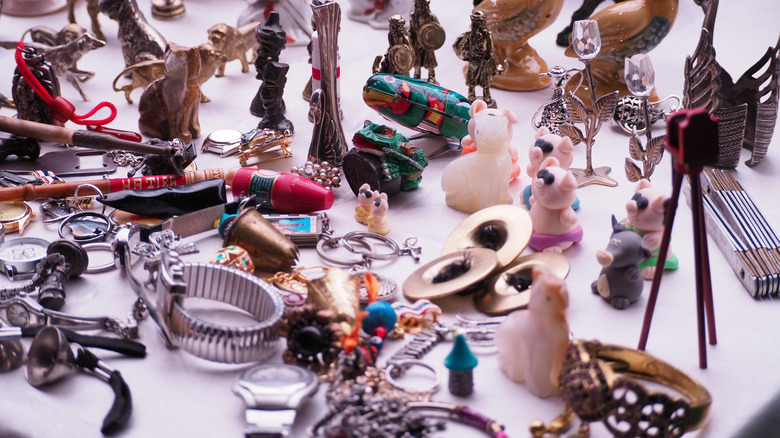
Whether we do it consciously or not, we inevitably accumulate an assortment of trinkets, mementos, figurines, and collectibles over the course of our lives. Often of little monetary value but teeming with sentimental attachment, these are items we hold on to for years for the memories they bring. Unfortunately, they are usually kept away from sight, rediscovered only when we declutter our junk drawers or decide to keep small items in our bedrooms organized. So why keep these treasures locked away? Instagrammer @scaredycassss shows us how to transform a $9.99 SANNAHED IKEA picture frame into a display case that is perfect for showing off a series of trinkets, collectibles, and other small items.
With its particularly deep dimensions, this product contains a frame within a frame — a smaller, removable frame within the main one that allows you to position a picture closer to or further away from the glass. @scaredycassss uses this inner frame to create the shelves for displaying various small items. Unlike this knick-knack display DIY made from Dollar Tree items, this hack needs nothing other than the frame itself — and your trinkets, of course. Because of the frame's versatility, you can leave your trinket shelf open at the front, allowing you to add and switch out items for a rotating display, or you could add the plastic protection cover in front to keep your trinket shelf dust-free.
Use the inner frame to create shelves
To start, remove the cardboard backing of the SANNAHED picture frame to be able to access the nested inner frame. This inner frame can be gently taken apart at the seams by hand, as seen in the video above, giving you four detached parts that will serve as the shelves. Set the picture frame upright and place a detached piece of the inner frame vertically along one side. This thickens the edge and yields just enough space to wedge a second piece perpendicularly across the frame — without any glue or adhesive to keep it in place. Repeat the same process for the remaining pieces to complete the shelves.
The number of shelves is up to you; just make sure to space them according to the trinkets or memorabilia you plan to put on display. You can err on the side of caution and glue the sides of the shelves to the frame if you wish, especially if you are planning to display some heavier items. Once you've arranged the items to display across the shelves, replace and secure the cardboard backing in place. Your new trinket shelf can now be hung on the wall like a normal picture frame, or placed upright on a flat surface.
Use the trinket shelf as a gift box
It's tempting to keep this lovely case for yourself, but it has all the makings of a perfect gift. Use it to display precious mementos from a first date — movie ticket stubs, a favorite stone, or silly photo booth snapshots — for an anniversary gift. Turn it into a time capsule for your child by storing keepsakes from their youth like pacifiers, birth wrist tags, or a pair of baby shoes to offer to them on a milestone occasion.
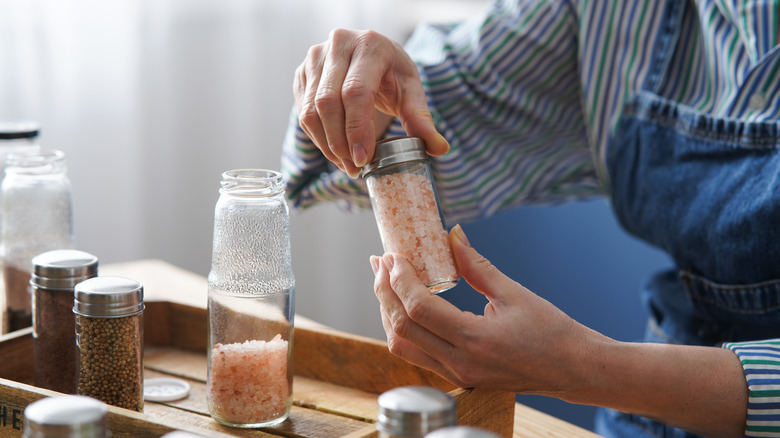
This trinket shelf is also an original way to present gifts. Buy several packs of GULDFISK spice bottles from IKEA — their dimensions fit perfectly on the shelves — and use them to display a collection of spices to gift to the foodie in your life. Alternatively, you could fill the spice bottles with candies, something a sweet tooth would appreciate. And instead of gifting an artist a generic box of paints, arrange the paint bottles along the shelf instead.

