A Genius Hack Using A CD Makes It Easier To Fill In Your Wood Floor
We may receive a commission on purchases made from links.
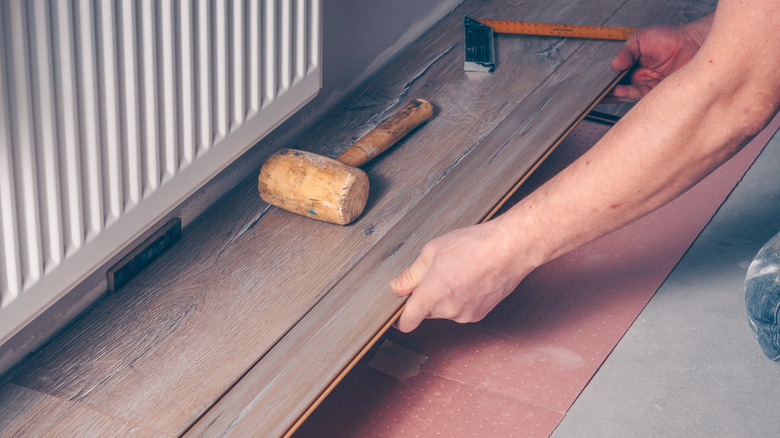
Measuring and cutting floorboards might look like a straightforward project from the outset, but once you reach any unusually shaped gaps around the edge of the room, you'll probably think otherwise. You'll most often run into difficulties around door frames and in areas where the shift in the wall is greater than or less than 90 degrees. In fact, there are many things you should consider before installing hardwood flooring, and the ease and cost of placing the boards are definitely some of them. Luckily, there's a simple trick you can use to ensure that the last few wood boards fit perfectly with the rest of your flooring.
@fabiosa_tips_tricks on Instagram showcases an elegant yet effective hack for measuring floorboards to fit places where the room shifts at an obtuse angle. In this simple DIY tutorial, the homeowner places a CD down against the joint where the wall changes direction, and then uses a marker to run the CD against the wall. This is a form of scribing that creates a line that the homeowner then uses as a guide for cutting the board so that it fits perfectly in the gap.
How to scribe wood flooring for the perfect fit
Scribing is a handy trick for just about any woodworking project. All you have to do is slowly run a pencil or marker perpendicular to the wall against which the piece is going to fit, and it will create a line on the board that matches the specific contours of that area of the room. A WUTA stainless steel wing divider or a geometry compass are great for using this method since they leave more of a gap between the drawn line and the wall, which can help reduce human error and make the cut more exact. However, as you can see in the tutorial video from @fabiosa_tips_tricks, an old CD also works to create this gap.
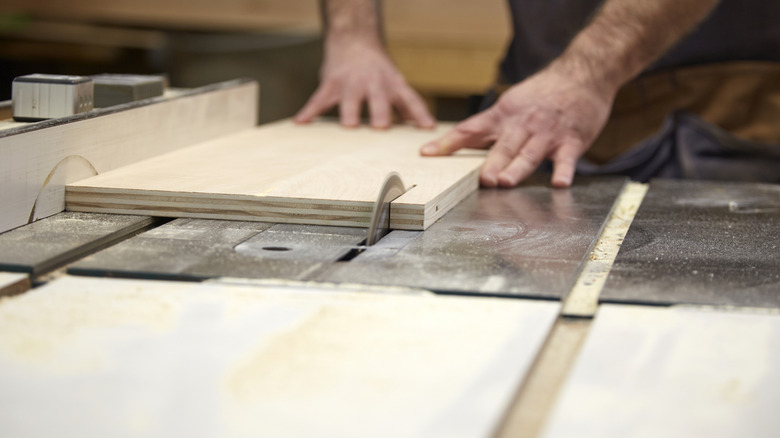
There are a few things you should consider before scribing a wooden floorboard with the CD method. First, make sure you're using an old CD, since running it along the board will likely scratch the disc. Second, you might want to use a pencil instead of a marker so that you're not making a permanent line. The closer you can make the scribe line to the wall, the less wood you're going to waste when you go to cut the board. Finally, make sure to draw the line into the board more than once before you break out your table saw. This better guarantees that the measurements of the piece are an exact match to the contours of the wall.
Additional tips for scribing during your DIY projects
Scribing is a great way to make installing wood flooring easy, but it's not the only DIY project where you might need this trick. In fact, you might use the same method for putting up trim or fitting new kitchen and bath counters. This approach also works well for building cabinets because it helps ensure that they perfectly match the uneven sections of your wall. If the angle of the wall is too difficult to draw directly onto the wood, you might want to create a template for the space instead, using a durable piece of cardboard. Simply scribe onto the cardboard, trim it down to make an exact fit, and then overlay this template on the wood to get the perfect cut.
Whenever you need to cut a thinner, more narrow piece of wood to fit a contoured area, consider drawing the scribe line as close to the edge of the material as possible, without the use of a wing divider or a CD. Then, as an alternative to using a table saw, simply sand down the material to match the required angles. Using a set of durable Stead & Fast sanding blocks or a belt sander will make this project significantly easier than using basic sandpaper squares. If you want to avoid marking your wood materials and make measuring contours even easier, you might want to consider picking up a Jorest contour gauge tool instead.

