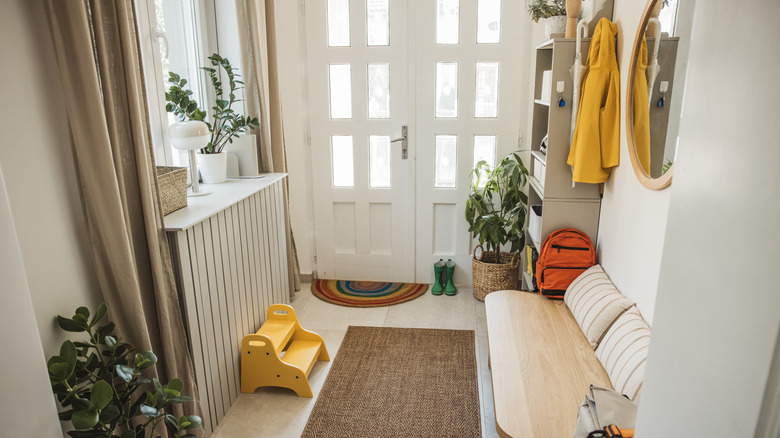
Organize Your Entryway With A DIY Wall Basket To Keep Essentials Together & Tidy
We may receive a commission on purchases made from links.
Wall baskets are practical, stylish, and easy to put together. And the best part? You can make them fit your entryway's style, whether that's a cozy farmhouse aesthetic with Ellinia woven hanging wall baskets or a sleek modern look with metal wire designs. But as handy as they are, wall baskets can still fall victim to the same clutter problem you're trying to solve. Without a system in place, it's easy for these baskets to become catch-all's for random items. That's where labels come in. Adding labels not only keeps things organized but also helps everyone in the household know exactly where their stuff belongs. It's a simple upgrade that turns your wall basket into a personalized and foolproof organization tool.
To make your own DIY wall basket with tags, first pick your basket. Woven baskets give a natural, warm feel, while wire baskets bring in an industrial-chic vibe. You can repurpose old crates or something else you already have lying around, like decorative trays. Thrift stores and home goods shops are goldmines for finding affordable options, so don't be afraid to explore there, too.
Choosing the perfect spot and securing your basket
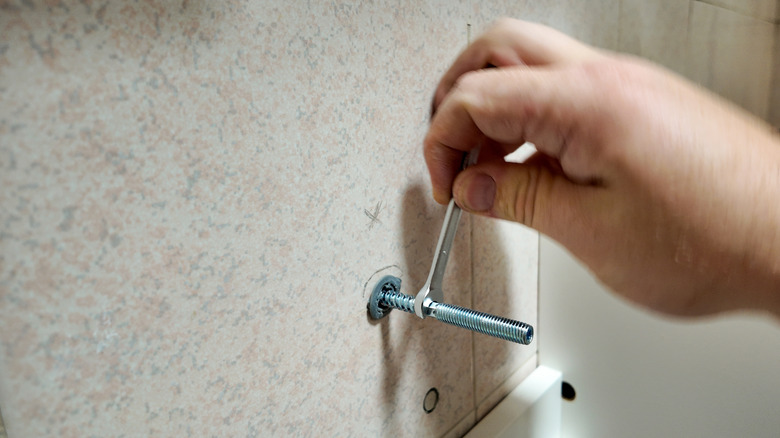
Next, figure out where your basket will go. Start by considering how you'll use it: Do you want it at eye level for quick access to essentials, or lower down so kids can easily grab their toys, snacks, or school supplies? Once you've found the perfect spot, it's time to secure it to the wall. If you're comfortable with tools, use sturdy hooks, nails, or wall anchors for a reliable hold, especially for heavier baskets. For wire baskets, wall anchors work great because they keep everything firmly in place, even when loaded with bulky items like books or cleaning supplies.
Not handy with a drill or worried about damaging your walls? No problem. Heavy-duty adhesive hooks or Command strips can be lifesavers. They're perfect for lighter baskets and can hold a surprising amount of weight when applied correctly. Just make sure the surface is clean and dry before sticking them on. Alternatively, consider hanging your basket from a wall-mounted rod using S-hooks for a versatile, stylish option. This allows you to rearrange baskets easily whenever your needs change.
Labeling your DIY wall basket
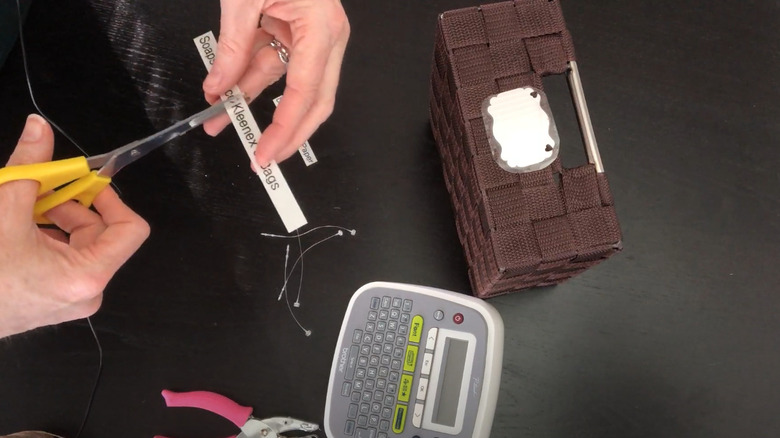
Now, for the fun part –- making your basket both functional and stylish with labels. Choose tags that match your basket and home décor. Luzen wooden tags provide a rustic look, while Sliverdew chalkboard tags are perfect for versatility since you can rewrite them if your organization system changes. You can also use thick stationery paper, punch two holes in it, and thread twine, string, or ribbon through the holes to securely tie the tags to your baskets. Another option is this genius DIY we found that teaches you how to make homemade labels without a label maker.
Write names, categories — like "Keys," "Mail," or "Sunglasses" — or even fun titles, such as "Grab & Go" or "Morning Essentials." If you're not confident in your freehand lettering, stencils can help you achieve a clean, professional look. To make your basket extra special, add decorative touches like ribbons, dried flowers, or mini charms. These small embellishments can give your basket personality and help it blend seamlessly with your home's aesthetic.
With just a little effort, a DIY wall basket can turn your entryway into a space that's not only tidy but also welcoming. Plus, if you share your space with family or roommates, you can even personalize the setup so everyone has their own spot. It's a small project, but it makes a huge difference in keeping your entryway organized and mornings hassle-free.


