Our Expert's Preferred Method To Install Ceiling Cornices By Yourself
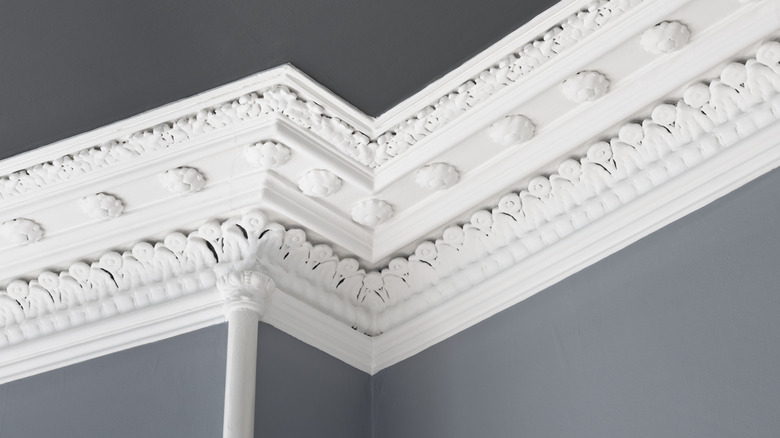
Ceiling cornices are the design flair that elevate your room on a budget without being too distracting. Ceiling and baseboard trim have the definite potential to improve the appearance of any room in your house, and can pull everything together in a sharp, fresh way. However, there are plenty of crown molding installation mistakes you need to avoid when doing this project in your home. We gathered some expert insight so you know what you should and shouldn't do when installing your ceiling cornices — the bottom line: a miter box is the "old school" tool you absolutely need.
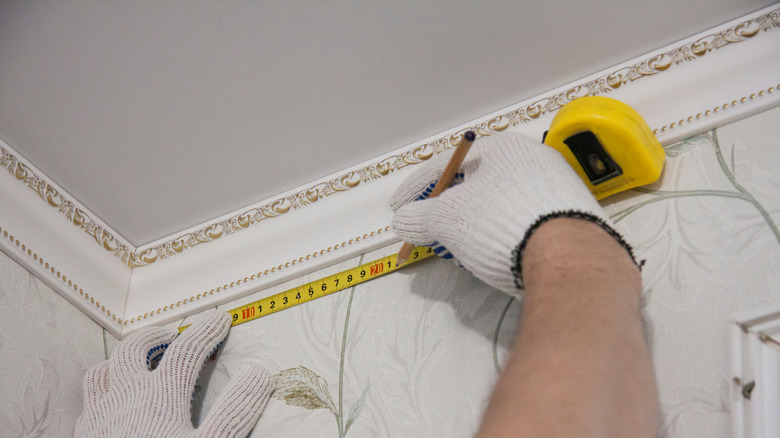
Kyle Schurman, House Digest's DIY and home remodel expert, explain which methods promise for better results when installing the corner parts of ceiling cornices, and there were some clear do's and don'ts along the way. And beyond just the installation method details, Schurman warns of one major mistake homeowners make. "When cutting crown molding to fit a corner is simply going too fast," he told House Digest in an exclusive interview. "You need to stop and think about each cut. When marking the position of the cut on the crown molding, it's helpful to draw the mark in the same direction that you want to make the cut or to draw arrows, giving you a visual clue that can help you avoid errors."
What not to do
Beyond taking on corners far too quickly, there are other things homeowners do that could leave visible flaws in their ceiling cornices. For example, freehanding the lines and cuts is a bad idea for beginners, Schurman exclusively told House Digest. "Although I've certainly been tempted to try to cut crown molding freehand ... I just would never do it," he said. And it's a health hazard, too. "For a novice, following this method while using a power saw with no safety measures in place looks like a way to end up in the emergency room," Schurman exclaimed.
Another common mistake is eagerly cutting into expensive materials instead of testing your method first. "If you're working with vintage, expensive crown molding, consider buying some cheaper crown molding at the local hardware store and practice making cuts at the desired angles before you work with the vintage material that is going to be nearly impossible to replace," he said.
The best way to tackle corners
"I'm probably 'old school' when it comes to installing crown molding, but the best way to do it is with a miter box and handsaw," Schurman exclusively told House Digest. "As long as you take the time to think about the angle of the cut that you want to make and go slow, the miter box and using a handsaw is the best method for getting corners right with crown molding." If you don't want to spend money on a tool you'll only use for this project, Schurman recommended looking into tool rental programs in your area.
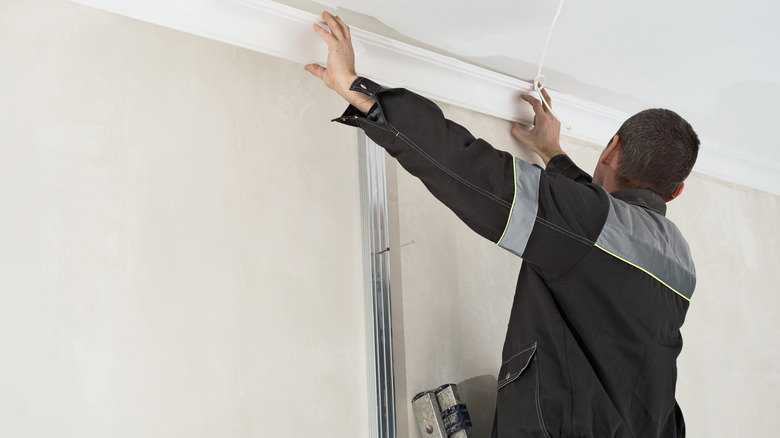
Regardless of how you acquire your miter box, it's critical that you find the right tools for this project so that your ceiling doesn't suffer from inaccurate or imperfect cuts. "Ultimately, hanging crown molding is a doable DIY project, but you need the right tools and plenty of patience to make it go smoothly and look great in the end." If you do notice a mistake after all of your work, Schurman says to not sweat it. "A thin layer of caulk is a good way to cover chips or splinters that occur in the cuts or to cover the seam where the angled corners meet, he said, while also adding that it'd be wise to choose a caulk that is paintable. "Even if you have no plans to paint the crown molding now, you might want to try to paint it in the future."


