Fix Potholes In A Gravel Driveway In A Few Steps
Gravel driveways are cost-effective, but you need to know about their drawbacks too — potholes being a common one. These nasty craters might damage your vehicle while also detracting from your driveway's looks. Fortunately, once you know the right steps, correcting these defects is easy. In this article, we guide you through all you need to know, from comprehending the problem to tackling the issue effectively.
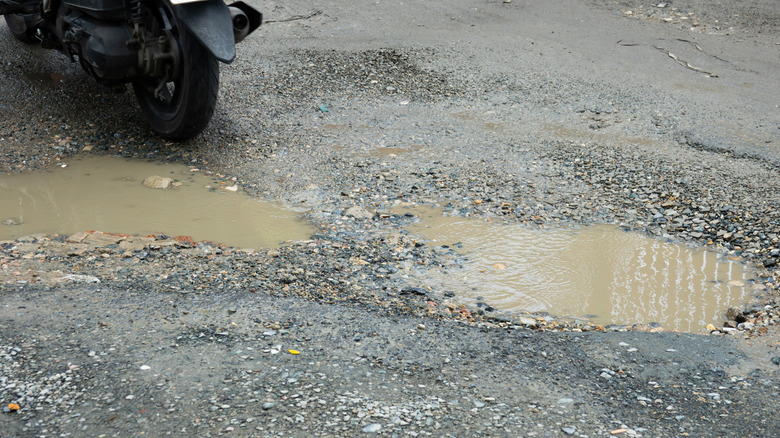
Gravel driveways are prone to potholes because the aggregate does not hold together as well as other surfacing materials. Water is often the main culprit, trickling below the gravel and eroding the base, leading to shifts in the surface. Factor in heavy vehicle traffic and freeze and thaw cycles, and the formation of a pothole is nearly guaranteed. The good news? You don't need heavy machinery or advanced expertise to fix the holes.
The general procedure for pothole repairs is to clear out the hole, fill it with layers of aggregate, and compact the gravel. This process minimizes the chances that a pothole will reform and helps make the repair last longer. It's relatively straightforward, but a few specific techniques will make a huge difference in the quality of your repair.
Steps for preparing the pothole
Before you go pouring gravel into the hole, take the time to prepare the pothole properly. That means removing debris, mud, and standing water. Having a clean base helps the new gravel bond better to the surrounding structure. You may have to use a shovel, rake, or even a small broom to clean the hole well. It's also a good idea to cut around the edges of the pothole to remove any debris that's not loose or sides that are about to cave in. A shovel should work well for this task. This preparation step helps keep the repair material stable once you fill the hole.
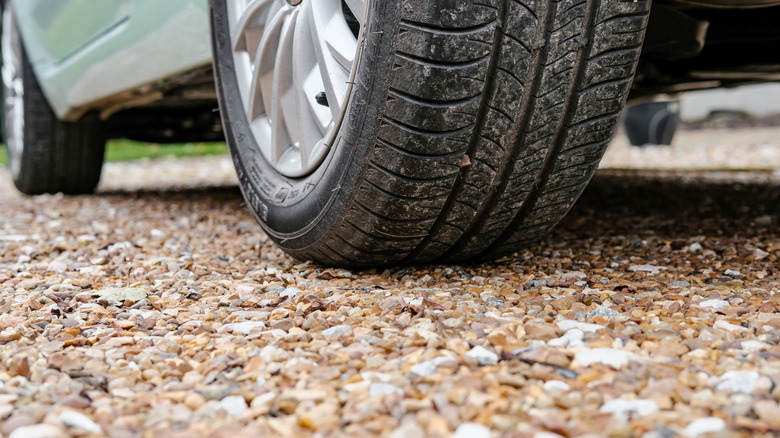
Once you've cleaned and shaped the pothole, the next step is to create a new base. One of the mistakes people make when building a gravel driveway is choosing the wrong gravel for the base. The bottom 3 inches should comprise coarse, angular gravel. This coarse base layer will compact tightly to stabilize the surface aggregate and keep water from pooling at the bottom of the hole.
How to fill, compact, and level the pothole
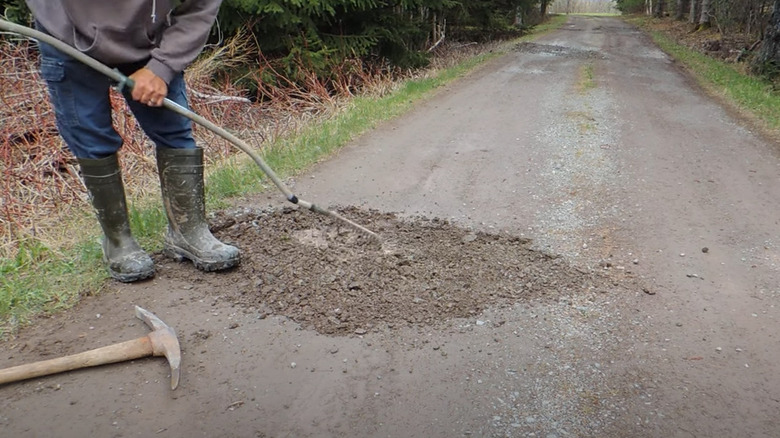
Once you've laid down the base layer, use a tamper tool to compact it. Then it's time to cover the base with the surface aggregate. This should be a gravel that will match the rest of your driveway. It's also a good idea to add a layer of sand to help bind the new gravel layer to the surrounding aggregate. When you fill the pothole, add a few inches of excess material at first. When you compact it with a tamper or compactor later, this mound will come down to the same level as the existing surface.
Compacting is arguably the most important step if you want the repaired surface to last long. To create an even sturdier surface, make sure the gravel is wet before you compact it. You can also drive your vehicle over the filled hole a few times to compress the gravel further.
Once the new surface looks even, inspect the area one more time. Your driveway should now be pothole-free, prepared for traffic, and looking good as new. Early elimination of potholes, along with the regular maintenance of your driveway, will help curb bigger damage in the future. One of the most helpful pointers for maintaining your gravel driveway is to ensure good drainage, which should keep potholes from forming again.


