How To Install In-Ceiling Speakers For Seamless Sound All Around The House
It's often our habit to make things look impressive, whether they're impressive or not. Witness, for example, the design of stereo loudspeakers over the decades. Even the worst of them progressed from monumental wood grain cabinets to sometimes taking on a sort of neo-space age vibe, as if they might suddenly shoot out a quantum ray that transports you to the mothership. But most of the time, the most impressive things are the least noticeable, whether it's a Nissan GT-R or a pair of great-sounding in-ceiling speakers. And installing speakers is one of the simplest ways to turn a bland room into a music lover's escape. If you want great sound without creating yet another surface for your guests to sit their drinks on, you'll find that installing ceiling speakers is usually the way to go. Fortunately, it's typically a simple job.
Capstone Home Theater's YouTube channel is a good starting point that walks you through a basic install. We're going to look at what's involved in positioning and establishing your ceiling speakers and cover a few unavoidable intricacies that Capstone doesn't address. Let's start with a few assumptions about your sound system and the speakers you want to retrofit. Capstone is installing a pair of Definitive Technology DT6.5R speakers, which requires just one two-core speaker wire. We assume yours will also be two simple, round, passive stereo speakers (wired models that get sound from a centralized amplifier). Four smaller speakers might be sensible for a large room. We also assume that any Bluetooth or Wi-Fi connectivity is provided by the receiver/amplifier unit(s).
Determine the locations
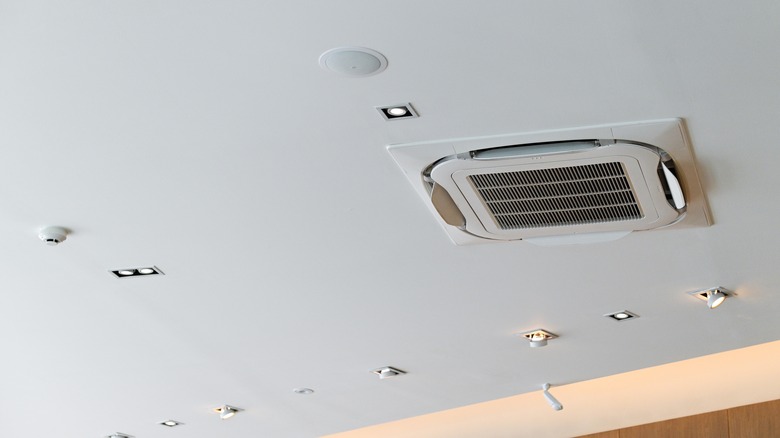
Quality sound is mostly about the make of your speakers and signal, but the location of in-ceiling models also influences the quality of what you'll hear. The first step to integrating speakers seamlessly into your home is to choose the right ones. You'll also want your new additions to look like they belong, to the extent that they're noticeable at all, which is something in-ceiling designs excel at. With that said, there are still some aesthetic considerations when positioning them. This mostly involves keeping things evenly spaced from walls and other ceiling mounted fixtures like lights. Wherever possible, you should also try to keep the speakers in line with other fixtures to avoid the visual clutter of elements that don't seem like they're made to coexist.
Speakers should generally be a minimum of 18 to 24 inches away from any wall and equally spaced from each one. So, for example, each might be 24 inches from its side wall and 36 inches from a shared front or back wall. To ensure the best stereo separation, you should also try to make sure the speakers are spaced at least 6 feet from each other. Keep in mind that you might be hemmed in, to some extent, by the wire you choose. Standard 16-gauge, two-core speaker cable can be run up to about 115 feet. For longer runs, you will need to move to a thicker gauge of wire.
Installing your speakers
The process of installing in-ceiling speakers is similar to adding a new outlet to a wall, but it doesn't require a professional like many electrical projects. The tools are standard, though you'll probably want a jab (drywall) saw. To start, use a stud finder to locate the ceiling joists and mark them with painter's tape. They will typically be spaced about 24 inches from each other. Determine the speaker locations as described above, then tape your stencils to the ceiling. Trace the outline with a pencil and cut out the circle with a jab saw. Run speaker wire to the backs of the speakers, which is made simpler by installing them in a room with an attic above so cable can be run more freely.
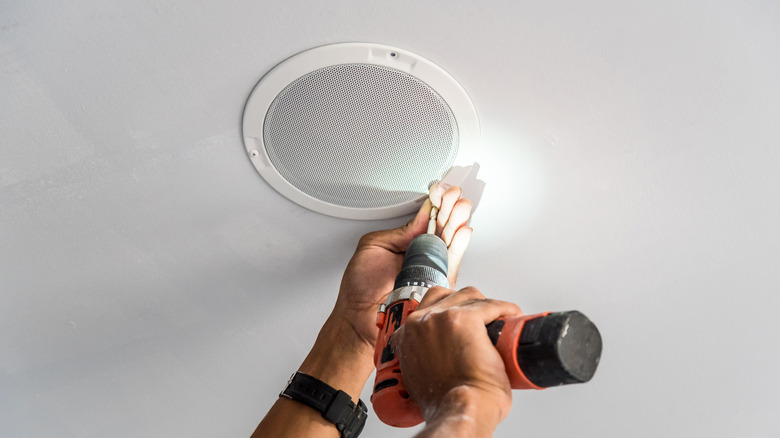
Strip and connect the wires to your speaker terminals, making sure not to reverse their polarity. Now, push the speaker into the ceiling and attach it to the drywall by using a Phillips-head bit or screwdriver to tighten the swing clamps most models use to pull themselves tightly to the ceiling (the same mechanism used by many old work electrical wallboxes). Apply the trim ring and/or grille according to the speakers' installation instructions.
A note about fire hoods: When you penetrate a ceiling to install a speaker, some jurisdictions require that the top (in-ceiling) portion of the speaker be covered by a fire hood or baffle to maintain the ceiling's fire rating. These are a good idea under most circumstances, whether they're required by code or not. Fire hoods are a bit more pricey than baffles, but they often have acoustic properties that improve the sound of your speakers.

