Here's How DIY Lofts Can Seriously Upgrade Your Garage Organization
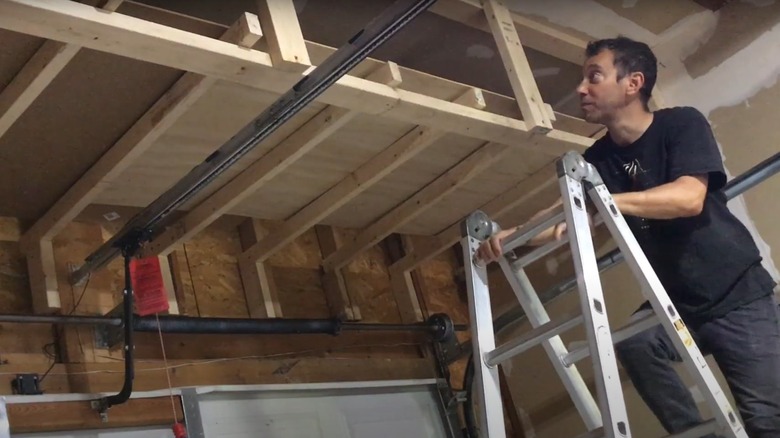
When you want budget-friendly ideas to organize your garage, one smart option is adding more storage through the installation of a loft area. A garage typically has a lot of wasted storage area along the ceiling, especially if you have a peaked roof. Building a loft lets you take advantage of this space to store items you might not need regularly.
Although using shelving, totes, and peg boards are among the best ways to organize your garage, adding a loft gives you extra space to store items, rather than just relying on the edges of the garage around your vehicles. Building a loft inside the garage maximizes the vertical space available when you have tall ceilings. Because the loft won't be easily accessible without a ladder or building stairs, you may want to use the space to organize and store seasonal items, like sports equipment or holiday decorations.
This project — when done properly — may even enhance your property value, as garage storage options can affect your home's resale value. Although you can do this job yourself, it's important to do the construction and installation with care. Using poor materials or making errors during installation could cause the materials and stored items to fall, risking injury for people and damage for vehicles. As long as you have a bit of experience constructing small structures and some confidence with power tools, though, you can safely DIY a garage loft. Learn more about your options for this job.
Basic steps to construct the frame for a ground-supported garage loft
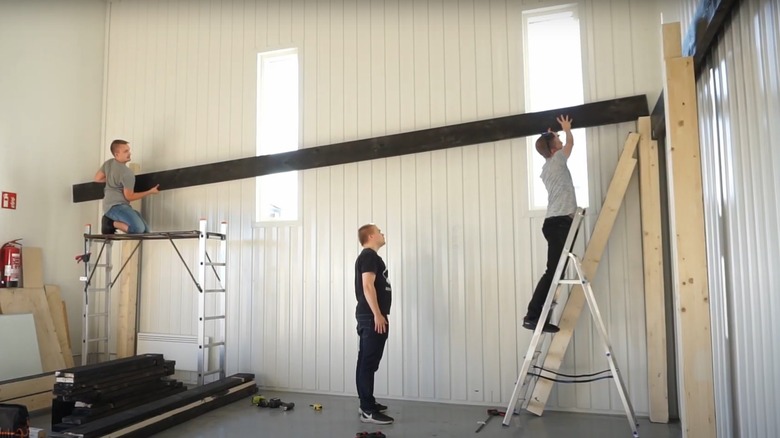
You can build a storage loft in the garage that's supported by posts on the ground. Thicker wood will be able to support more weight. If you have an unfinished garage, you can use the 2-by-4s in the wall frames as the columns, almost like you'd use 2-by-4s for building DIY shelves. Otherwise, you can secure 2-by-4s to the studs behind the finished drywall. If you want more weight support, you could attach 4-by-4 posts or doubled-up 2-by-4s as the support posts. Another option is to attach 4-by-4 posts to the garage floor using metal post bases. However, drilling into the concrete floor in the garage can be a challenge without the right tools. Make the posts tall enough to allow vehicles to park and people to walk easily underneath the loft.
Once the support posts are in place, you can attach boards across the span, creating support beams on all four sides. If you will be spanning more than a few feet, you'll probably need 2-by-6s or 2-by-8s instead of 2-by-4s to support the weight of the loft without sagging. If you have worries about the weight it can support, you could double up the boards.
Once you have the basic framing around the exterior of the loft's layout, you should add more 2-by-4 or 2-by-6 boards in the middle of the span, creating extra support as cross members. You can use framing brackets to easily attach these cross members. The more support boards you add, the sturdier the final build will be.
How to finish the floor for the loft in the garage
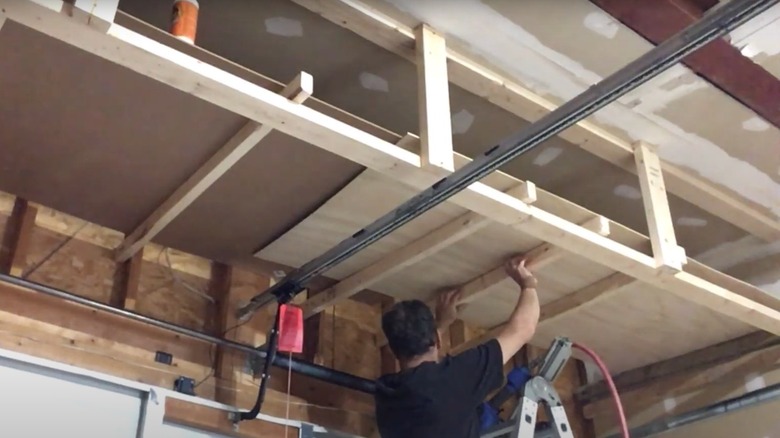
Once you have a sturdy frame in place, you can create the "floor" of the loft that will support the items you want to store on it. Plywood is the best material to use for creating a floor. It is extremely strong and durable, yet it doesn't weigh as much as the same amount of solid wood.
Select the thickness of the plywood you want to use based on the amount of weight you expect to need to support. You'll want plywood that's between four and seven layers thick (usually one-half-inch plywood) for weights of 30 to 40 pounds. For more weight, select three-quarter-inch thick plywood with seven to nine layers. This board can support 50 to 100 pounds. If you'd like to support more than 100 pounds on the plywood floor, add more cross members to provide support underneath the plywood. Screw the plywood to the support beams and cross members underneath.
To access the loft, you have a few options. You can use a step ladder to climb up to the loft whenever needed. You also could DIY your own ladder using 2-by-4s, similar to how you'd build a ladder for DIY bunk beds. Another option is a pull-down staircase or ladder that's out of the way until you need it. Regardless of which option you select, stability and strength is important because you'll be carrying awkward and potentially heavy totes while using the ladder or steps.


