17 Essential Tools To Have On Hand For Your Next Paver Project
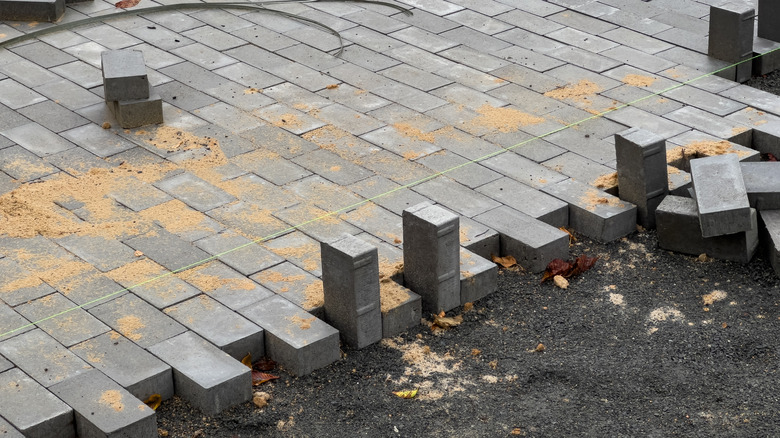
Paving projects are one of those things that sound simple in your head but quickly turn into a mix of heavy lifting, precision, and a sprinkle of chaos. Whether it's a backyard patio, a garden path, or a driveway upgrade, creating something functional and beautiful with your hands is deeply satisfying. But here's the thing: you can't just wing it with random tools lying around in your garage. Without the right equipment, things can get messy, frustrating, and downright exhausting.
A good paver project is all about preparation. The right tools will make the job smoother, faster, and less likely to make you cry into your coffee halfway through. It's not just about convenience; it's about doing the job well. This guide will walk you through the tools that must be used for your paver project. From digging to smoothing, measuring to safety, we've covered every step. And yes, some tools may seem like overkill, but you'll thank them when your pavers sit perfectly level.
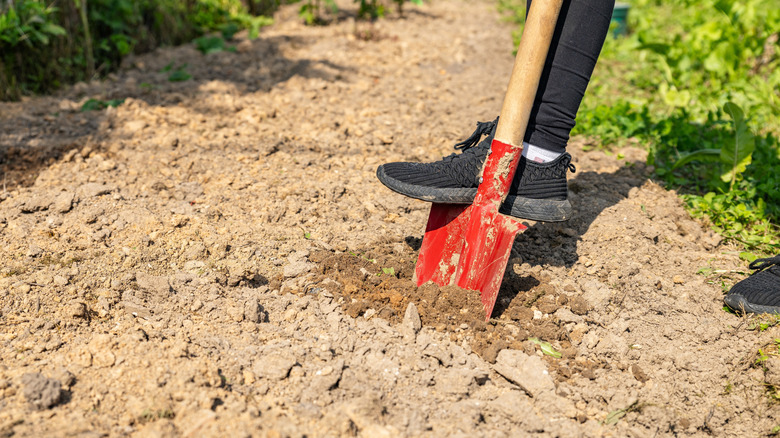
A shovel for digging in
The shovel is an all-purpose tool for digging, scooping, and leveling. Whether you're clearing dirt to make room for your pavers or spreading base material, this tool is a must. A good, sturdy shovel with a sharp edge will make cutting through tough soil feel like slicing butter — well, almost. Since not all shovels are created equal, go for a flat-headed shovel. And remember to ensure the handle is comfortable. You'll spend hours using this; blisters are not a badge of honor.
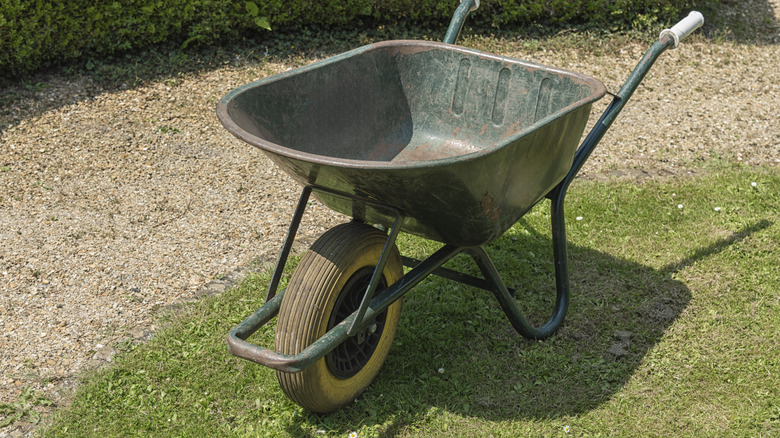
Wheelbarrow
A wheelbarrow is your best friend for hauling loads of soil, sand, and pavers without breaking a sweat. It saves your energy for the actual building part instead of wasting it, lugging stuff back and forth. To use it efficiently, don't overload. A wheelbarrow that is too heavy can tip over and send your materials flying. Instead, balance the load evenly and take it slow, especially on slopes. When buying a wheelbarrow, look for a sturdy one with a single pneumatic wheel. The single wheel gives better maneuverability, while the pneumatic tire makes pushing heavier loads easier.
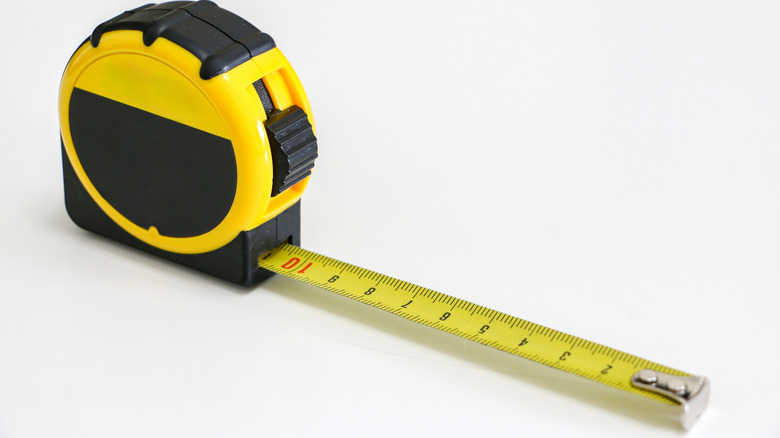
Be precise with a tape measure
A tape measure ensures every paver is placed with laser-sharp accuracy. It comes in handy when you're checking the area's dimensions or spacing between pavers. You'll need the extra length for larger projects. Bonus points if it has a locking mechanism — it keeps the tape from snapping back when you're measuring tricky spots. When using the tape measure, always measure twice and cut once (or, in this case, dig and lay). It's better to double-check now than to realize later that your beautifully paved patio is wonky.
Some gloves to protect your hands
Paver projects are rough on your hands, with all the lifting, gripping, and moving. Without gloves, you'll end up with blisters, cuts, and sore palms. Look for gloves that are thick but flexible. Leather gloves are durable, but ones with a reinforced grip make handling heavy pavers easier. Make sure they fit snugly so you're not constantly adjusting them. It is also a good idea to keep an extra pair handy. Gloves get sweaty and dirty, so switching to a fresh pair mid-project can feel like a luxury. Your hands will thank you.
Screed board for that perfectly flat surface
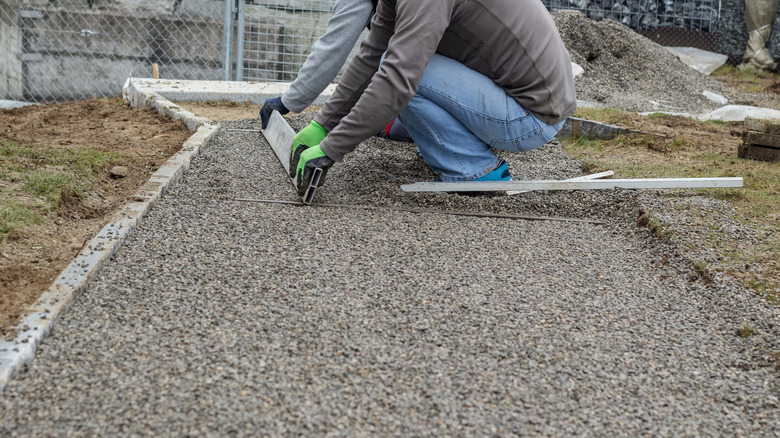
A screed board ensures your base layer of sand is perfectly level, giving your pavers a solid, even foundation. Any straight board can serve as a screed, but aluminum screed boards are lightweight and long-lasting. The length should match the width of your project area for maximum efficiency. To use a screed board, drag it across your sand layer, smoothing it out as you go. Don't skip this step unless you enjoy uneven pavers that wobble underfoot.
Safety glasses for your peepers
Safety first, always. When you're cutting pavers, chipping away at stone, or even just working around flying debris, your eyes are at risk. Safety glasses may not be fashionable, but they are a small price to pay for keeping your vision intact. Choose glasses with wraparound protection to shield your eyes from all angles. Anti-fog lenses are a bonus if you're working in humid conditions.
Show your knees some love with knee pads
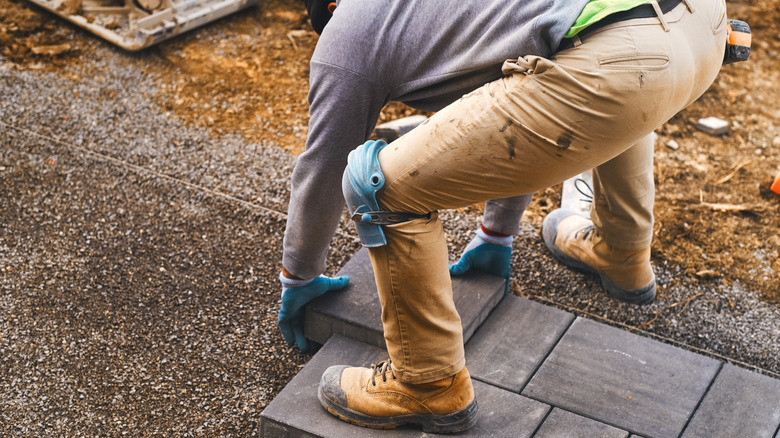
Paver projects mean spending hours on your knees, so give them some TLC with a good pair of knee pads. They cushion your knees, reducing pressure and pain while you work. Opt for knee pads with gel inserts or thick foam padding for maximum comfort. Adjustable straps ensure they stay put, even during long projects. Bonus points if they are breathable — you don't want sweaty knees adding to your discomfort.
Guide the screed board with a screed rail
A screed rail helps your screed board work its magic. The rails act as guides, ensuring your sand layer stays level across the entire surface. Metal or plastic rails work well and are easy to set up. Place them parallel to each other, adjust them to the desired height, and drag your screed board over them to create a smooth base. Once you've finished leveling, carefully remove the rails and fill in the gaps with sand.
The rake
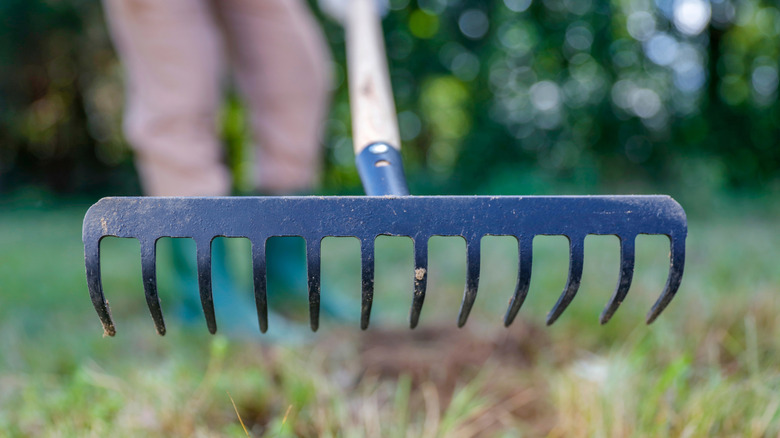
The rake might remind you of autumn leaves but is also a superstar in your paver toolkit. A stable rake helps you spread and level your base material: gravel, sand, or soil. Without it, you're left trying to smooth things out with your hands — which is as effective as using a spoon to shovel snow. Choose a metal rake with strong tines that can handle heavy materials. A garden rake works well for soil, while a landscape rake with a flat edge is ideal for sand and gravel.
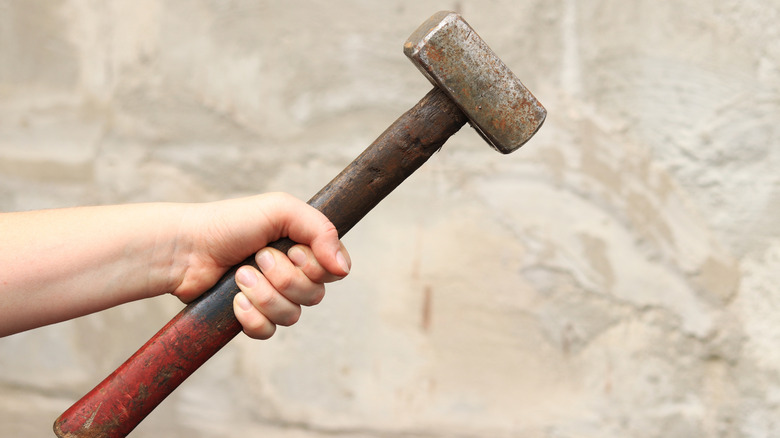
For tough jobs, call the sledgehammer
For those moments when gentle persuasion isn't enough, the sledgehammer is your best friend. This tool brings the muscle to your paver project, from breaking up old concrete to driving stakes into the ground. Pick a sledgehammer with a fiberglass handle — it absorbs shock better and is less likely to splinter. And remember to swing carefully, aiming for precision.
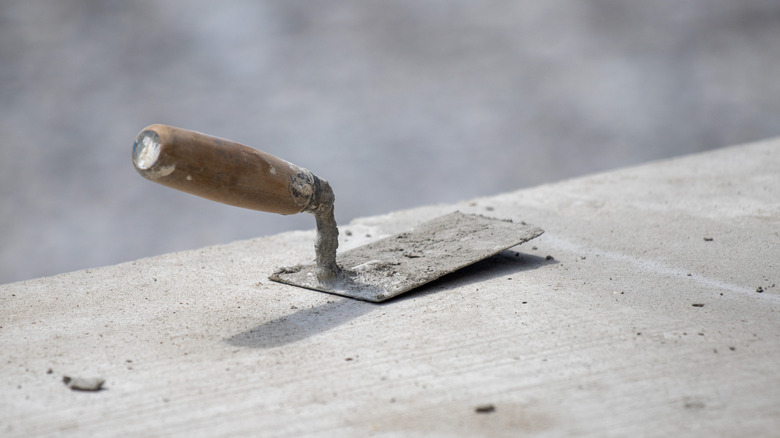
Trowel for the details
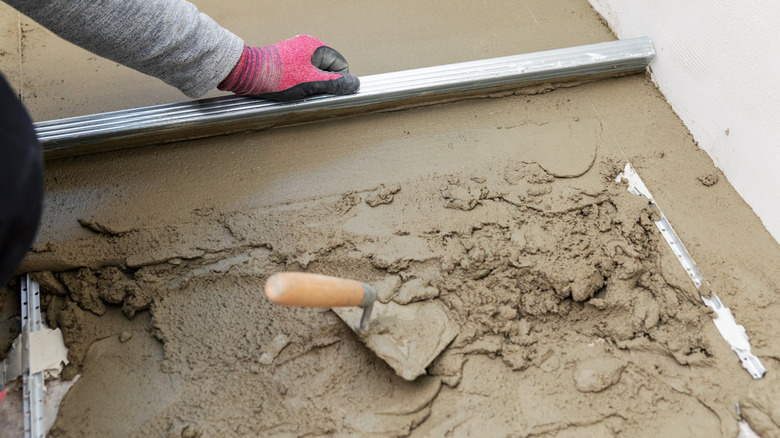
A trowel is a handy finishing tool for handling small amounts of material, like smoothing mortar or filling gaps between pavers. A pointed trowel works well for precision, while a square-edged one is better for smoothing surfaces. Ideally, you'll have both on hand to tackle different tasks. Remember to keep your trowel clean. Mortar or concrete can harden quickly, making the tool harder to use. A quick rinse after each use keeps it ready for action.
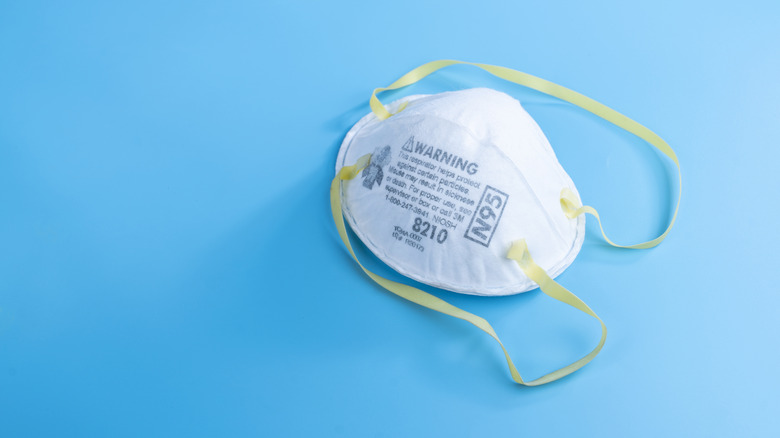
Dust mask
Paver projects generate a surprising amount of dust, and that's where a dust mask comes in. Cutting pavers, moving sand, or even just leveling materials can kick up particles that are less than kind to your lungs. Dust from cutting pavers contains silica, a harmful substance that can cause lung issues over time. Even if you're outside, the dust can linger. A dust mask ensures you breathe easily while working. Look for a mask rated for construction dust, such as the N95 respirator.
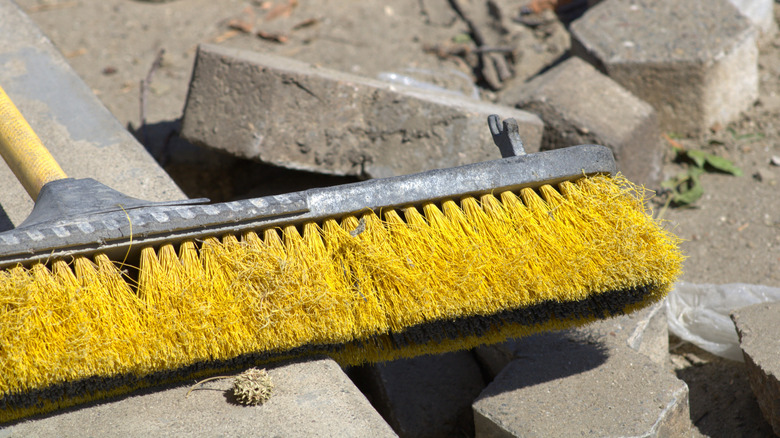
Clean up with a broom
A broom might seem boring, but it's a finishing tool you can't skip. Once your pavers are laid, you'll need it to sweep sand into the joints, ensuring everything locks tight and into place. It's also your go-to for keeping your work area tidy during the project. Choose a stiff, bristled broom for spreading joint sand. It should push sand into the gaps between pavers but be gentle enough not to scratch the surface. For general cleanup, a softer broom will do the trick.
Straight lines made easy with a chalk line
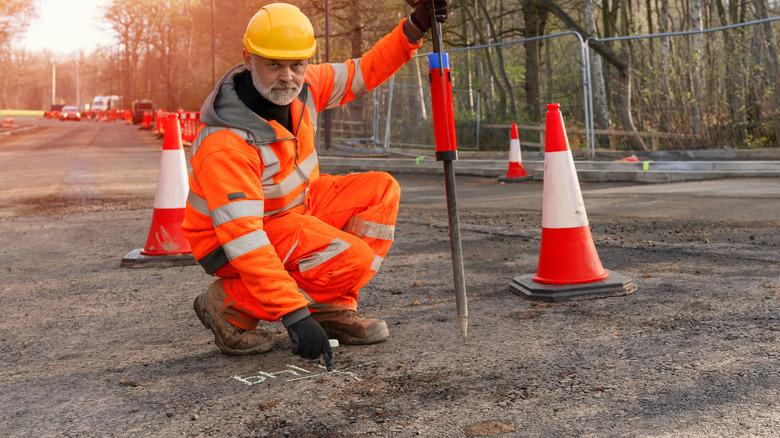
A chalk line makes marking straight, precise lines on your work surface easy. If you don't use the tool, you're left eyeballing straight lines, and unless you have laser vision, that's a recipe for a wobbly patio. To use a chalk line, fill the tool with chalk powder, hook one end to your starting point, and stretch the line tight to your endpoint. Just make sure the chalk color contrasts with your base material to see the line clearly — a bright color like blue or red works best for light-colored surfaces.
Drill it right with a power drill
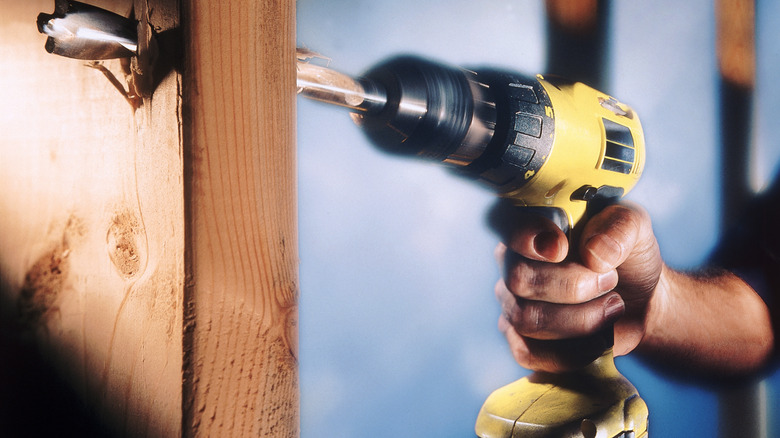
A drill might not be the first thing you think of for a paver project, but it's a game-changer for specific tasks. Need to drill drainage holes in pavers or secure wooden edging around your patio? Your power drill has got you covered. Invest in a cordless drill for maximum mobility, and ensure you have a good selection of drill bits. Masonry bits are essential for working with concrete or stone. You might also need screwdriver bits for fastening screws into edging or other components.
Bucket
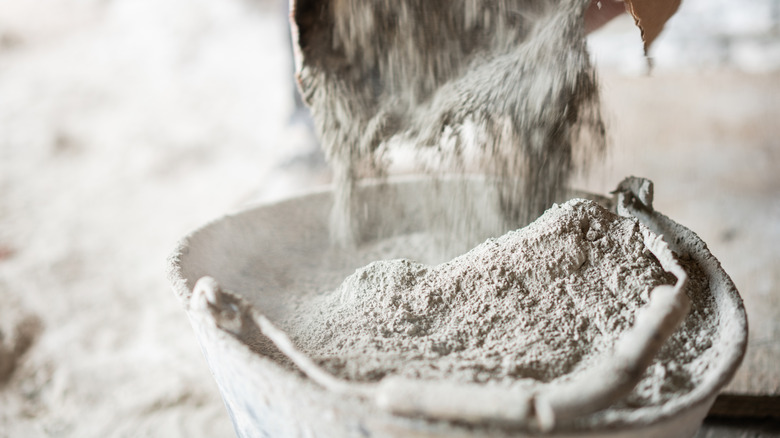
Simple, yet so versatile. A bucket is like a jack of all trades in a paver project. It's ideal for mixing mortar, carrying sand, or even holding water to clean your tools. You'll be amazed at how often you reach for it. And let's not forget their most underrated use: sitting. When you're tired and need a break, an upside-down bucket doubles as an impromptu chair. It's not luxury seating, but hey, it works. Choose a heavy-duty bucket, preferably one with a handle that won't snap under pressure.
Measuring wheel for big measurements
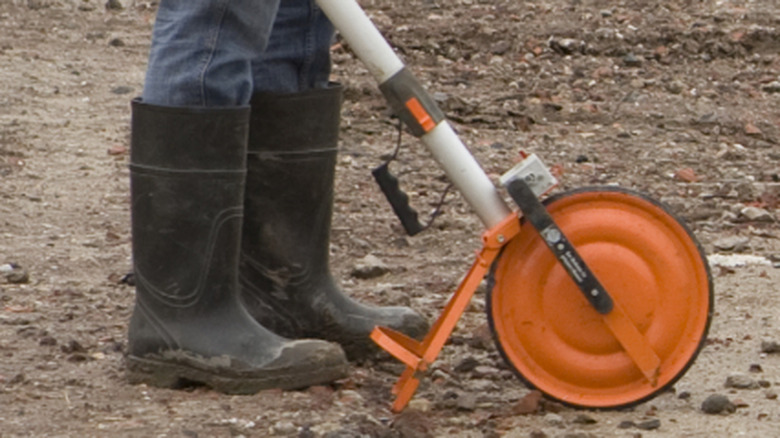
For large-scale projects, a measuring wheel is like your GPS for distance. This tool makes it easy to measure long space stretches, like planning a walkway or mapping out a patio. Forget pacing back and forth or trying to hold a tape measure steady over 50 feet -– this tool does the job in seconds. To use a measuring wheel, roll it along the surface, and it will track the distance as you go. Most models even have a reset button for easy startovers (perfect for those "Oops, I started too late" moments).
