Why You Should Consider Staggering Laminate Flooring When Installing
Laminate is one of the best flooring types to choose from for your home. And although installing laminate is already rather simple, there is one technique you can use to achieve an even better outcome. Staggering the flooring material can really make a difference in the finished result you are able to achieve. While speaking exclusively to House Digest, Skylar Bartlett, owner at Kreer Construction, explained why exactly you should consider staggering laminate flooring during installation. "It strengthens the floor, prevents seam separation, and gives a more natural, visually appealing look," the expert shared.
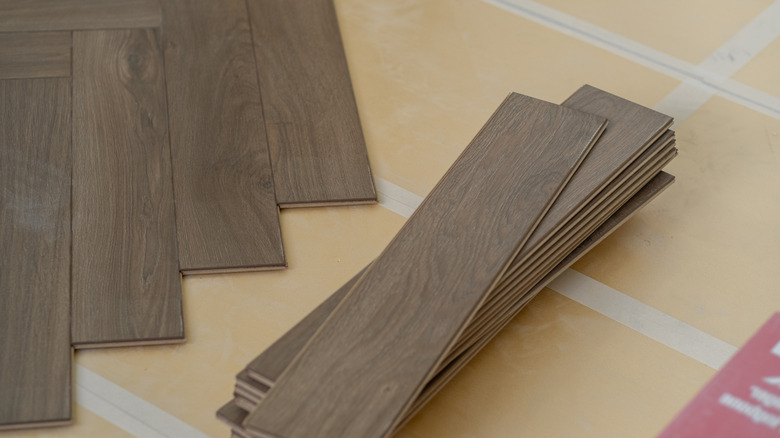
You might be wondering how this technique makes laminate flooring look more natural. According to Bartlett, it breaks up seams, which gives the planks the appearance of real wood. Staggering the planks is also a great idea because it reduces waste by allowing you to make use of more of the material. Now you know about the pros of this technique, but what happens when you skip it? Bartlett shared a brief explanation of the effects of this. "Without staggering, the planks can shift, and the floor may appear artificial and repetitive," she explained. If you are planning to complete a DIY laminate flooring installation project, you might want to find out what else Bartlett had to say about staggering your planks.
How to stagger laminate planks like a pro
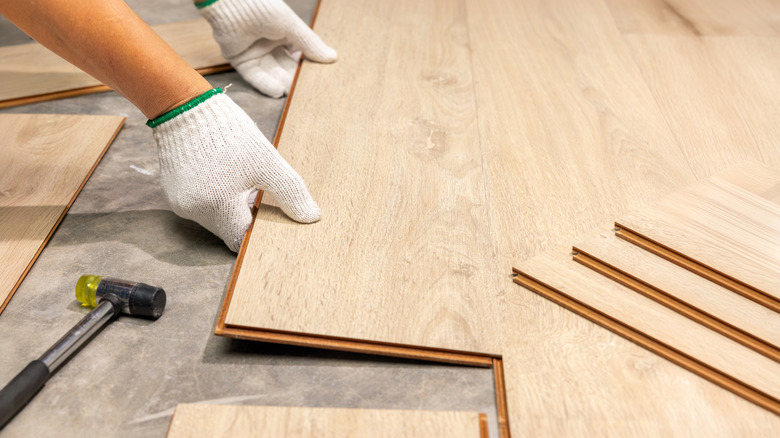
While speaking exclusively to House Digest, Bartlett shared a brief rundown of how to stagger and install laminate planks the right way. The first step is to plan your layout. "Measure the room and plan your stagger pattern," the expert said of this process. "The average offset is 9 to 12 inches, but a good rule of thumb is to stagger at least 2 inches more than the board's width. For example, with a 7-inch wide board, stagger at least 9 inches for a balanced look." Next, go ahead and cut your first plank. Bartlett explained that you should start your first row with a full plank. Next, cut 9 to 12 inches off of a board and use it to start the second row.
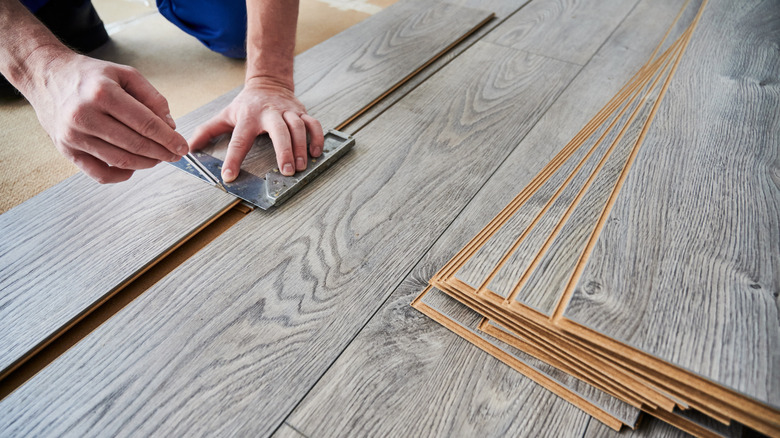
Use this technique to complete each of your rows. "After cutting your desired inches off the first board of the second row, use the remaining piece to start a third row," Bartlett explained. "Repeat this process to keep the seams staggered and avoid alignment." The expert also recommended referencing the visual guide book that should have come with your material for information on proper cutting techniques and staggering patterns. Bartlett shared a couple of details to keep in mind to ensure you pull this staggering process and installation off successfully. First, do not use plank pieces less that 12 inches long at the end of your rows as this could make them unstable. Second, use spacers to leave a ½ gap between walls and planks to leave room for expansion.
The downsides of staggering planks
Although staggering your laminate planks comes with many benefits, there's still other things you need to know to install laminate flooring, including some of the downsides. According to Bartlett, one of the cons is that this technique requires quite a bit of preplanning. More specifically, you need to develop a layout for your desired pattern. Staggering planks also requires a longer laminate flooring installation process. While speaking exclusively to House Digest, Bartlett shared that it takes "slightly longer due to measuring and can end up with more complex cuts." There are also quite a few risks associated with staggering laminate planks improperly.
"Not staggering enough concentrates pressure on too many joints, leading to buckling or warping," Bartlett shared. You should also watch out for placement that results in an unnatural pattern. "Short, repetitive staggers can create a 'steep staircase' look that many homeowners dislike," Bartlett revealed. "A balanced, varied pattern is key to achieving a natural flow."


