A DIY Grazing Board Is A Functional Statement Piece You'll Love Making
We may receive a commission on purchases made from links.
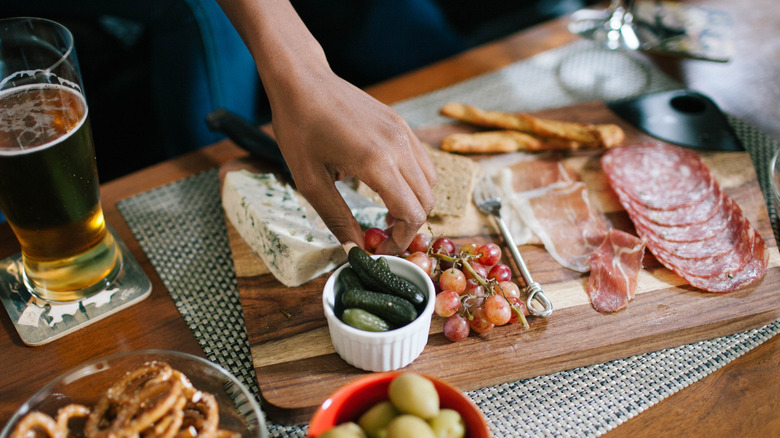
An age-old entertaining hack is to have a grazing board, also known as a charcuterie board, for guests to snack on throughout your event. Grazing boards can contain any kind of food and hold things like silverware and decor items as part of a centerpiece. They're also useful for picnics, date nights, and more. While most would go out and buy a large tray or platter or use a wooden cutting board, you can add your own personality by crafting a grazing board from recycled wood.
Most grazing boards tend to cost anywhere from $10 to $100 based on the type of wood and the size. The SMIRLY Charcuterie Board Set, for example, is $37.99 and contains cut-out sections for various food items, as well as simple utensils for cutting cheese and spreading jam. Based on your own personal hosting needs, it can be hard to find a board that matches your preference: For instance, too few or too many inlaid storage compartments on a grazing board could make it hard to build the charcuterie spread of your dreams. Another issue with pre-made boards is that they often lack character and personality, as they consist mostly of warm-toned wood, a few compartments, and not much else. Building your own board allows for much more creativity and personal flair, and it gives you the exact dimensions for your snacking desires.
How to make your own grazing board
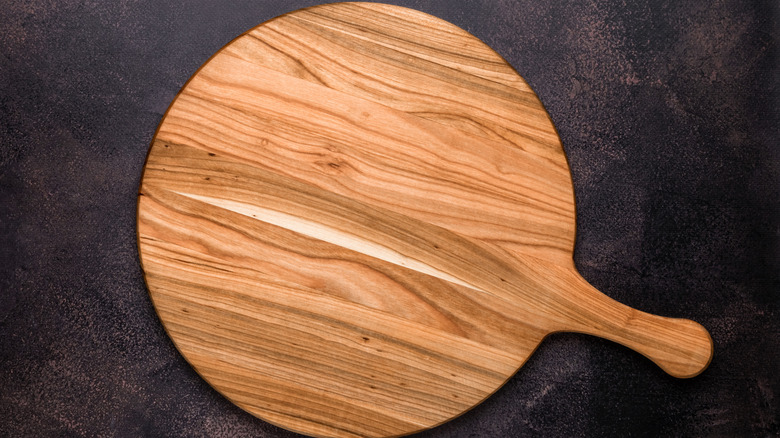
In order to make your own board, you first need a piece of wood. In her tutorial for a DIY grazing board, The White Thistle uses a recycled piece of wood. This project is a great way to upcycle scraps from other projects or the scrap piles at your local hardware store). You could also buy a plank of wood that's thick and wide enough to hold the full charcuterie array. An average grazing board for serving six people is 15 inches long and about 8 inches wide. Take this into account when shopping for your own piece.
Once you have your recycled wood, sketch out your dipping pots and other inlaid areas to craft the board to your liking. The White Thistle uses a Dremel with the flame power and carving bits to carve out sections and then smooth out the wood. She also uses a round-tip carving bit on a Dremel to add small dots into the wood for texture and then sands everything down to soften it and help things look more uniform. Once the carving parts are finished, you're ready to dye the wood and seal it. You can use just about any non-toxic wood stain (such as Littlefair's Wood Stain) and finish it with a sealant — The White Thistle uses Osmo's Wood Wax. However you finish or decorate your piece is up to you; just be sure to coat it in a non-toxic, food-safe mixture.
How to personalize your board
The best part about doing a project yourself is that there are endless opportunities for personalization. You can personalize the size of the compartments and the hue of the wood, but there are plenty of other ways to make your creation unique. First off, consider how you'll store or display your board when it's not in use, and make adjustments accordingly. You could drill a wooden hole into one corner of the board so that it easily hangs on a hook in your kitchen for all to see. Or, cut the board down the middle and add a simple hinge (such as this one from HJ Garden) so that the board folds in half for storage.
You can also personalize your board with engravings and embellishments. Consider using a wood burning pen (Walnut Hollow sells a beginner model) to add little floral decorations around the perimeter to make your board feel fancy. You can also engrave initials or names onto the board, which would be especially great if you plan to use this craft as a wedding gift or birthday present. Even adding some small swirls and dots around the wood will make your board seem more unique and thoughtful. It will make you want to bring it out for every event that rolls around.

